
This creamy homemade oat milk is rich, creamy, and thick. It tastes great on its own, in lattes, or with cereal! Plus, you need just 4 ingredients and a blender to make this.
And I know you’re thinking homemade oat milk is always slimy and never creamy. Well, I’ve cracked the code to non-slimy creamy oat milk!
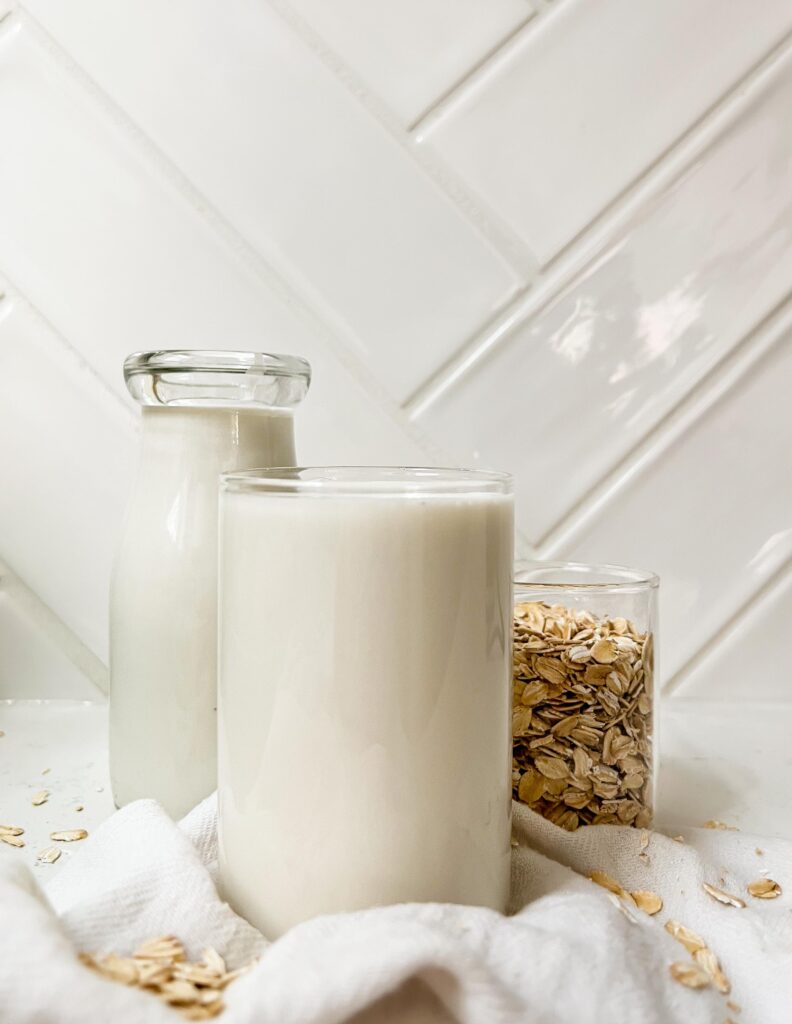
Ingredients for Creamy Oat Milk
The best thing about making oat milk from home is you need just 4 ingredients:
- Rolled oats or quick oats
- Vanilla extract or vanilla bean paste
- Honey or maple syrup
- Salt: A little pinch of salt helps amplify the flavors of this milk so much. Little note: make sure to use kosher salt, specifically Diamond Crystal kosher salt. If you’re using Morton kosher salt, reduce the salt by half. Morton is much saltier and denser than Diamond Crystal kosher salt.
Notes
- Do not squeeze the oat milk or push the milk through the strainer. The more you squeeze, the slimier the oat milk will be.
- Double strain the oat milk so it’s super smooth and creamy. It’s a little bit of extra work, but it’s totally worth it.
- Do not overblend! I cannot stress this enough, but blending for more than 20 seconds will make the oat milk slimy.
- After a few hours, you’ll notice the oat milk has separated. Don’t worry, this is totally natural and should happen since you didn’t add any gums or emulsifiers in this non-dairy milk. Simply shake the milk jug a few times to get the oat milk back to its creamy self again!
FAQ’s & Notes
- How to store the homemade oat milk: Store the oat milk in the fridge for up to 4 days. Any longer than that and the milk will start to smell a little funky and not taste as fresh.
- Homemade oat milk vs. store bought: As much as I love the convenience of store-bought oat milk, homemade oat milk is so easy to whip up and has infinitely more flavor and a better mouthfeel. How does homemade oat milk compare to store-bought in terms of taste, texture, and nutrition? From an ingredient standpoint, homemade oat milk comes out on top — you just need a few pantry staples like rolled oats, salt, and vanilla. Store-bought oat milk tends to go through more processing than your average homemade oat milk. Commercial oat milk is typically heated and includes oils, gums, and thickening agents to emulsify the milk and extend its shelf life. Conversely, these added ingredients tend to impair the mouthfeel and taste; it can taste slightly artificial, whereas homemade oat milk has a lighter, cleaner flavor profile that pairs so much better in lattes, cereal, etc. Additionally, commercial oat milk tends to be thinner, whereas homemade oat milk has a creamier, richer texture that I love in my matcha!
- Why is my homemade oat milk chalky? Typically, this is how oat milk tastes on its own. Which is why I recommend adding in the vanilla extract and honey/maple syrup to mask the chalky texture.
- How do you make homemade oat milk not separate? Homemade oat milk will also separate because it has no gums or emulsifiers. That said, simply shake the oat milk a bit to emulsify it again! Or you can add 1/8 tsp xantham gum before blending the milk to help keep it emulsified.

Creamy Homemade Oat Milk
- Cook Time: 5 minutes
- Total Time: 5 minutes
- Yield: 2 cups 1x
- Category: Beverages
- Cuisine: American
Description
This creamy homemade oat milk is rich, creamy, and thick. It tastes great on its own, in lattes, or with cereal!
Ingredients
Scale
- 1 cup rolled oats
- 3 cups cold water
- 1 tbsp maple syrup or honey
- 1/2 tsp vanilla extract or vanilla paste
- 1/4 tsp kosher salt
Instructions
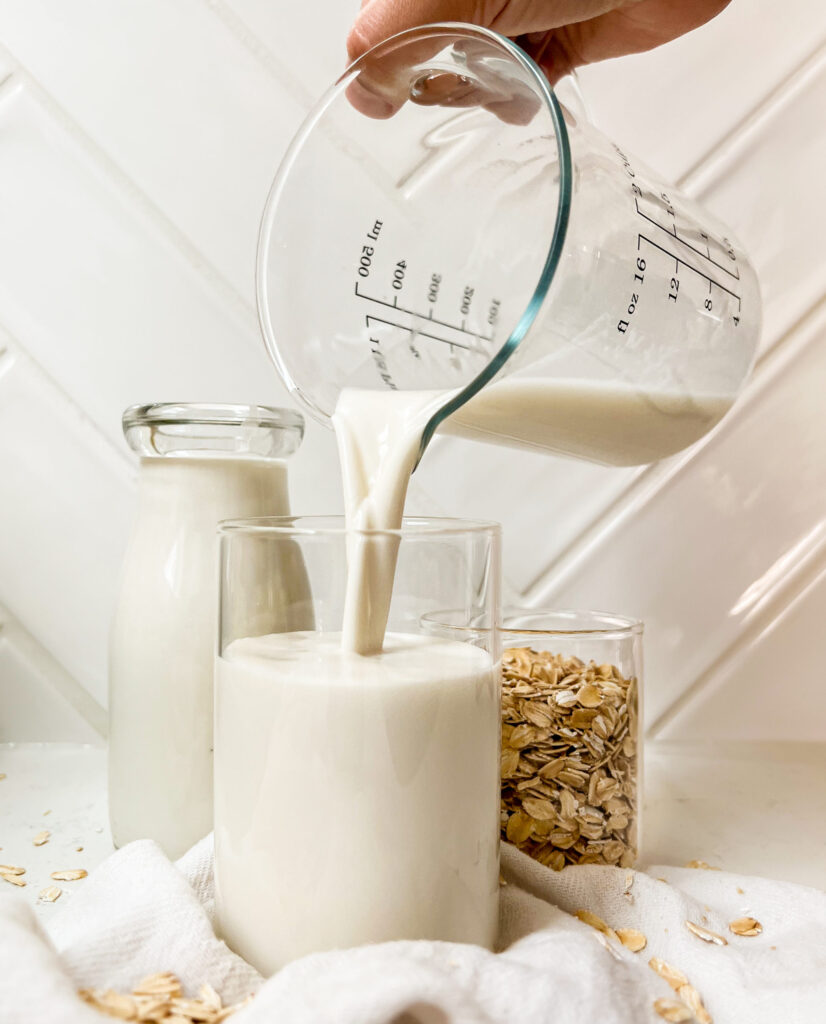
- Add all the oat milk ingredients to a blender and blend on high for 20 seconds, no more.
- Strain the oat milk through a fine-mesh sieve and let it drip through on its own; don’t press or squeeze it through the sieve. Once strained, strain the oat milk through the sieve again — I like double-straining it to ensure there’s no gritty oat bits. Once strained, pour the oat milk into a glass jar and refrigerate for up to 5 days.
Notes
Since this recipe only makes 2 cups, feel free to double the measurements if you want more milk for throughout the week.
Other sweetener options besides date syrup?
Hi Allegra! Maple syrup or even coconut sugar are both great substitutes
Could you replace date syrup with maple syrup?
Absolutely!
This turned out wonderfully! I added a pinch of salt and ¹/4 tsp oil to bring out the flavor and enhance the creaminess, but I’ll definitely be making this again 😊
Any advice on what portion of the calories and nutrients actually make it into the oat milk? I’m going to make some oatmeal cookies with the leftover pulp, but I’m not sure what makes it into this milk.
Delicious regardless though, thanks!!
So happy you liked it Erin, the olive oil addition sounds so good!! Regarding the calories/nutrients, I really don’t know how much makes it into the milk, sorry!!
Hi there, been having issues trying to make my own oat milk for a while now, so definitely grateful for this recipe and your helpful tips. Could you please elaborate on what “the prepared strainer” should be/look like?
Appreciated muchly
Eloise
So happy you found this!! Just use a fine mesh sieve (this is the one I have here) and place it over a bowl to catch the milk. Let me know if you have any other questions!!