

 by
by 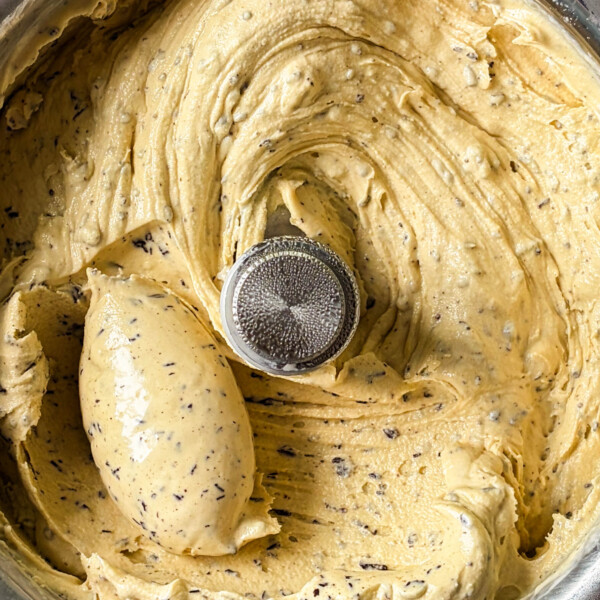
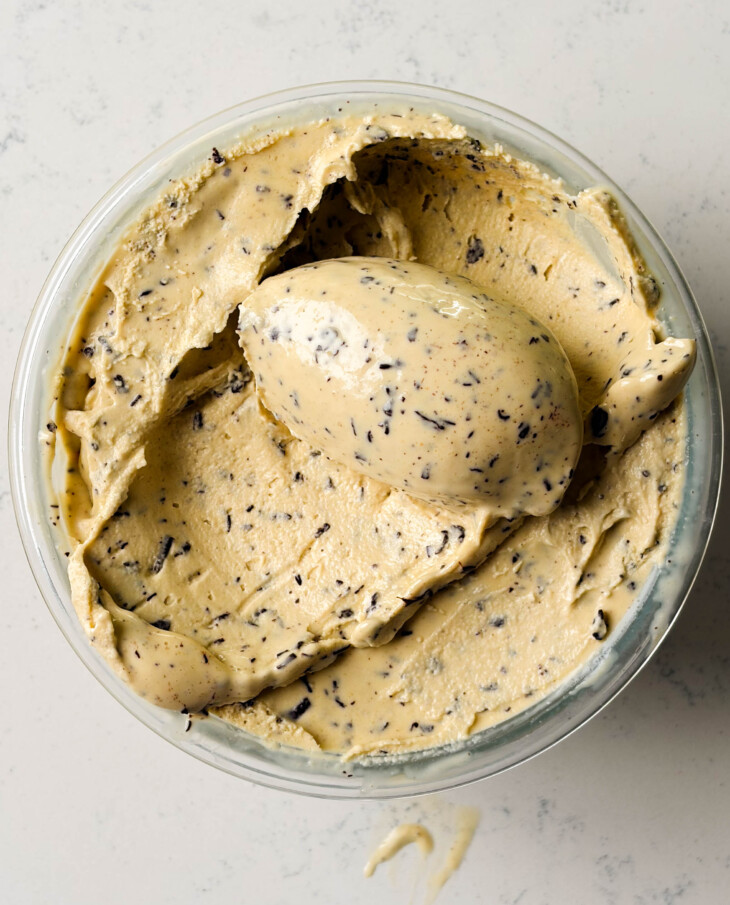
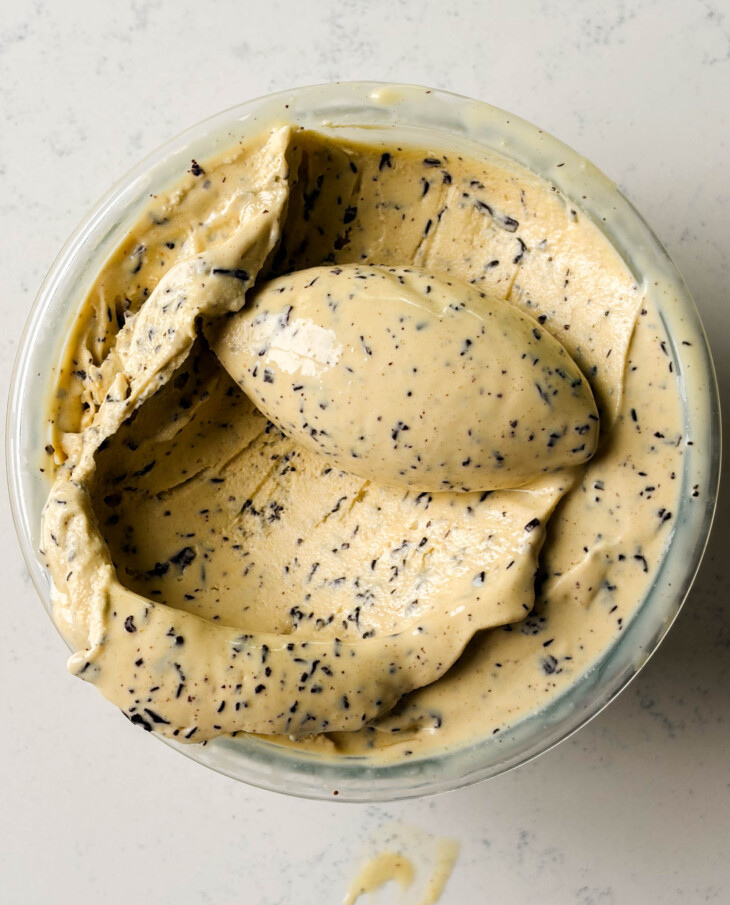
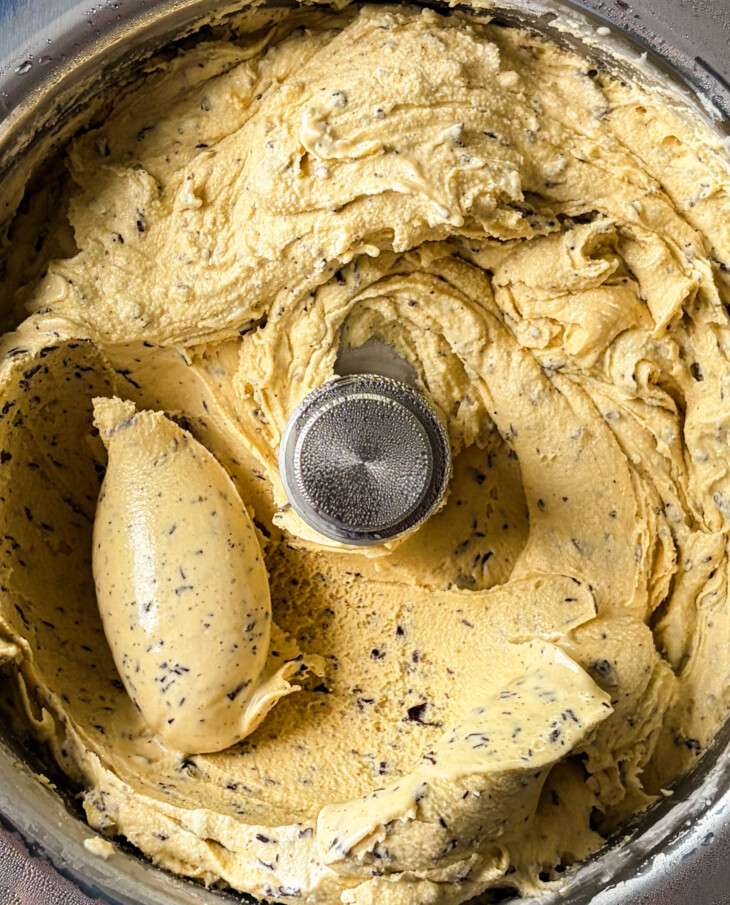
If a peanut butter cup was an ice cream flavor, it would be this salted peanut stracciatella ice cream (which can easily be made dairy-free).
This peanut butter ice cream is kinda like a deconstructed peanut butter cup: salted peanut butter custard ice cream with flecks of bitter dark chocolate. And yes, you read that right: bitter dark chocolate; it balances out the other sweet elements in the ice cream perfectly. It’s a phenomenal ice cream flavor!
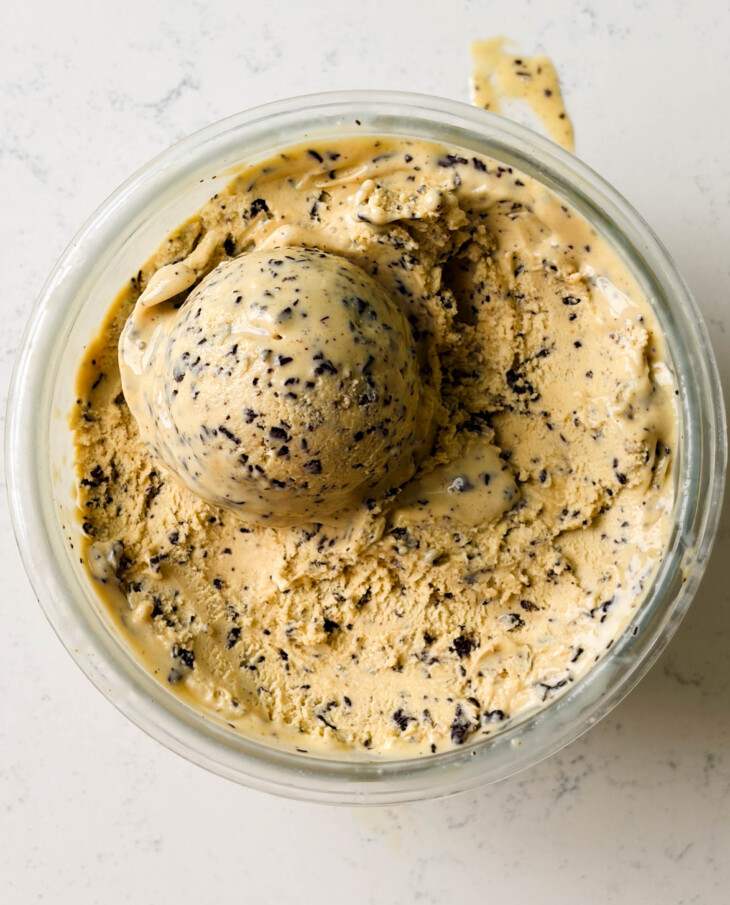
Salted Peanut Stracciatella Ice Cream Ingredients
- Roasted, unsalted peanuts: Roasted unsalted peanuts give you complete control over the amount of salt going into this ice cream. If you can only find salted peanuts, omit the 3/4 tsp of kosher salt, only adding extra salt if needed once the peanut butter is whisked in at the end.
- Egg yolks: The egg yolks in this recipe serve to not only stabilize the ice cream but also give it a super rich and creamy mouthfeel that you just can’t replicate with anything else. Standard large eggs yield ~18g of yolk; however, if you’re using smaller eggs or eggs from the farmer’s market, the yield will vary. So if you really want to get granular, I highly recommend weighing your yolks.
- Heavy cream and milk OR homemade nut milk: This recipe works with both dairy and non-dairy milk/cream. I’ve left two non-dairy options below. If you’re using regular dairy, you’ll need heavy cream and milk.
- Honey: Feel free to swap the honey out for granulated sugar.
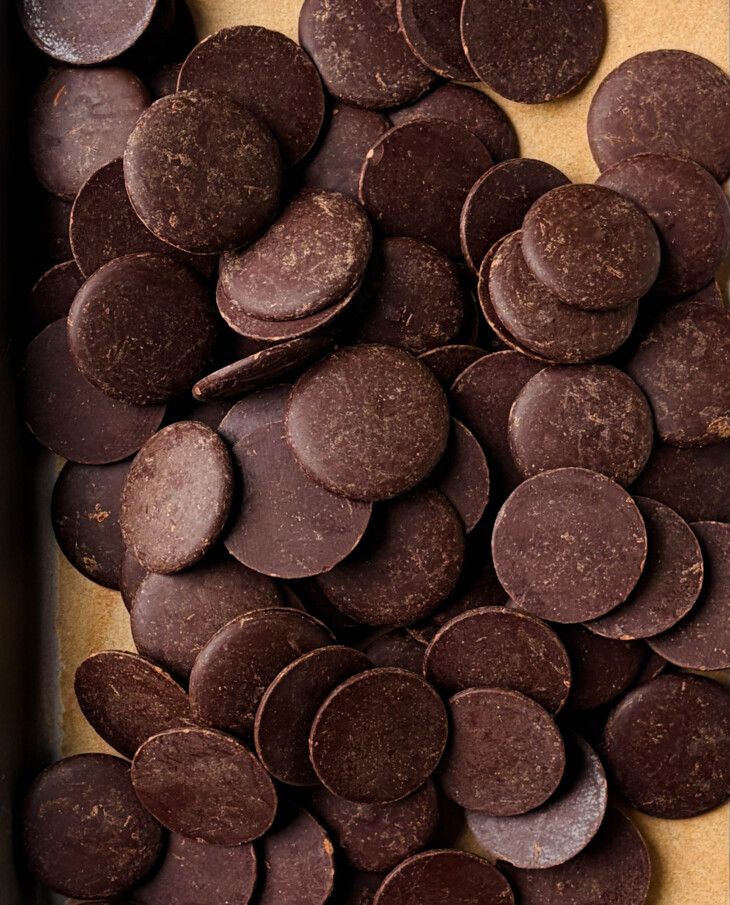
- Dark chocolate: Any unsweetened, 70% cocoa dark chocolate works; however, I’m partial to the Navitas Organics unsweetened cacao wafers. The bitter chocolate balances perfectly with the sweet custard.
- Ground vanilla or vanilla bean paste: Love the ground vanilla from Beyond Good.
- Vanilla extract: This base is a double vanilla custard, which uses both ground vanilla and vanilla extract. I like to add the vanilla extract at the tail end of the custard making process, once it’s been chilled; heat tends to inhibit vanilla extract flavor.
- Kosher salt: Specifically, Diamond Crystal kosher salt. If you’re using Morton kosher salt, reduce the salt by half. Morton is much saltier and denser than Diamond Crystal kosher salt.
Dairy-Free Alternatives
Leaving two dairy-free swaps for this ice cream base — the homemade nut milk alternative is my favorite.
- Make the homemade nut milk by blending 4 cups (910 g) of water with 1 1/2 cups (215 g) of raw, unsalted cashews and 1 cup (140 g) of raw, unsalted almonds on high for 1 minute and 30 seconds or until super creamy and smooth. It’ll yield 760g of milk, which is how much you’ll need to make this recipe. Strain in a nut milk bag and store in a glass jar. It’ll keep well for 5-6 days, so feel free to make this ahead of time.
- Alternatively, swap the heavy cream and milk for equal parts of a store-bought dairy-free heavy cream and milk. Califia heavy cream is my go-to non-dairy heavy cream. For milk, any creamy cashew milk or coconut milk works — such as Elmhurst’s cashew milk, Califia’s coconut milk, or even my homemade house blend milk.
Method
Day One
Peanut Butter
Add the peanut to a food processor (used the Cuisinart 14-cup food processor). Turn the processor on and let it run. The peanut butter will go through 3 phases before it starts forming butter. It’ll go from a flour-like consistency to a wet sand texture, and then it’ll start to clump into a large ball. At this point, stop the processor, scrape it down, and let it run again. Let the butter continue to run – it’ll form a paste and eventually form a smooth but stiff paste after 5ish minutes. Scrape into a jar and set aside.
NOTE: You won’t need the entirety of the butter for this recipe, but you can save leftovers in a jar in the pantry for up to 3 months.
Custard Base
Whisk the egg yolks in a small bowl and set aside.
Add the milk and cream (or homemade nut milk) to a pot, along with the honey, vanilla, and salt. Heat over medium heat until hot to the touch or 120°F.
Scoop about 1/2 cup of the milk mixture out, and, whisking constantly, stream it into the bowl of egg yolks. Repeat this twice more to temper the eggs. Then, whisking the milk mixture constantly, stream in the tempered eggs. Switch to a rubber spatula/large wooden spoon, and stir constantly (I typically stir the mixture every 10 seconds) until it thickens and coats the back of a spoon — temperature should be ~178°F.
Remove the custard from the heat and whisk in 110g of peanut butter (you’ll need to aggressively whisk to incorporate the butter).
Strain the mixture through a fine mesh sieve into a large bowl or pitcher to catch any gritty peanut bits. Then place the custard base in an ice bath, stirring constantly until cool. Once cool, whisk in the vanilla extract. Cover the base with plastic wrap and refrigerate overnight.
Day Two
Churn & Freeze
Melt the cacao wafers and set aside to cool slightly — I like to transfer the melted chocolate to a small measuring pitcher to easily stream it into the ice cream.
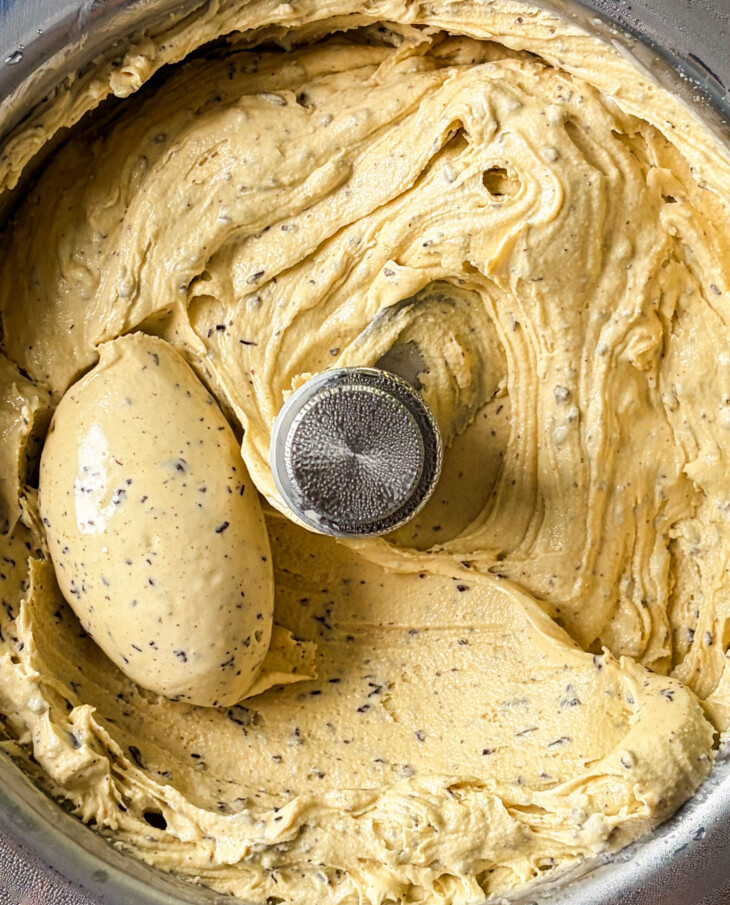
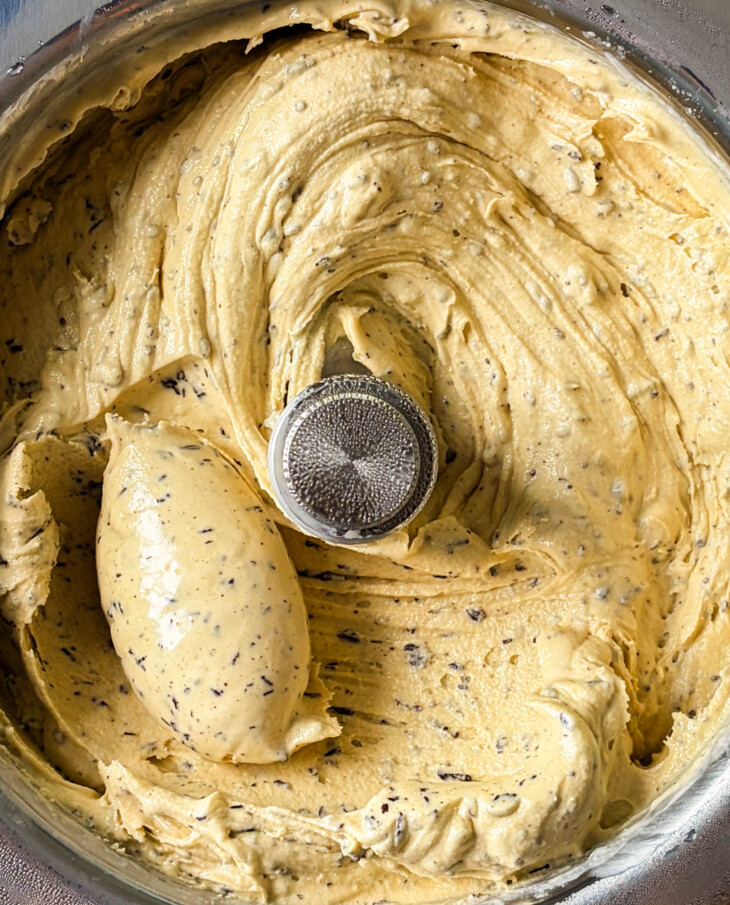
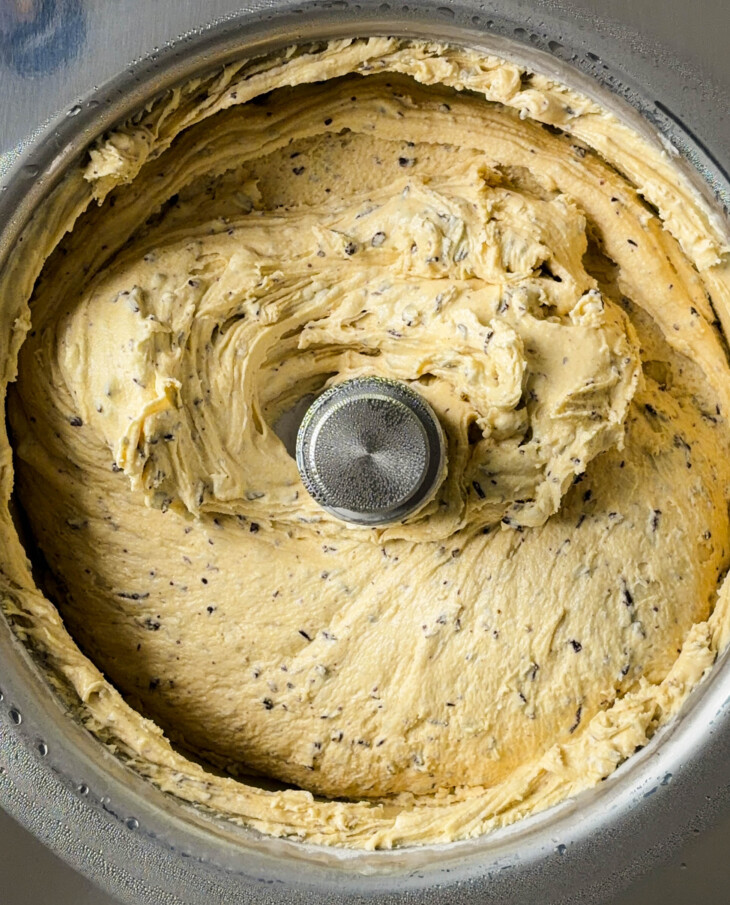
Churn the ice cream as normal, but once it starts to crystallize (about 15 minutes in), start streaming in the chocolate. Keep the chocolate stream thin. Once the chocolate is streamed in, let the ice cream continue to churn for a few more minutes or until done, to break up the chocolate bits further. Typically, I let the ice cream churn an additional 5-8 minutes. Pop the ice cream into your container, cover with a square of parchment paper (this helps prevent crystallization on the top) and let it chill in the fridge for at least 4 hours, ideally overnight.
Notes
- This recipe is a great base if you want to make other nut-based recipes. You can swap the peanuts out for almonds, hazelnuts, pistachios, etc. And infuse the milk with other spices or flavor agents beyond vanilla.
- One thing about the stracciatella is that you need an ice cream maker where the base bowl spins or the blades aren’t exposed. Otherwise, the chocolate will stick to the moving blades, and it’ll be a mess. For example, this doesn’t work with the KitchenAid ice cream bowl. This isn’t a hard rule, though. I do have an alternative solution that works just as well: Melt the chocolate, and using an offset spatula, spread it in a thin layer on a large parchment-lined sheet pan (I use a quarter sheet pan). Freeze, transfer the chocolate to a plastic bag, break the chocolate into tiny shards, and fold into the churned ice cream.
So excited for you to make this recipe – it’s phenomenal! Please leave a starred rating and review; I love hearing your feedback.
Print
Salted Peanut Stracciatella Ice Cream
- Prep Time: 15 minutes
- Chill Time: 24 hours
- Cook Time: 30 minutes
- Total Time: 24 hours 45 minutes
- Yield: 1 quart 1x
- Category: Dessert
Description
This salted peanut stracciatella ice cream is basically a peanut butter cup, but in ice cream form. It’s a sweet salted peanut butter custard base with bits of flaky, bitter dark chocolate.
Ingredients
- 2 cups (244 g) roasted, unsalted peanuts (you’ll need 110 g peanut butter for this recipe)
- 90 g (5 large) egg yolks
- 480 g (2 cups) heavy cream and 300 g (1 ¼ cups) milk OR 760 g (3 ¼ cups) homemade nut milk (see below)*
- 175 g honey (sub with granulated sugar)
- 3/4 tsp kosher salt
- 1/2 tsp ground vanilla or 1 tsp vanilla bean paste
- 1 tsp vanilla extract
- 2 oz or 58 g Navitas Unsweetened Cacao Wafers
Instructions
Day One
Peanut Butter
- Add the peanuts to a food processor (used the Cuisinart 14-cup food processor). Turn the processor on and let it run. The peanut butter will go through 3 phases before it starts forming butter. It’ll go from a flour-like consistency to a wet sand texture, and then it’ll start to clump into a large ball. At this point, stop the processor, scrape it down, and let it run again. Let the butter continue to run – it’ll form a paste and eventually form a smooth but stiff paste after 5ish minutes. Scrape into a jar and set aside. NOTE: You won’t need the entirety of the butter for this recipe, but you can save leftovers in a jar in the pantry for up to 3 months.
Custard Base
- Whisk the egg yolks in a small bowl and set aside.
- Infuse the milk. Add the milk and cream (or homemade nut milk) to a pot, along with the honey, vanilla, and salt. Heat over medium heat until hot to the touch or 120°F.
- Temper the eggs and cook the custard. Scoop about 1/2 cup of the milk mixture out, and, whisking constantly, stream it into the bowl of egg yolks. Repeat this twice more to temper the eggs. Then, whisking the milk mixture constantly, stream in the tempered eggs. Switch to a rubber spatula/large wooden spoon, and stir constantly (I typically stir the mixture every 10 seconds) until it thickens and coats the back of a spoon — temperature should be ~178°F.
- Whisk in the peanut butter. Remove the custard from the heat and whisk in 110g of peanut butter (you’ll need to aggressively whisk to incorporate the butter).
- Strain, ice bath, and cure overnight. Strain the mixture through a fine mesh sieve into a large bowl or pitcher to catch any gritty peanut bits. Then place the custard base in an ice bath, stirring constantly until cool. Once cool, whisk in the vanilla extract. Cover the base with plastic wrap and refrigerate overnight.
Day Two
- Melt the chocolate. Melt the cacao wafers and set aside to cool slightly — I like to transfer the melted chocolate to a small measuring pitcher to easily stream it into the ice cream.
- Churn, stream in the chocolate, freeze. Churn the ice cream as normal, but once it starts to crystallize (about 15 minutes in), start streaming in the chocolate. Keep the chocolate stream thin. Once the chocolate is streamed in, let the ice cream continue to churn for a few more minutes or until done, to break up the chocolate bits further. Typically, I let the ice cream churn an additional 5-8 minutes. Pop the ice cream into your container, cover with a square of parchment paper (this helps prevent crystallization on the top) and let it chill in the fridge for at least 4 hours, ideally overnight.
Notes
*Make the homemade nut milk by blending 910 g of water with 215 g of raw cashews and 140 g of raw almonds. Start on low and ramp up the speed to 8 (or high) on your Vitamix, blending for 2 minutes total. Strain in a nut milk bag and store in a glass jar. It’ll keep well for 5-6 days, so feel free to make this ahead of time.
One thing about the stracciatella is that you need an ice cream maker where the base bowl spins or the blades aren’t exposed. Otherwise, the chocolate will stick to the moving blades, and it’ll be a mess. For example, this doesn’t work with the KitchenAid ice cream bowl. This isn’t a hard rule, though. I do have an alternative solution that works just as well: Melt the chocolate, and using an offset spatula, spread it in a thin layer on a large parchment-lined sheet pan (I use a quarter sheet pan). Freeze, transfer the chocolate to a plastic bag, break the chocolate into tiny shards, and fold into the churned ice cream.
I’ve been searching for tried-and-true ice cream that my family and I love—this peanut butter stracciatella is amazing!! Not only is this ice cream a repeat recipe, but so are the other ice cream recipes Mariyah has created.
Personally, I love the nut milk recipe and substitution—it doesn’t compromise the flavors, and the ice cream is still creamy. There is no lack; it’s the perfect substitute.
My family has been enjoying each batch of ice cream I’ve made. It’s perfect for the summer but made with great ingredients—which is most important to me.
Definitely give this recipe a try! You won’t regret it!
Made my day reading this, thank you SO much!!
HI, is there an option to not cook the cream, just the milk and add the cream later after you strain into the ice bath? Wondering if cooking the cream takes away from some of the yummy fat content?