

 by
by 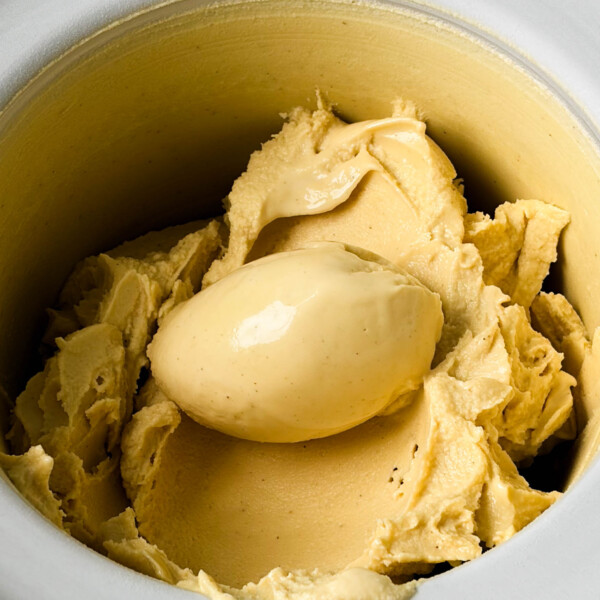
Consider this custard ice cream 101: covering ingredient function, equipment, method, etc. I wanted to give you a solid base recipe to riff on to create any number of flavors and combinations.
I’ve also included a dairy-free version of this ice cream base, using both homemade nut milk and store-bought milks/creams depending on your preference.
Custard Ice Cream 101
Custard ice cream or French-style ice cream uses cream, milk, sugar, and eggs. A combination that yields a silky, luxurious, and perfectly balanced ice cream in both mouthfeel and flavor.
In short, the milk, cream, sugar, salt, and any added flavor agents (such as spices, vanilla, etc.) are heated to infuse the cream. The eggs are tempered into the mixture and cooked to a custard stage, and then chilled in an ice bath. The base is cured overnight to allow the flavors to meld together, then churned the following day.
Personally, custard-style ice cream is my favorite; it’s what I grew up eating and making!
Equipment & Tools
- Digital scale: Highly recommend sticking with metric measurements for this base for best results.
- Ice cream machine (at least 1.5 QT capacity): Cuisinart’s ice cream machine and the KitchenAid ice cream bowl attachment are both great freezer-bowl style ice cream machines. Compressor-style ice cream machines like Breville or the Lello Lussino ice cream machine are absolutely wonderful as well. You don’t need to freeze a bowl; the machine has a built-in compressor that freezes the ice cream as it churns.
- Large pot with a handle: you’ll need a pot that’s at least 2 QT or bigger.
- Large mixing bowl: for the ice bath.
- Fine mesh strainer
- Heatproof 4-cup+ measuring cup or similar: a Pyrex measuring cup or similar works great. I love keeping the base in a large measuring cup — it makes it easy to pour into the ice cream machine later.
- Whisk: for mixing and tempering the eggs.
- Flexible rubber spatula: for stirring the base as it cooks.
- Measuring cup or similar: for tempering the eggs.
- Measuring teaspoons: for vanilla, salt, etc.
Custard Ice Cream Base Ingredients
I do want to note that good quality ingredients do make a difference, especially in ice cream.
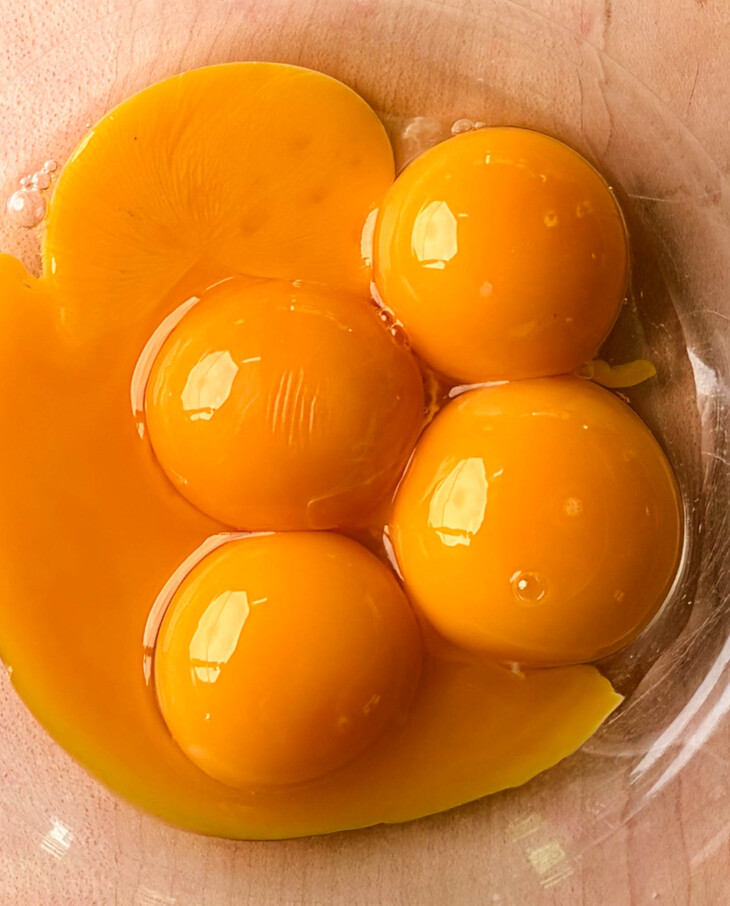
- Egg yolks: The standard for egg yolk size is typically large eggs, which yields an 18g yolk. For the sake of accuracy, I weigh every ingredient, including the yolks; there will always be a discrepancy. Especially if you’re using farmer’s market eggs that aren’t sorted for size. Additionally, I wanted to note that duck egg yolks also work amazingly (in my opinion, they’re even better). Keep in mind that duck eggs are significantly richer than chicken eggs and will yield a very rich custard. Additionally, because duck yolks are large, you may just need 2-3 yolks total instead of 5 yolks.
- Heavy cream and milk: Most ice cream bases use a mix of both heavy cream and milk; heavy cream alone yields a cloying, too-rich-to enjoy ice cream. The milk helps cut some of the fat and yields the perfect balance of richness, flavor, and mouthfeel. Leaving two dairy-free swaps for the heavy cream and milk below.
- Granulated sugar or honey: Feel free to use either granulated cane sugar or honey for this ice cream base; both work great. Because honey doesn’t crystallize and harden when frozen, there’s less chance of crystallization happening to the finished ice cream. Which is why I’m partial to the honey version. I strongly recommend using a light floral honey (like clover, wildflower, etc.) to ensure the honey doesn’t overpower other flavors in the ice cream.
- Diamond Crystal kosher salt: No dessert is complete without salt; it amplifies flavor so well.
Dairy-Free Alternatives
Leaving two dairy-free swaps for this ice cream base — the homemade nut milk alternative is my favorite.
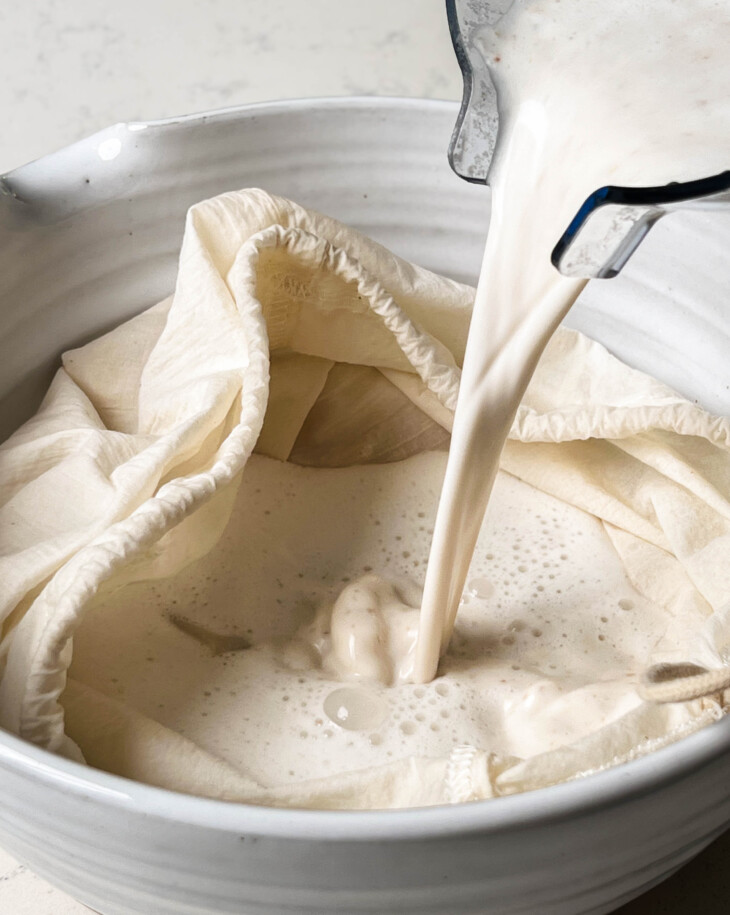
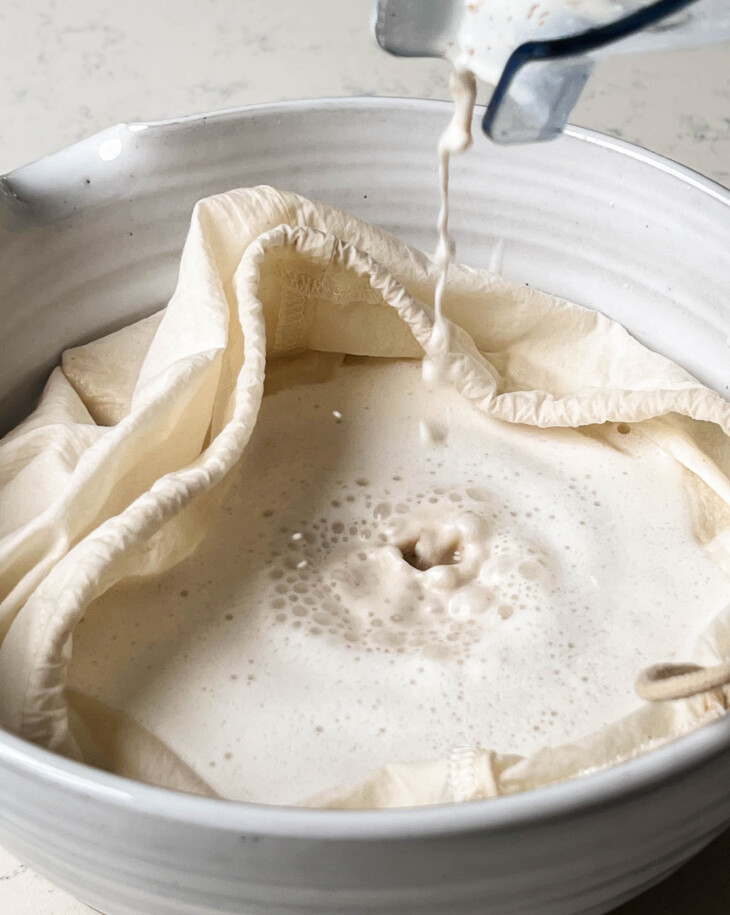
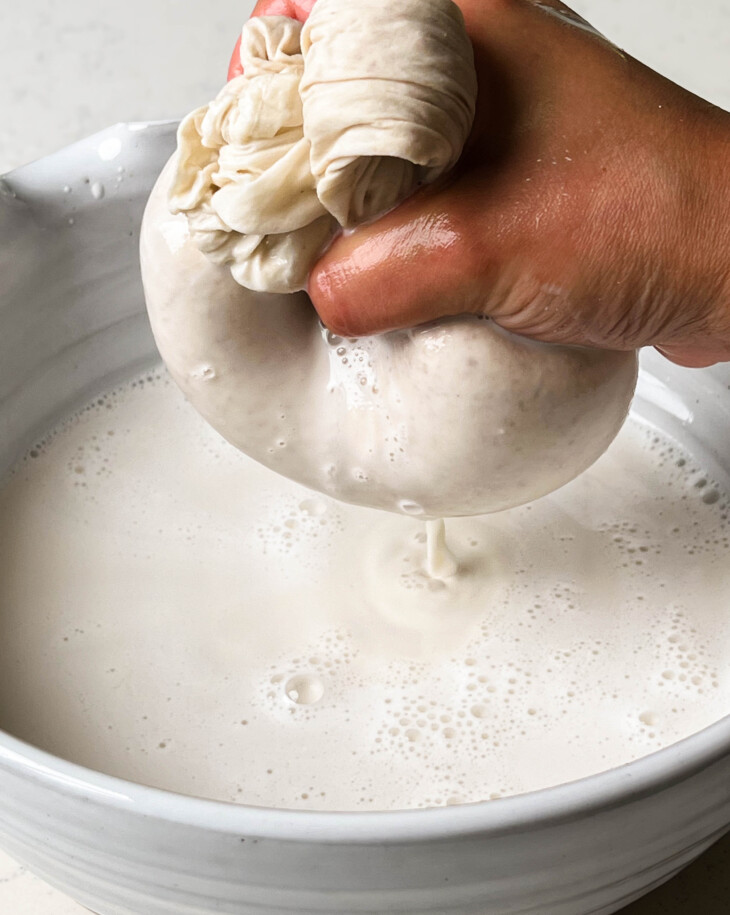
- Make the homemade nut milk by blending 4 cups (910 g) of water with 1 1/2 cups (215 g) of raw, unsalted cashews and 1 cup (140 g) of raw, unsalted almonds on high for 1 minute and 30 seconds or until super creamy and smooth. Strain in a nut milk bag and store in a glass jar. It’ll keep well for 5-6 days, so feel free to make this ahead of time.
- Alternatively, swap the heavy cream and milk for equal parts of a store-bought dairy-free heavy cream and milk. Califia heavy cream is my go-to non-dairy heavy cream. For milk, any creamy cashew milk or coconut milk works — such as Elmhurst’s cashew milk, Califia’s coconut milk, or even my homemade house blend milk.
Stabilizers
I don’t use guar gum or locust bean gum in my custard-style ice cream base, simply because I don’t feel like there’s a need (egg yolks act as a stabilizer already). However, stabilizers play an important role in ice cream texture and how it freezes. This is especially helpful in eggless ice cream bases like Philadelphia-style ice cream.
Method
Day One
Prep the eggs: 90g or 5 large egg yolks) Whisk the egg yolks in a small bowl and set aside.
Infuse the cream: (480g heavy cream + 300g milk or non-dairy alternative, 150g honey or 100g granulated cane sugar, 1/2 tsp kosher salt) Add the milk and cream (or homemade nut milk) to a pot, along with the honey or sugar and salt. Heat over medium heat until hot to the touch or 120°F. NOTE: Before heating the milk and cream mixture, add flavor agents like crushed cardamom pods, cinnamon sticks, ground vanilla, etc. I like to add extract, such as almond, vanilla, mint, etc., at the end of the process, once the custard has chilled in the ice bath, since heat inhibits a lot of extracts’ flavor.
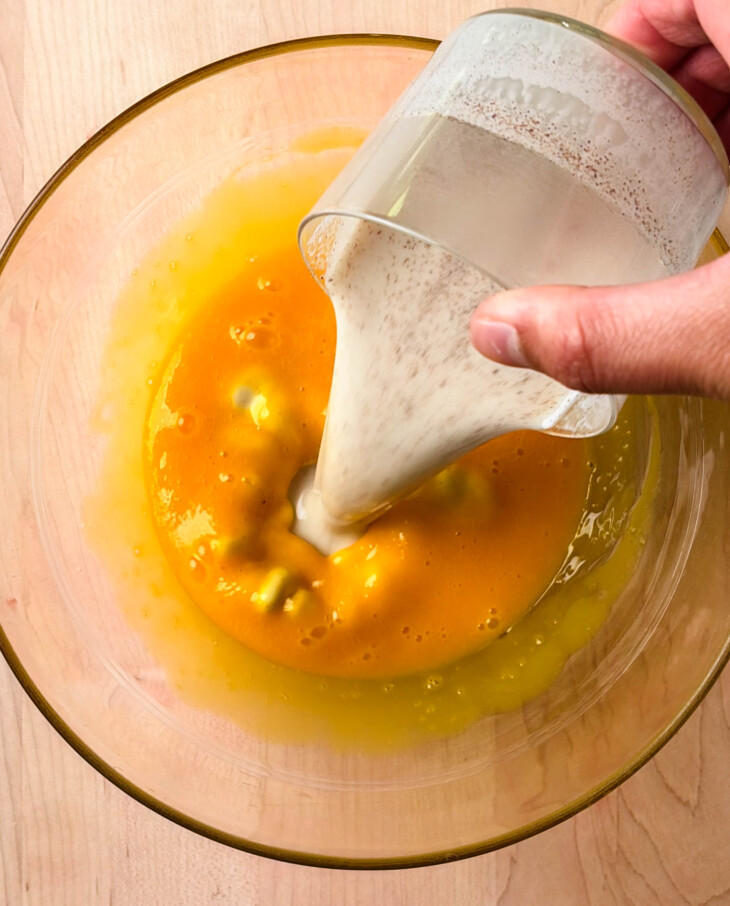
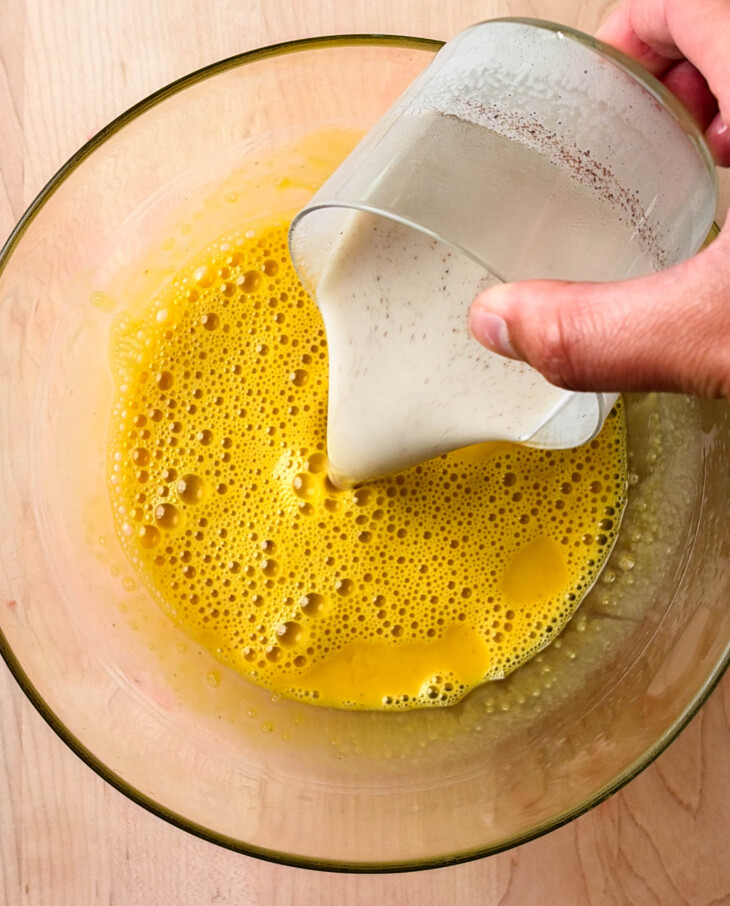
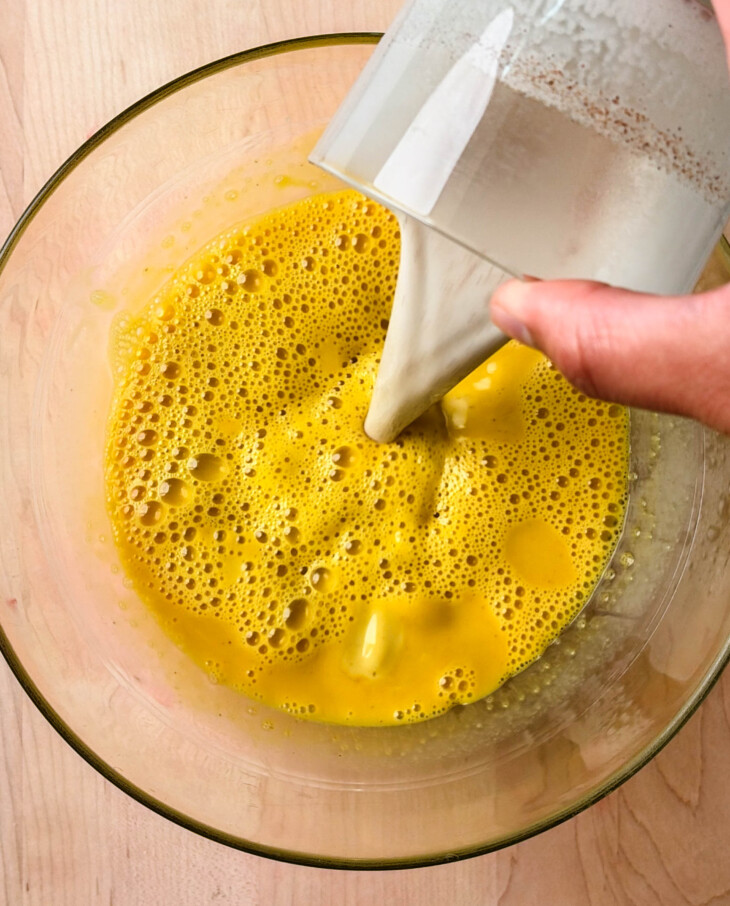
Temper the eggs and cook the custard: Scoop about 1/2 cup of the milk mixture out, and, whisking constantly, stream it into the bowl of egg yolks. Repeat this twice more to temper the eggs. Then, whisking the milk mixture constantly, stream in the tempered eggs. Switch to a rubber spatula/large wooden spoon, and stir constantly (I typically stir the mixture every 10 seconds) until it thickens and coats the back of a spoon — temperature should be ~178°F.
Strain and chill: Strain the mixture through a fine mesh sieve into a large bowl or pitcher to catch any egg white bits. Then place the custard base in an ice bath, stirring constantly until cool. Cover the base with plastic wrap and refrigerate overnight to cure. NOTE: Once the custard has cooled, add any extracts you want, such as vanilla extract, almond, mint, etc.
Day Two
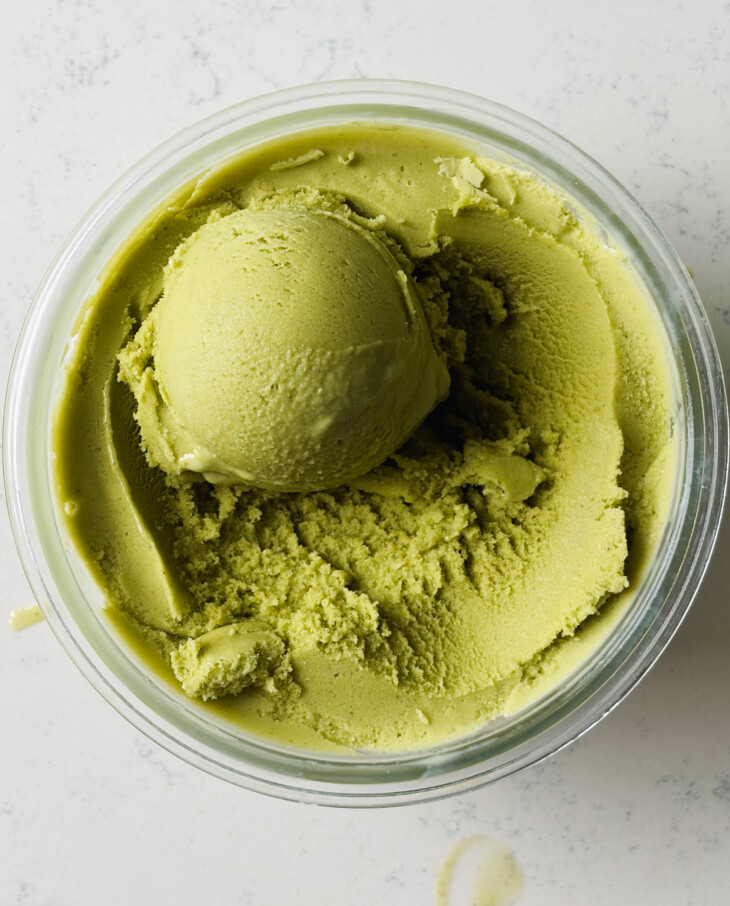
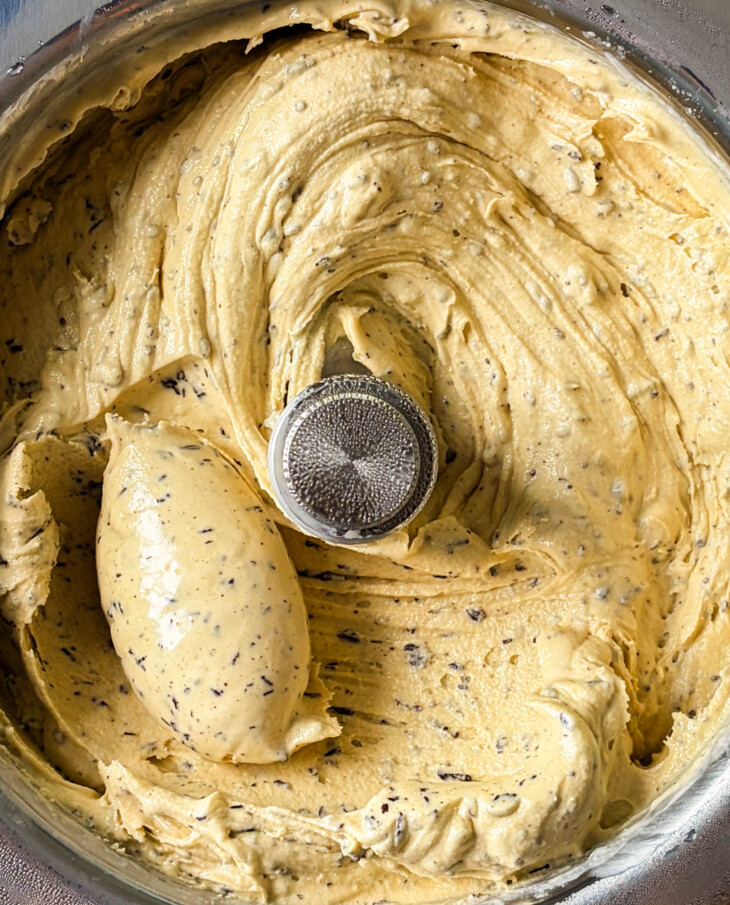
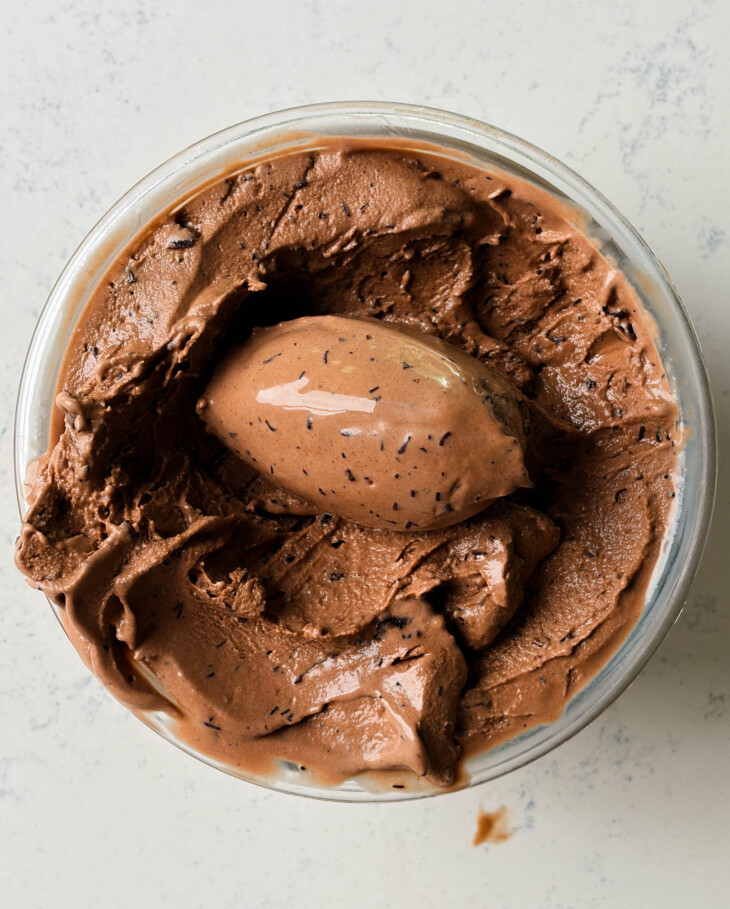
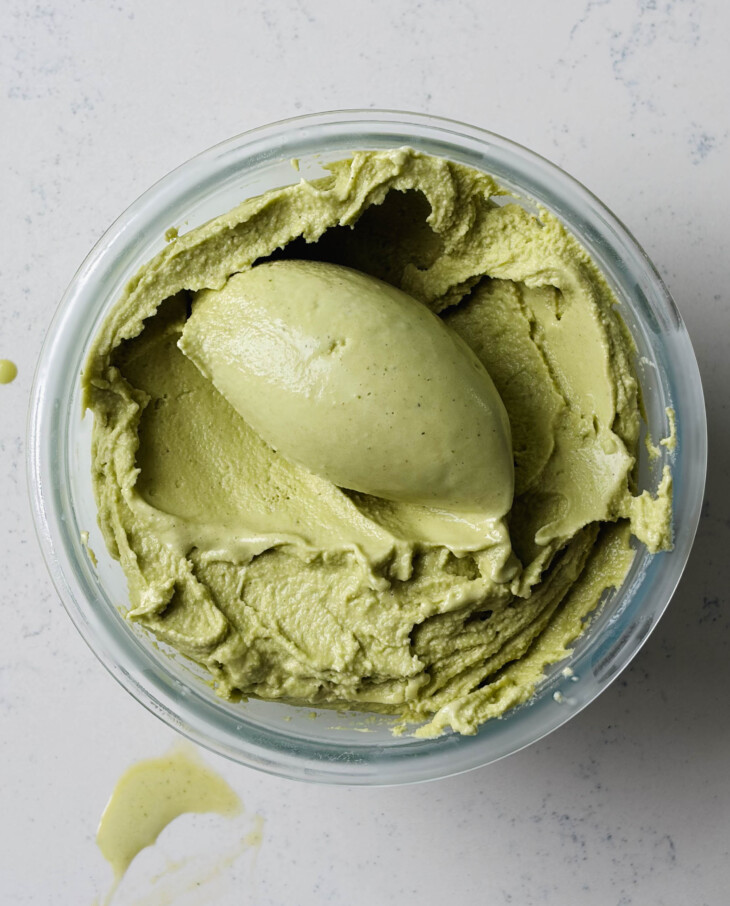
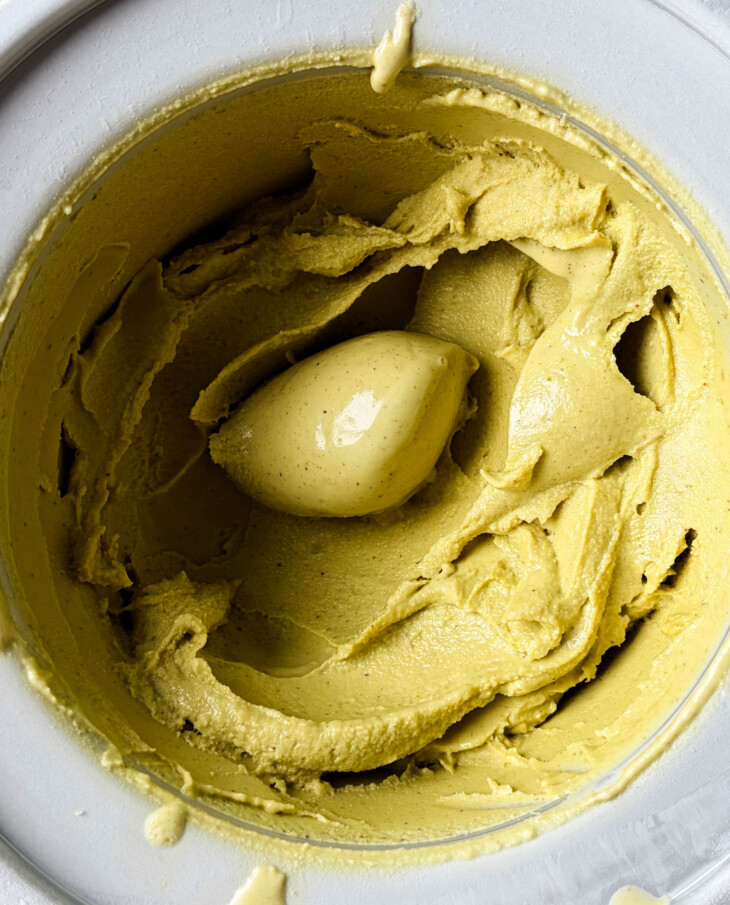
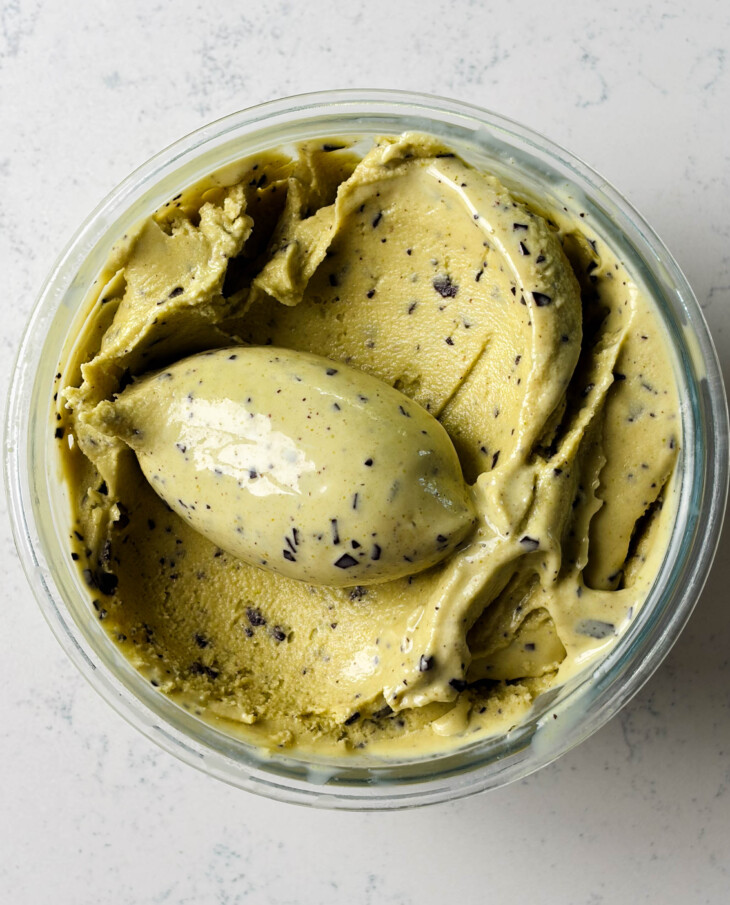
Churn and freeze: Pour the chilled base into your ice cream bowl and churn according to the manufacturer’s instructions. Mine takes about 20 minutes to churn up – it should be the consistency of soft serve. Pop the ice cream into your container (I like to freeze the container ahead of time), place a parchment round on top (this helps prevent crystallization), and freeze for at least 4 hours, ideally overnight.
Custard Ice Cream Reference Recipes
Linking a few flavors below that are great reference recipes. You can find all my ice cream recipes here too.
- Infusion-based ice cream – Double Vanilla Bean Ice Cream: A great recipe to use as a jumping-off point for other spices or flavor agents, such as cardamom, cinnamon, pumpkin spice, masala chai, etc.
- Herby ice cream – Basil Ice Cream: This is a great recipe that you can cross-reference if you want to use the whole leaf of an herb and blend it into the custard. Or you can simply steep the herbs in the custard during the cooking process and discard them before the ice bath.
- Fruit-based ice cream – Strawberry Crisp Vanilla Ice Cream: This is a great base to use as a jumping-off point if you want to ripple in fruit puree/compote into your ice cream.
- Nut-based ice cream – Cardamom Pistachio Ice Cream: This is a great example of infusing spices into the custard base as well as my favorite way to incorporate nutty flavors (like pistachio, almond, hazelnut, etc.) into ice cream.
- Stracciatella ice cream – Salted Peanut Stracciatella Ice Cream: This is more so a technique, but it’s my favorite way to incorporate chocolate bits into ice cream for peak texture.
Leave any further questions below — happy ice cream making!
Print
Custard Ice Cream Base
- Prep Time: 15 minutes
- Chill Time: 24 hours
- Cook Time: 15 minutes
- Total Time: 24 hours 30 minutes
- Yield: 1 quart 1x
- Category: Dessert
Description
A solid custard-style ice cream base recipe that’s a great jumping-off point for various flavors. Note that this is a base recipe; you’ll need to add flavor agents or riff off this to turn it into a proper ice cream flavor.
Ingredients
- 90 g (5 large) egg yolks
- 480 g (2 cups) heavy cream and 300 g (1 ¼ cups) milk OR 760 g (3 ¼ cups) homemade nut milk (see notes for dairy alternative)
- 150 g (1/2 cup) honey or 100 g (1/2 cup) granulated cane sugar
- 1/2 tsp Diamond Crystal kosher salt
Instructions
Day One
- Prep the eggs. Whisk the egg yolks in a small bowl and set aside.
- Infuse the cream. Add the milk and cream (or homemade nut milk) to a pot, along with the honey or sugar and salt. Heat over medium heat until hot to the touch or 120°F. NOTE: Before heating the milk and cream mixture, add flavor agents like crushed cardamom pods, cinnamon sticks, ground vanilla, etc. I like to add extract, such as almond, vanilla, mint, etc., at the end of the process, once the custard has chilled in the ice bath, since heat inhibits a lot of extracts’ flavor.
- Temper the eggs and cook the custard. Scoop about 1/2 cup of the milk mixture out, and, whisking constantly, stream it into the bowl of egg yolks. Repeat this twice more to temper the eggs. Then, whisking the milk mixture constantly, stream in the tempered eggs. Switch to a rubber spatula/large wooden spoon, and stir constantly (I typically stir the mixture every 10 seconds) until it thickens and coats the back of a spoon — temperature should be ~178°F.
- Strain and chill. Strain the mixture through a fine mesh sieve into a large bowl or pitcher to catch any egg white bits. Then place the custard base in an ice bath, stirring constantly until cool. Cover the base with plastic wrap and refrigerate overnight to cure. NOTE: Once the custard has cooled, add any extracts you want, such as vanilla extract, almond, mint, etc.
Day Two
- Churn and freeze: Pour the chilled base into your ice cream bowl and churn according to the manufacturer’s instructions. Mine takes about 20 minutes to churn up – it should be the consistency of soft serve. Pop the ice cream into your container (I like to freeze the container ahead of time), place a parchment round on top (this helps prevent crystallization), and freeze for at least 4 hours, ideally overnight.
Notes
Make the homemade nut milk by blending 4 cups (910 g) of water with 1 1/2 cups (215 g) of raw, unsalted cashews and 1 cup (140 g) of raw, unsalted almonds on high for 1 minute and 30 seconds or until super creamy and smooth. Strain in a nut milk bag and store in a glass jar. It’ll keep well for 5-6 days, so feel free to make this ahead of time.
Alternatively, swap the heavy cream and milk for equal parts of a store-bought dairy-free heavy cream and milk. Califia heavy cream is my go-to non-dairy heavy cream. For milk, any creamy cashew milk or coconut milk works — such as Elmhurst’s cashew milk, Califia’s coconut milk, or even my homemade house blend milk.
I’ve been looking for an ice cream recipe that’s refined sugar free. I’ve also tested out so many recipes so far including David Lebovitz’s vanilla ice cream recipe. 100% this beats all of them by far. Thank you so much for sharing xx
Omg made my day reading this, thank you so much!!
Hi! This looks amazing. Could it be made using a Ninja creami?
Hi,
For add-ins, what would be the ratio. For example, if I wanted to make a mango ice cream, how much purée should I put in. Thank you!