

 by
by 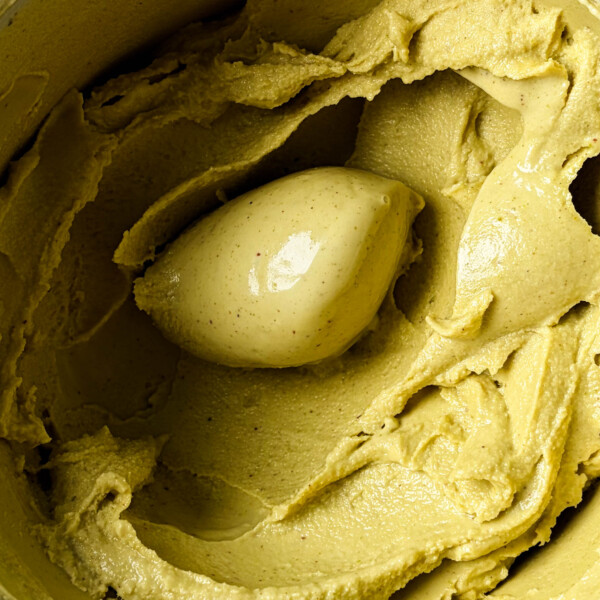
I don’t like to play favorites, but this dairy-free homemade cardamom pistachio ice cream is by far my favorite ice cream flavor. And frankly, you can’t go wrong with anything pistachio-flavored.
This ice cream is made with a custard base, making it perfectly creamy and rich, without being too heavy/cloying. Plus, the combo of cardamom, pistachio, and honey gives this ice cream the perfect blend of sweet nuttiness and spice. I can’t heap enough praise on this ice cream, it’s absolutely phenomenal!
Did I mention that this ice cream is dairy-free and refined sugar-free? I used homemade nut milk for the base and sweetened it with honey. However, I also included regular dairy ingredients and honey substitutes so anyone can make this regardless of dietary preferences.
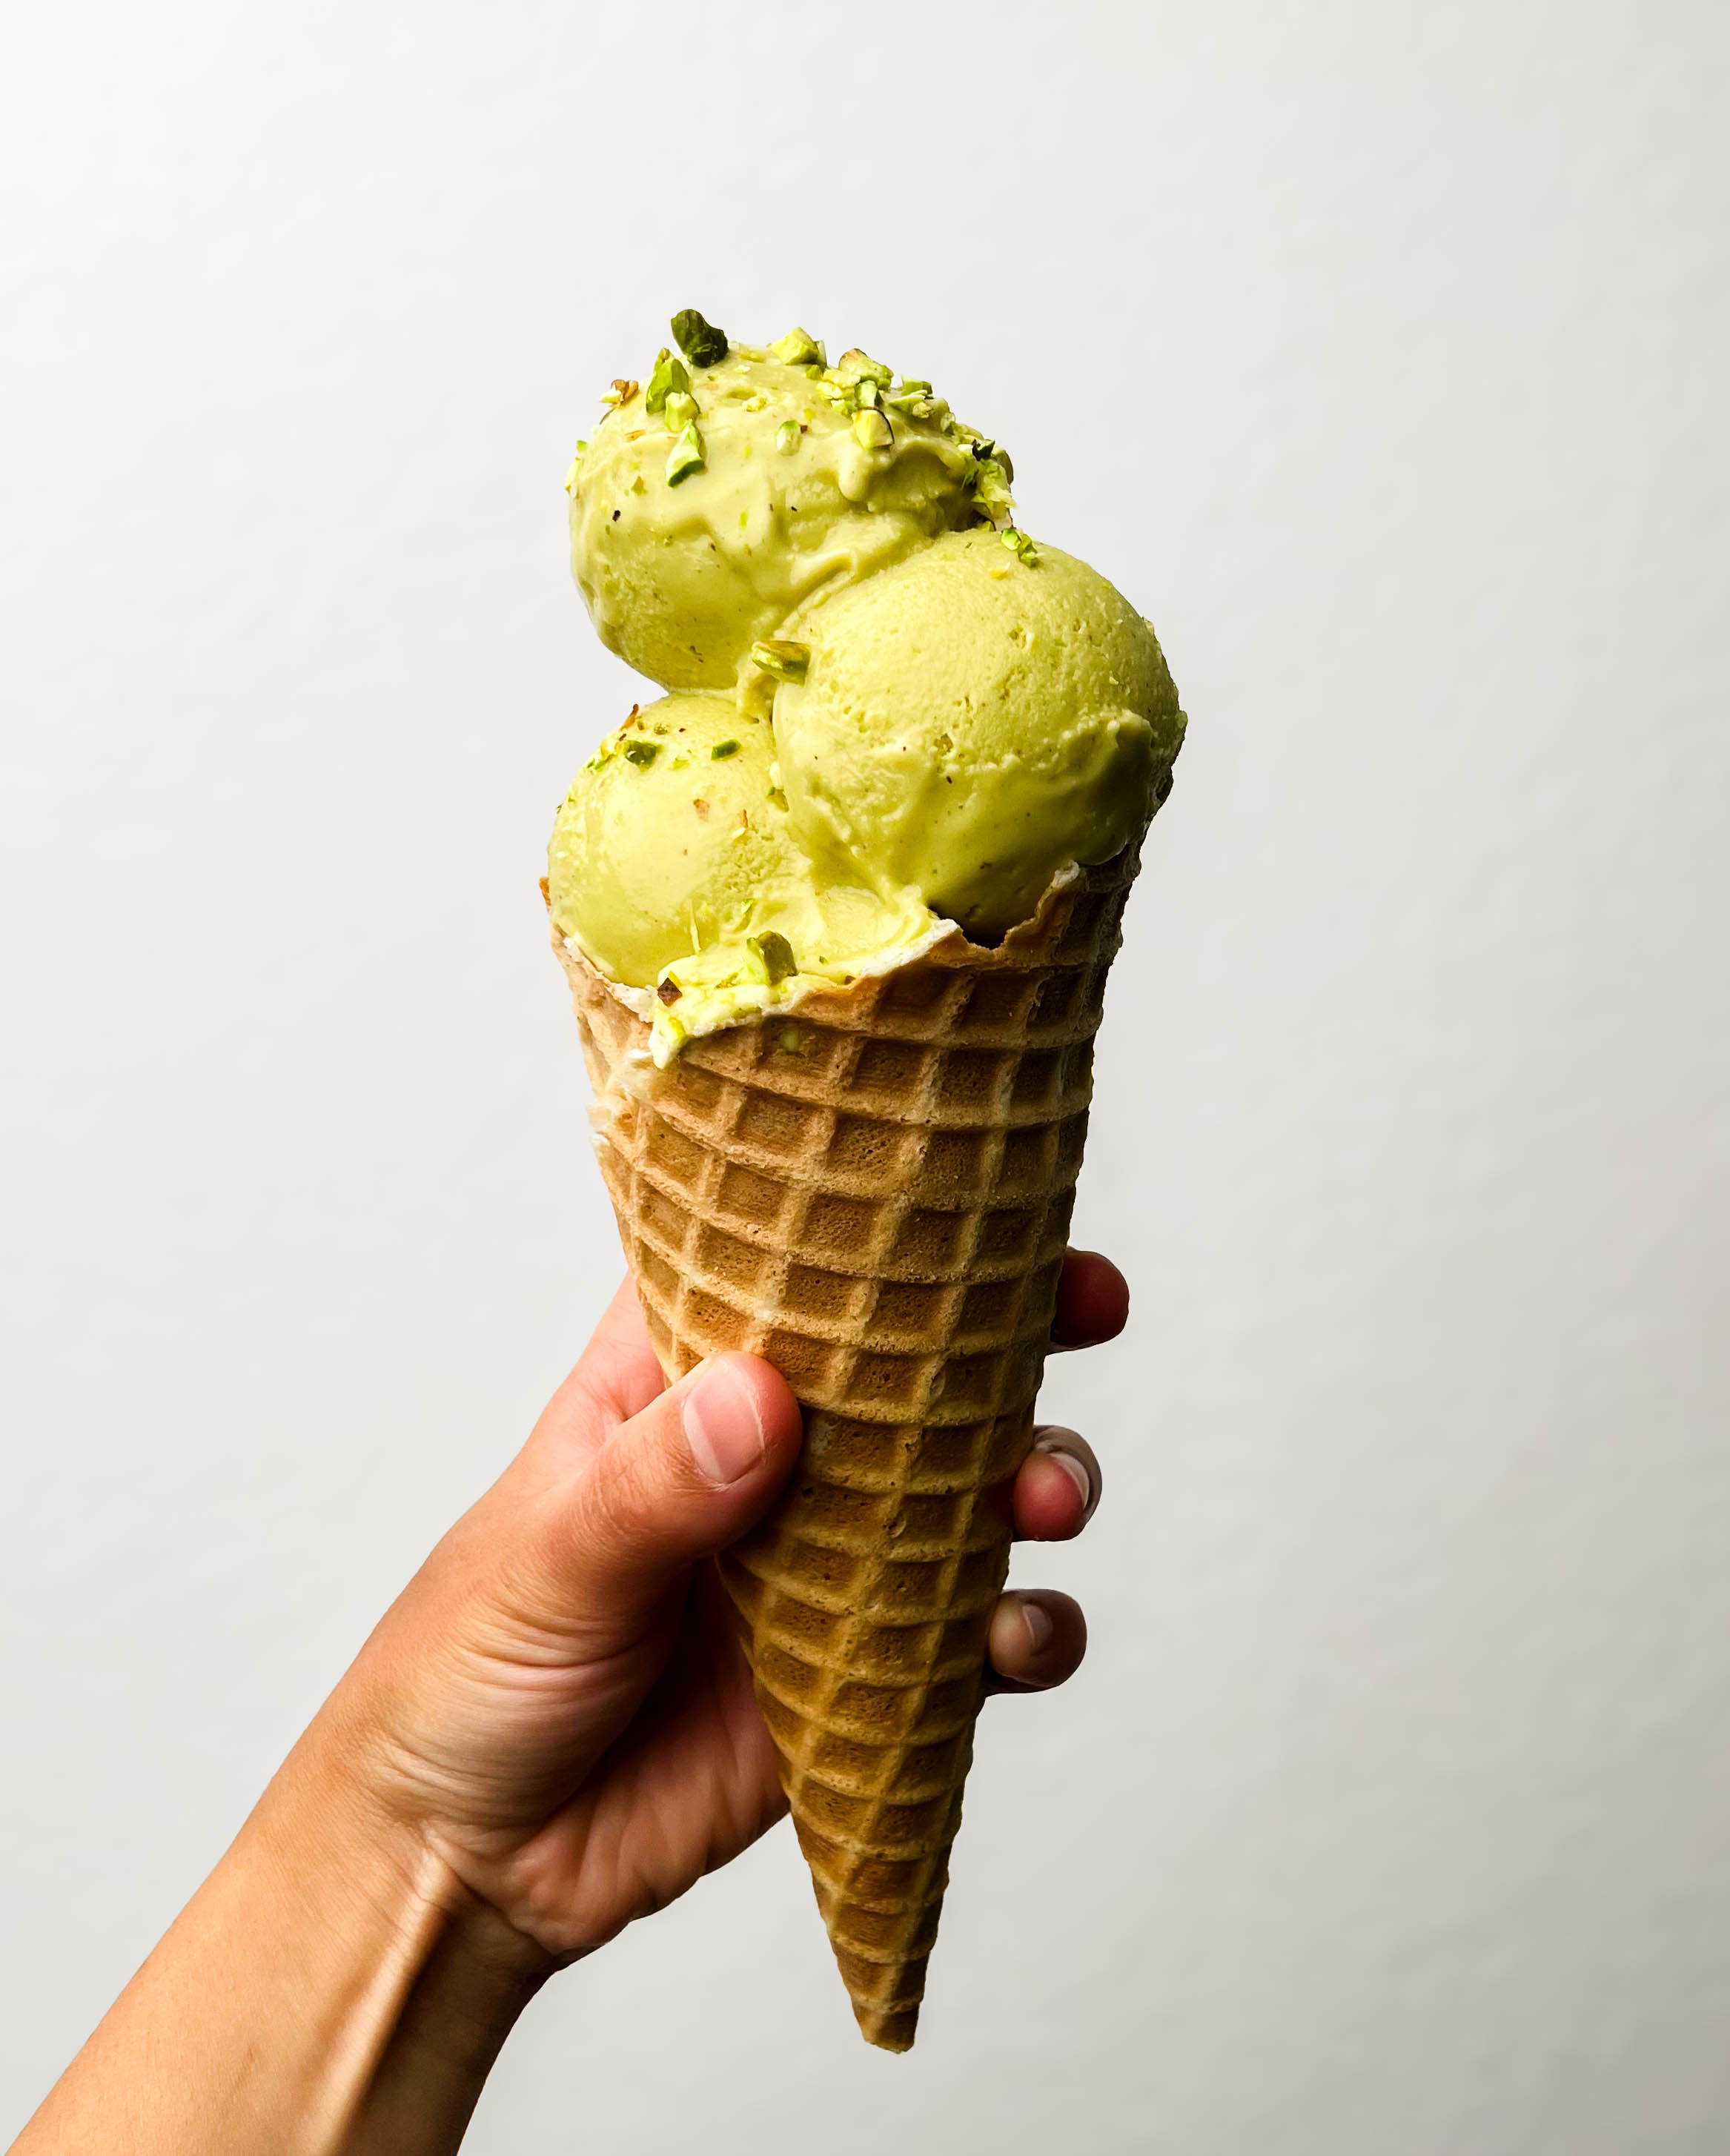
Enjoy this on its own, in a cone, or make an affogato with this (pistachio affogato anyone?). This homemade cardamom pistachio ice cream will be your summer dessert fixation!
HOT TIP: for the best cones, go to your local ice cream shop and buy some cones on the side. They’re so much better than grocery store cones!!
Ingredients for the BEST Pistachio Ice Cream
- Raw shelled pistachios (also called nutmeats): I swear by the raw pistachios from Trader Joe’s – they’re the best for making pistachio butter, especially if you want that bright green color.
- Egg yolks: The egg yolks in this recipe serve to not only stabilize the ice cream but also give it a super rich and creamy mouthfeel that you just can’t replicate with anything else. Standard large eggs yield ~18g of yolk; however, if you’re using smaller eggs or eggs from the farmer’s market, the yield will vary. So if you really want to get granular, I highly recommend weighing your yolks.
- Homemade nut milk: A high-fat creamy homemade nut milk is the key to getting this dairy-free pistachio ice cream to taste like it was made with dairy. To replicate the combo of milk and cream that’s used in traditional ice cream, I used a combo of cashews and almonds in my milk-cream hybrid. The creaminess of the cashews perfectly replicates the richness of heavy creamy, while the almonds add protein and structure that you would normally get from 2% milk. This recipe works with both dairy and non-dairy milk/cream. I’ve left detailed instructions in the recipe card for the homemade nut milk I use for this recipe. If you’re using regular dairy, you’ll need heavy cream and milk.
- Honey: I firmly believe that honey, cardamom, and pistachio is a flavor pairing made in heaven. However, feel free to swap the honey out for granulated sugar.
- Cardamom pods
- Ground vanilla or vanilla bean paste: This is completely optional.
- Kosher salt: Specifically, Diamond Crystal kosher salt. If you’re using Morton kosher salt, reduce the salt by half. Morton is much saltier and denser than Diamond Crystal kosher salt.
How to Make Homemade Pistachio Ice Cream
Homemade Nut Milk
Make the homemade nut milk by blending 910 g of water with 215 g of raw cashews and 140 g of raw almonds. Start on low and ramp up the speed to 8 (or high) on your Vitamix, blending for 2 minutes total. Strain in a nut milk bag and store in a glass jar. It’ll keep well for 5-6 days, so feel free to make this ahead of time.
Pistachio Butter
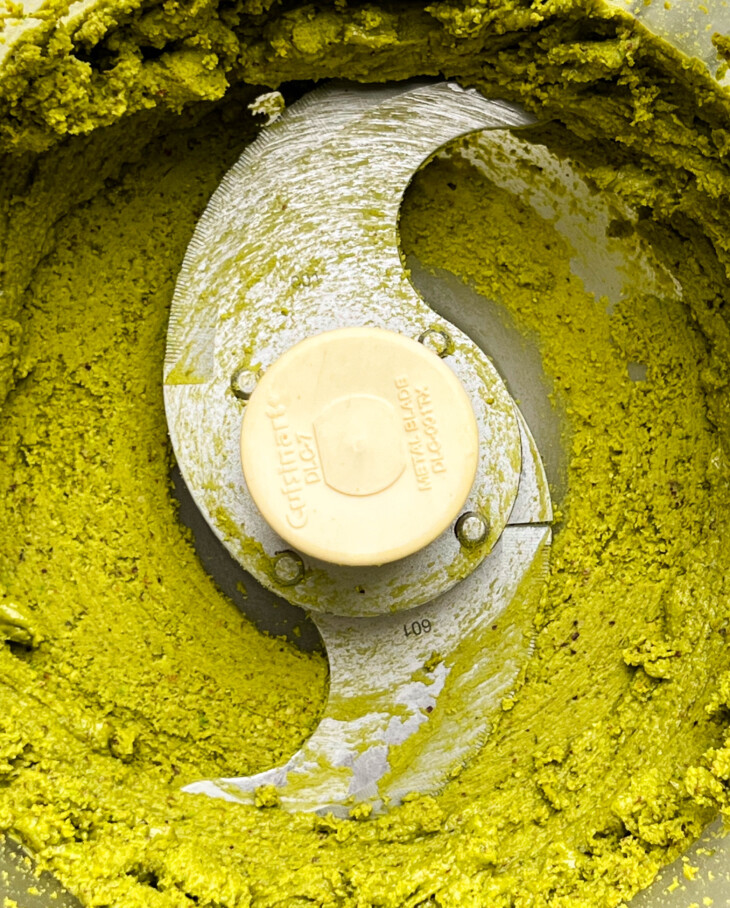
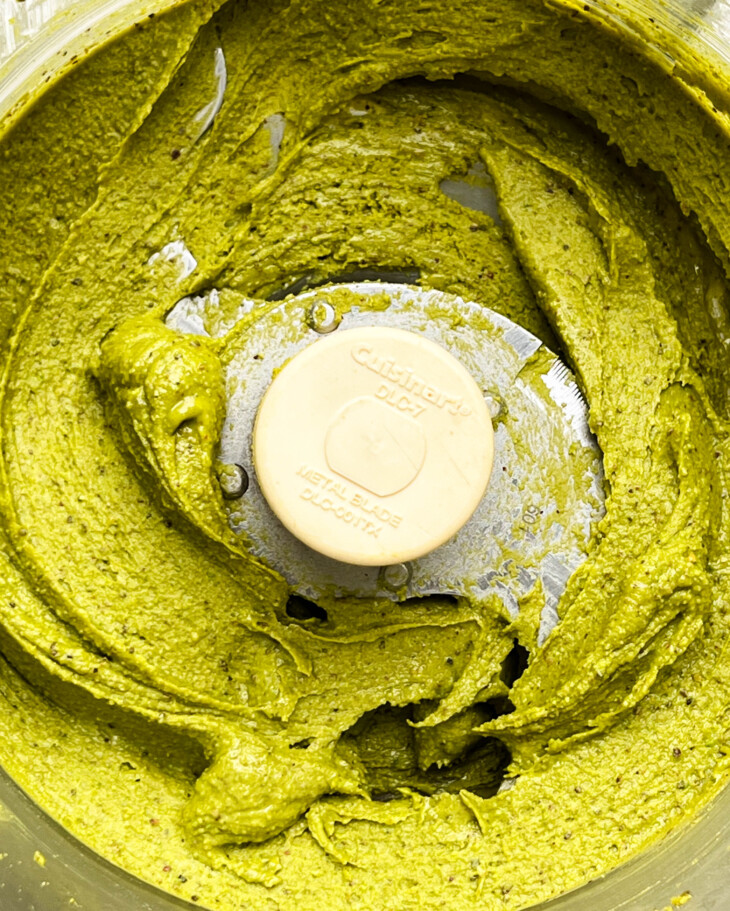
Add the pistachios to a food processor (used the Cuisinart 14-cup food processor). Turn the processor on and let it run. NOTE: I like to add double the pistachios because the processor runs better with more volume. You can save the butter for 3 months and make ice cream again – you’ll want to. The pistachio butter will go through 3 phases before it starts forming butter. It’ll go from a flour-like consistency to a wet sand texture, and then it’ll start to clump into a large ball. At this point, stop the processor, scrape it down, and let it run again. Let the butter continue to run – it’ll form a paste and eventually form a smooth but stiff paste after 10ish minutes. Scrape into a jar and store in the pantry.

Custard Base
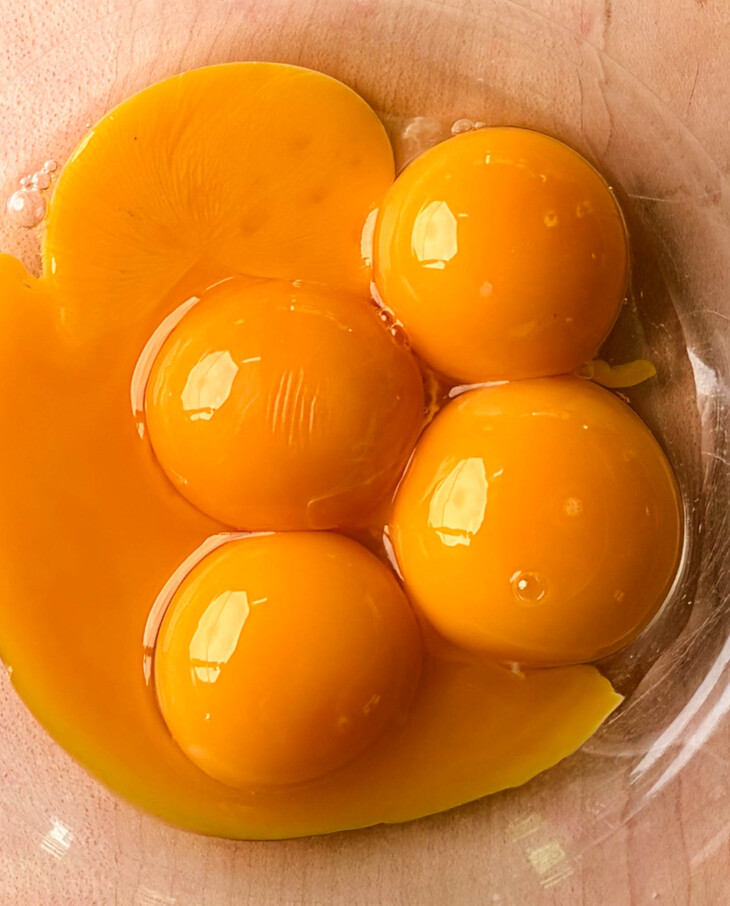
Whisk the egg yolks in a small bowl and set aside.
Add the milk and cream (or homemade nut milk) to a pot, along with the honey, cardamom pods, salt, and ground vanilla (again, the vanilla is optional). Heat over medium heat until hot to the touch or 120°F.
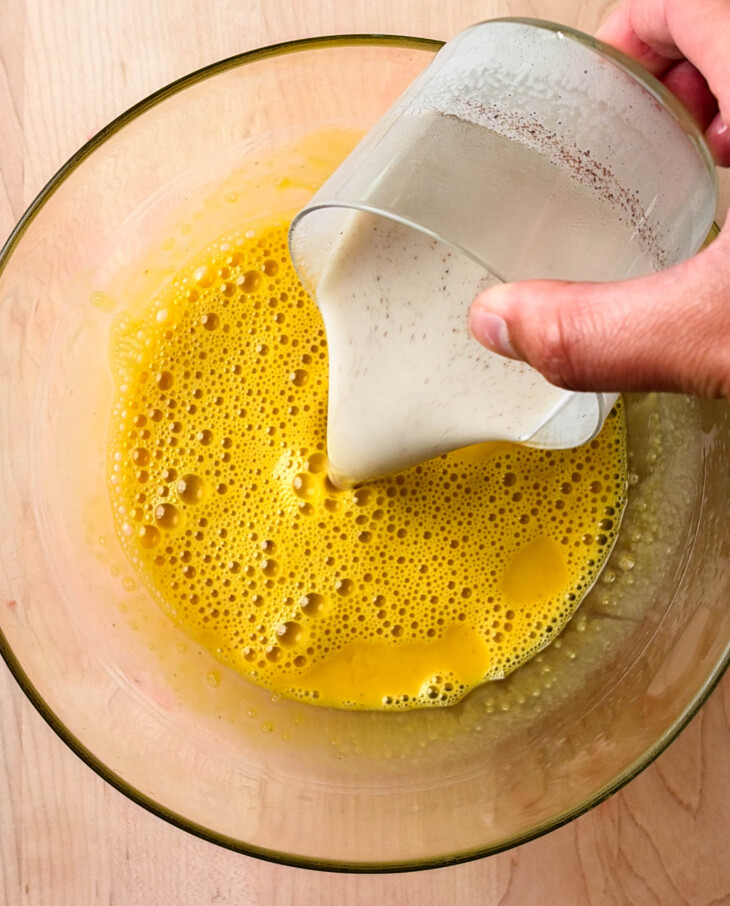
Scoop about 1/2 cup of the milk mixture out, and, whisking constantly, stream it into the bowl of egg yolks. Repeat this twice more to temper the eggs. Then, whisking the milk mixture constantly, stream in the tempered eggs. Switch to a rubber spatula/large wooden spoon, and stir constantly (I typically stir the mixture every 10 seconds) until it thickens and coats the back of a spoon — temperature should be ~178°F.
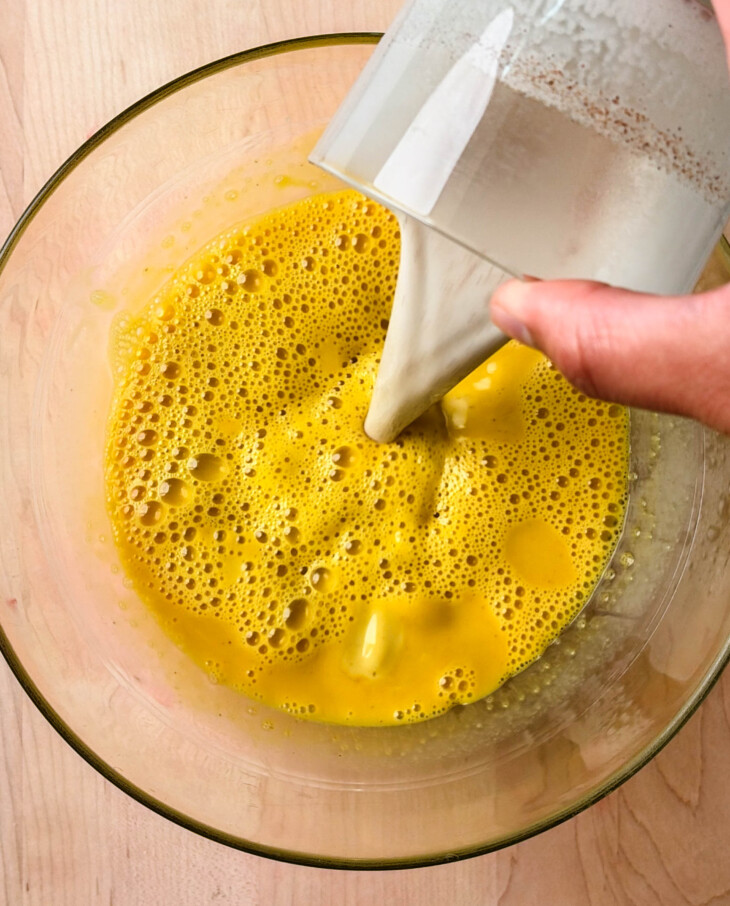
Remove the custard from the heat and whisk in the pistachio butter (you’ll need to aggressively whisk to incorporate the butter). Strain the mixture through a fine mesh sieve into a large bowl or pitcher to catch any pistachio bits and cardamom pods. Then place the custard base in an ice bath, stirring constantly until cool. Cover the base with plastic wrap or a lid and place in the fridge overnight. NOTE: If you have a chinois, use that instead of a sieve – it’ll give you the smoothest, silkiest ice cream!
Churn & Freeze
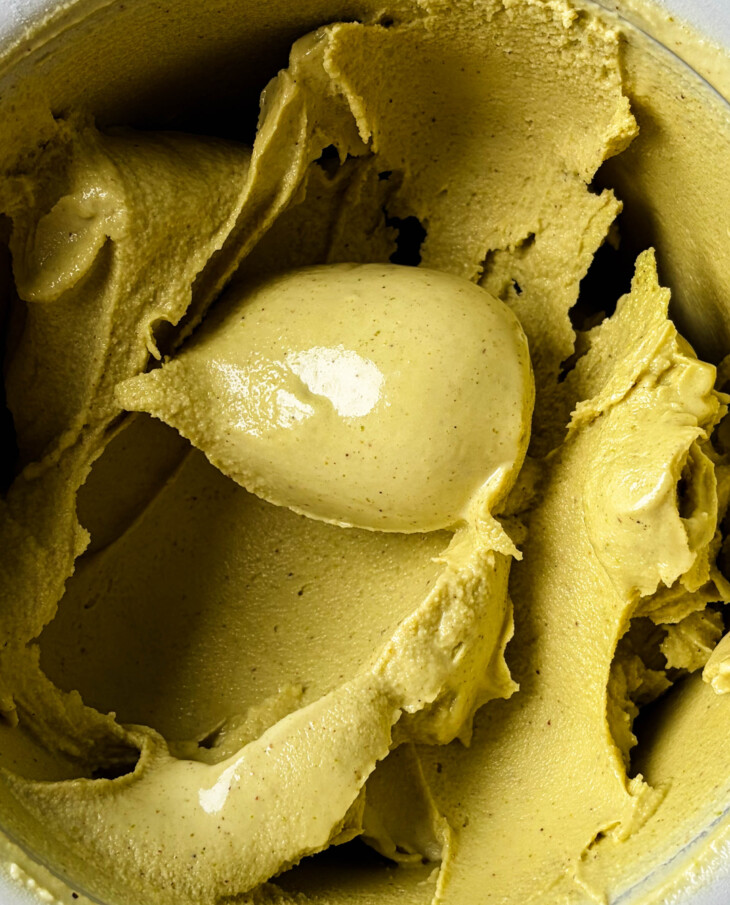
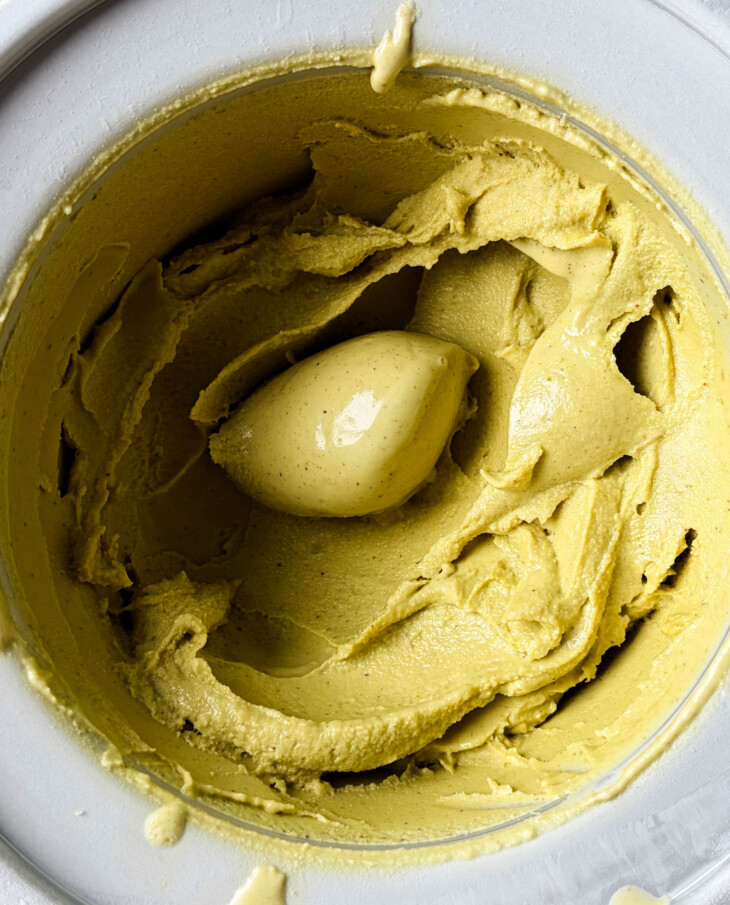
Scoop the churned ice cream into your container, place a parchment round on top (this helps prevent crystallization), and freeze for at least 6 hours, ideally overnight.
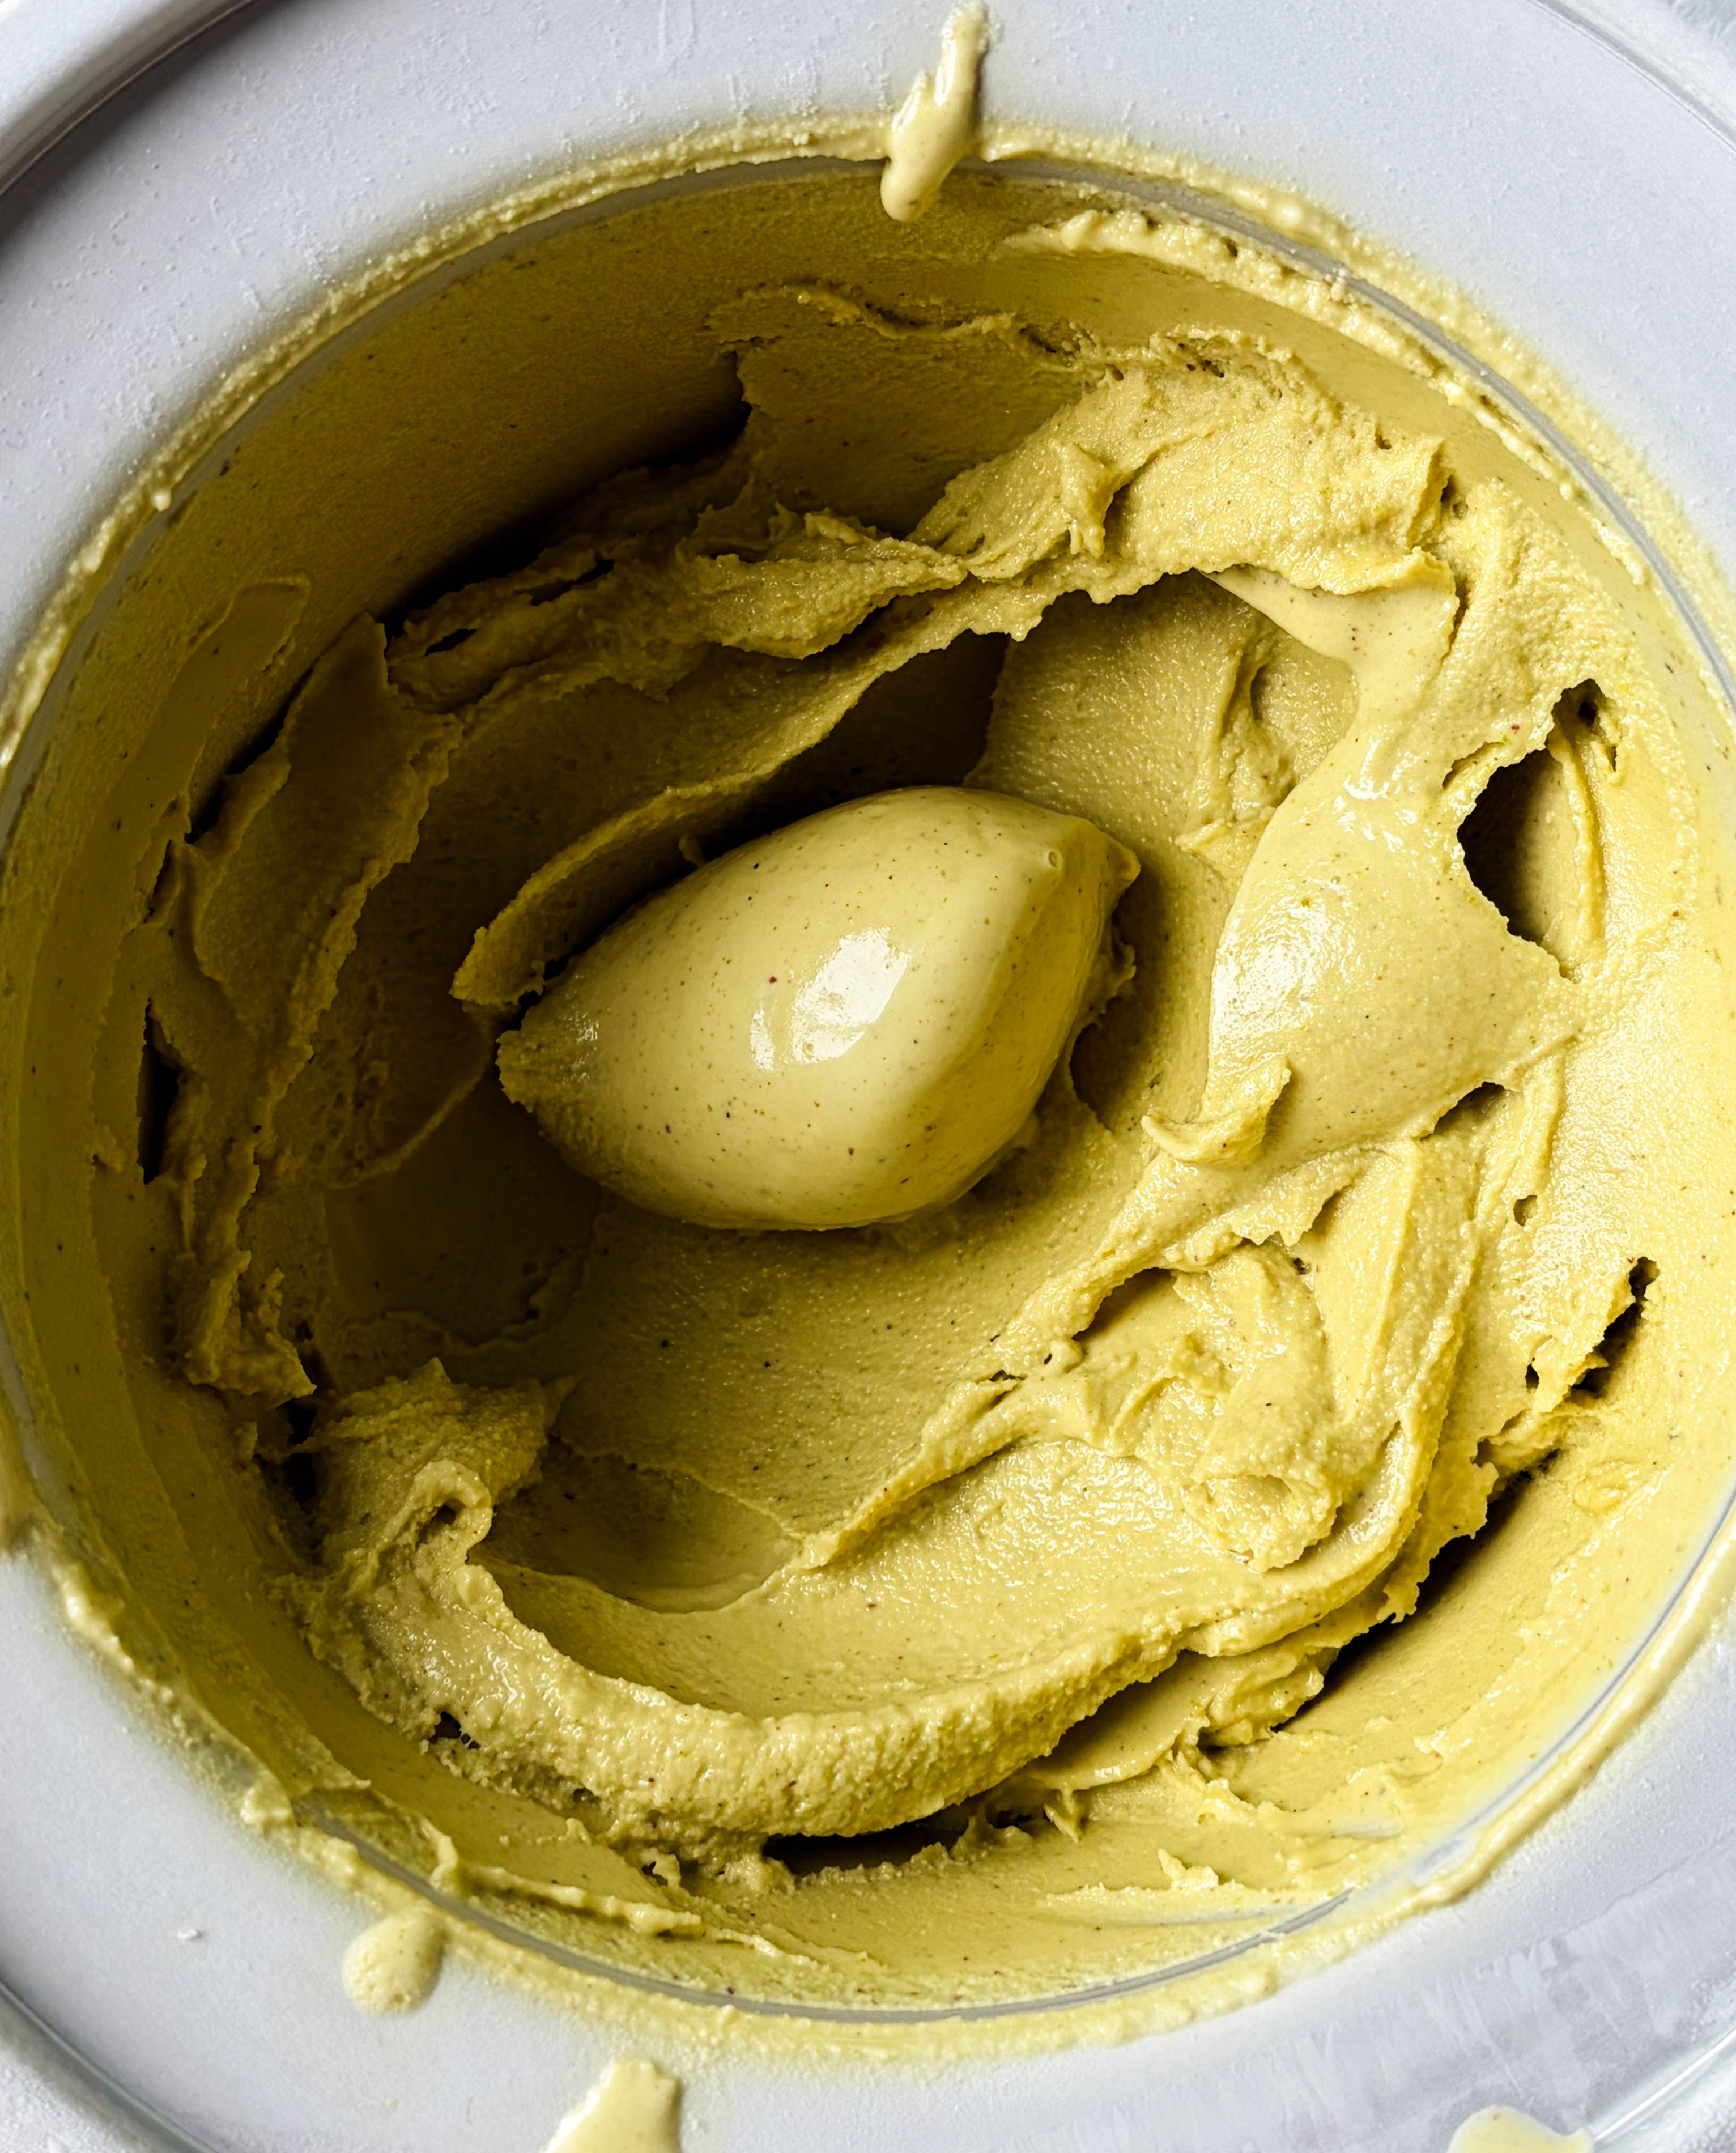
Pour the chilled base into your ice cream bowl and churn according to the manufacturer’s instructions. Mine takes about 20 minutes to churn up – it should be the consistency of soft serve.
Alternative to the Pistachio Butter
After multiple rounds of testing this recipe (8 batches and 3 weeks), I can honestly say that you can manipulate the pistachios in this recipe in a multitude of ways with similar results. You can use pistachio butter, chopped pistachios, or infuse the base with ground pistachios; all methods work with similar results.
So here’s my suggestion if you don’t want to make pistachio butter:
Grind the pistachios into a fine flour or chop them as finely as possible, and add them to the pot at step 2 of making the base of this recipe (along with the cream, honey, cardamom, and salt). When the cream heats, the pistachios will infuse the milk with a ton of flavor.
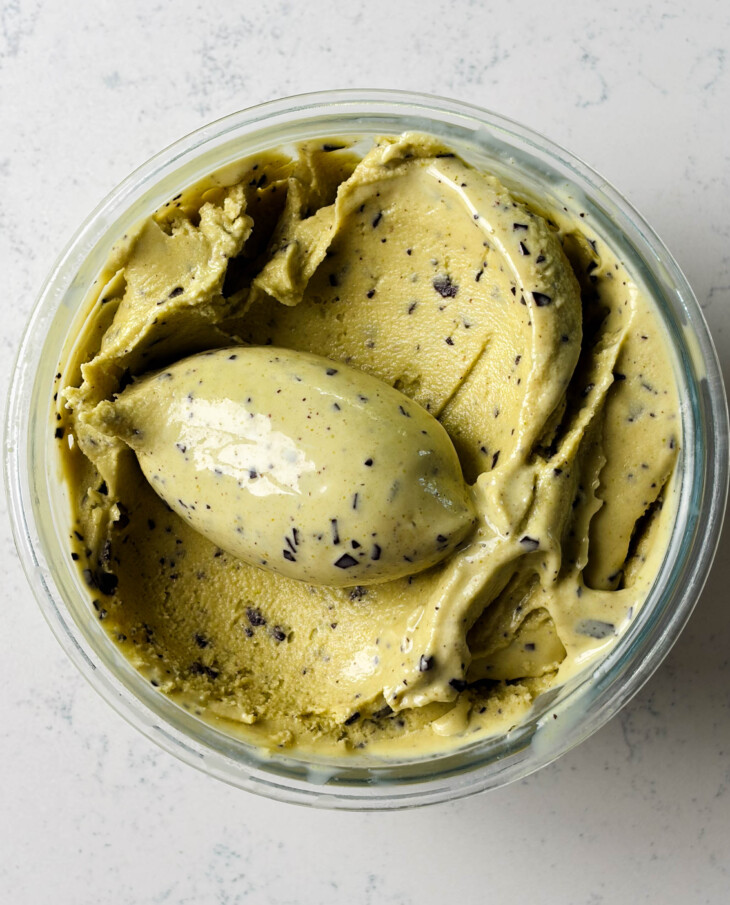
Cardamom Pistachio Stracciatella Ice Cream
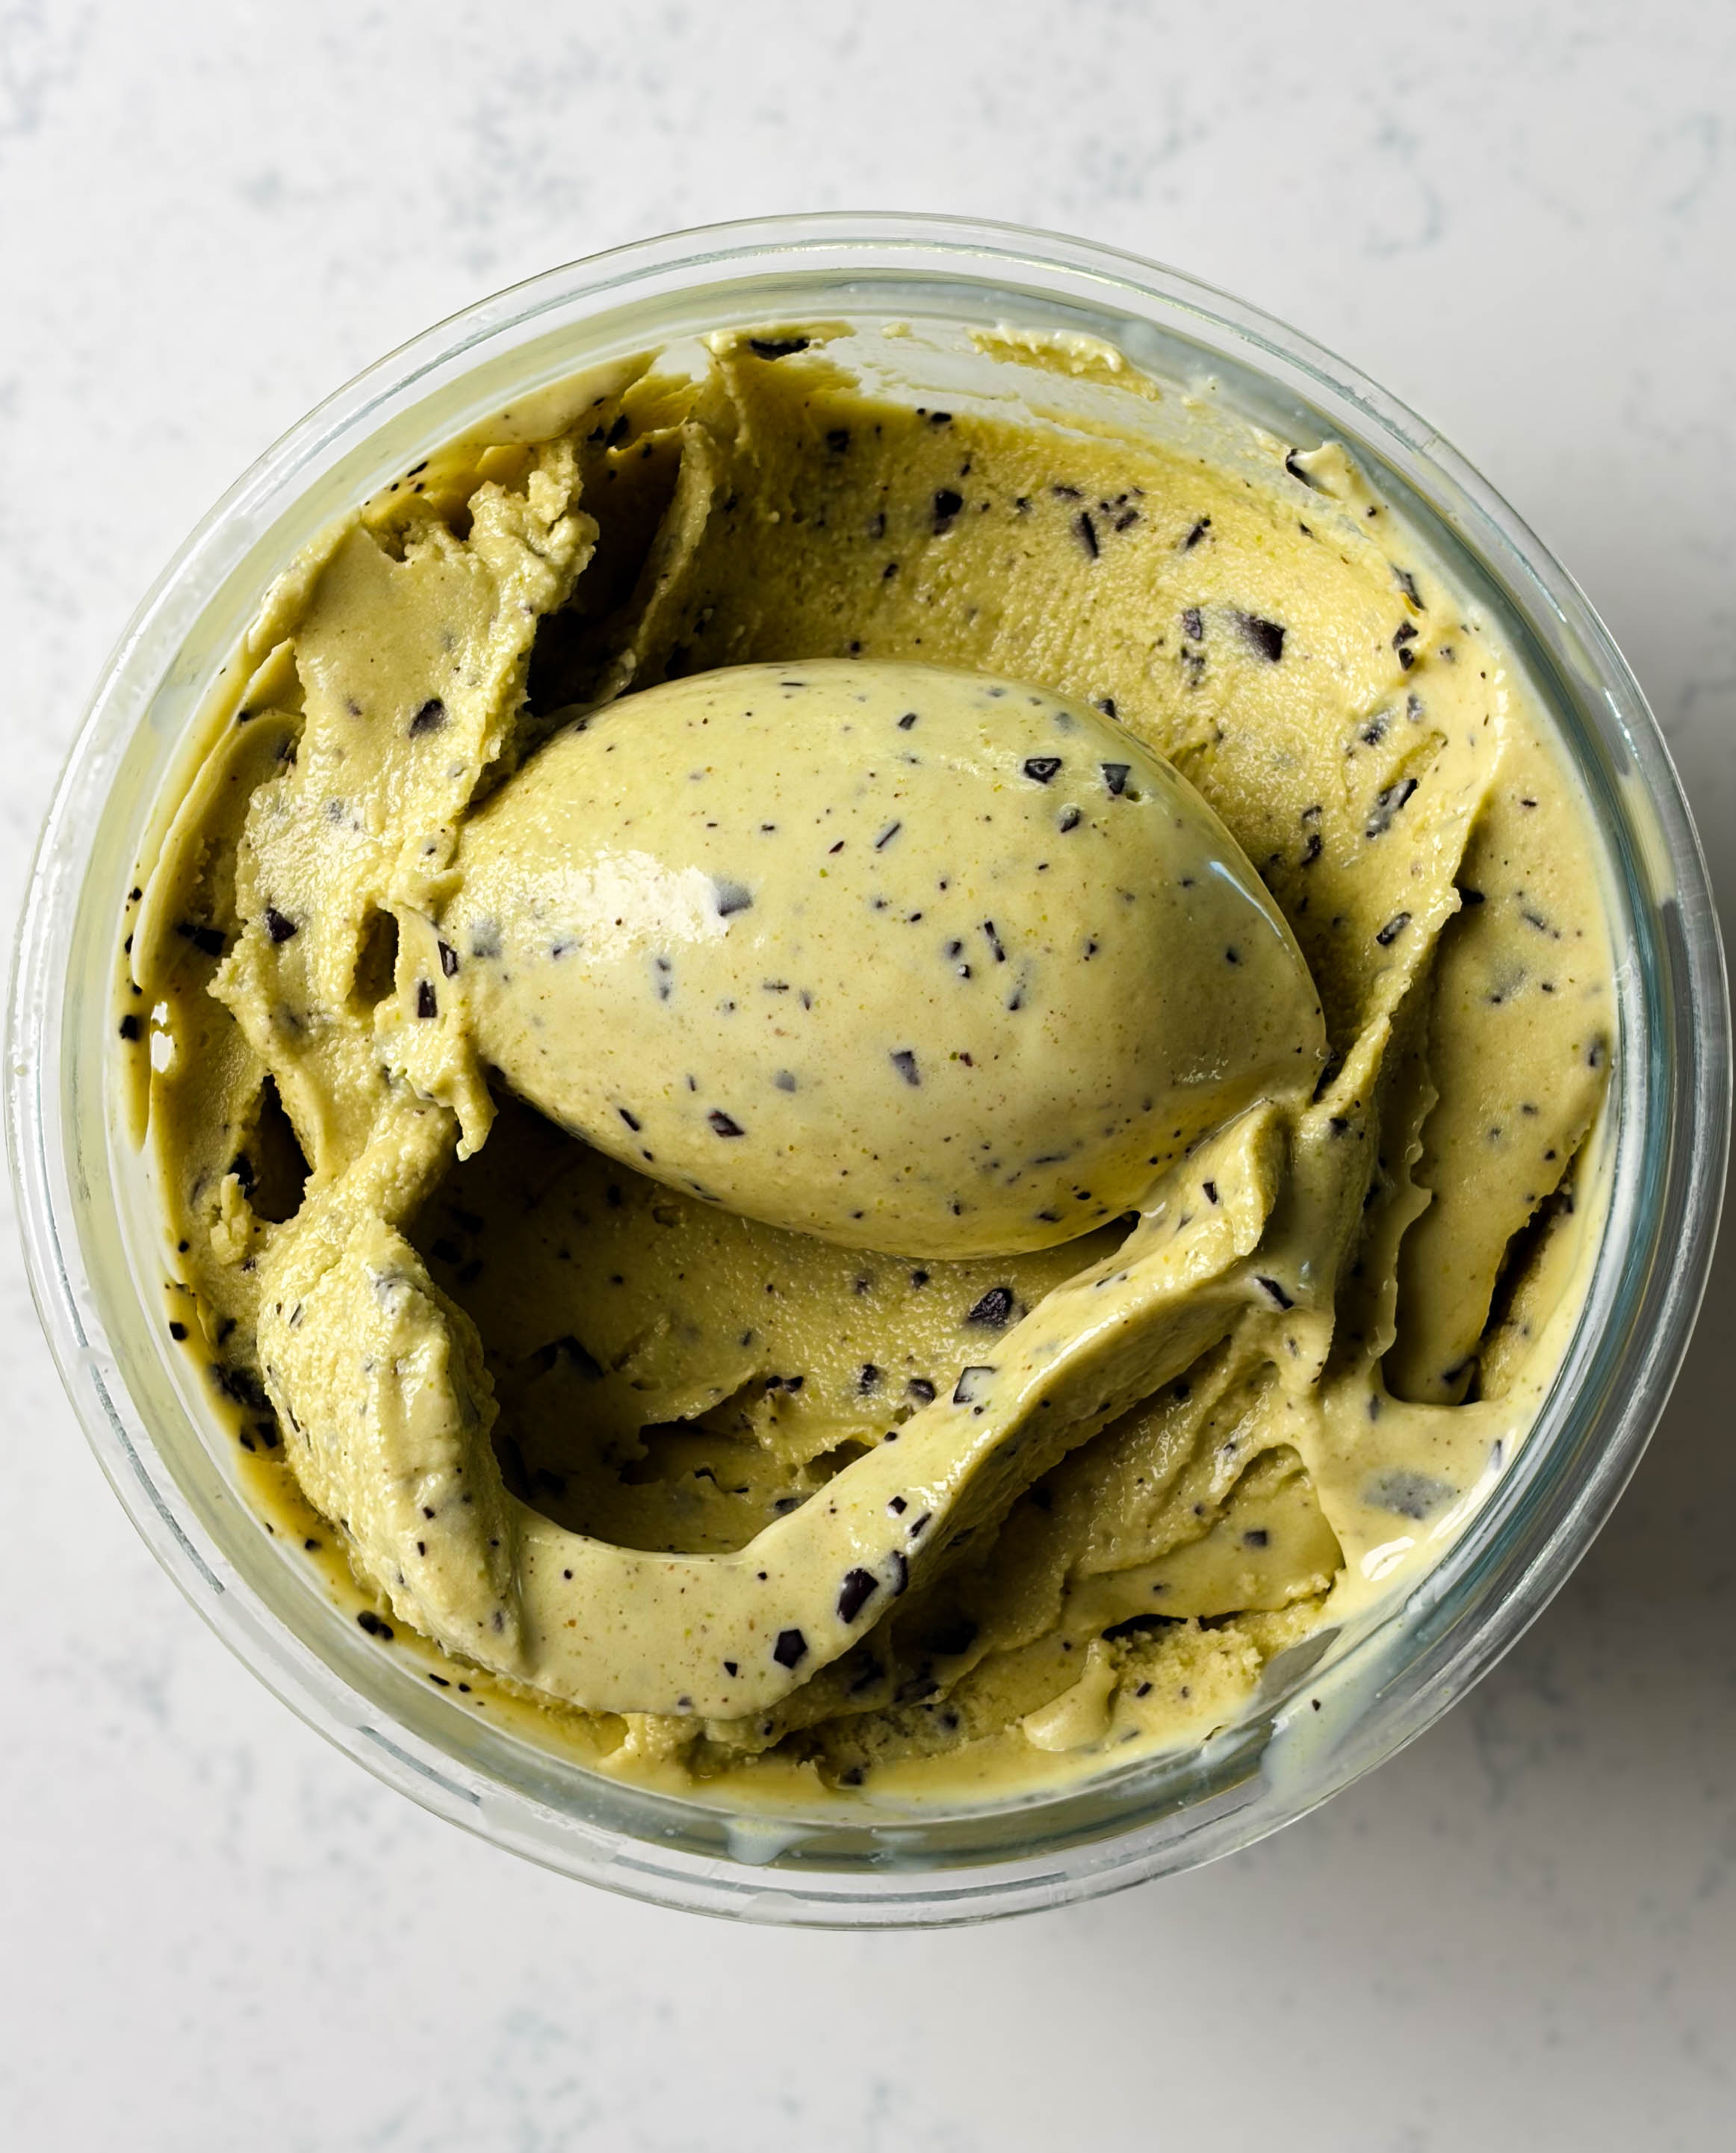
Stracciatella (“rags” or “shards” in Italian) is an Italian technique where melted chocolate is drizzled directly into churning custard, resulting in delicate frozen chocolate flakes in every bite of ice cream (it’s magical).
- Melt 2 oz of 70% dark chocolate (lately, I’ve been using unsweetened dark chocolate) and set aside to cool slightly. You can either stream the chocolate directly from the bowl/pot into the churning ice cream (this is what I normally do); you do need to control the chocolate stream, as it needs to be super thin. Alternatively, for more control, you can pour the chocolate into a piping bag/plastic bag and stream it in like that.
- Churn the ice cream as normal, but once it starts to crystallize, start streaming in the chocolate. Keep the chocolate stream thin. Once the chocolate is streamed in, let the ice cream continue to churn for a few more minutes or until done, to break up the chocolate bits further. Pop the ice cream into your container and let it chill in the fridge for at least 4 hours, ideally overnight.
One thing about this technique is that you need an ice cream maker where the base bowl spins instead of the blades. Otherwise, the chocolate will stick to the moving blades, and it’ll be a mess. For example, this doesn’t work with the KitchenAid ice bowl.
This isn’t a hard rule, though. I do have an alternative solution that works just as well: Melt the chocolate, and using an offset spatula, spread it in a thin layer on a large parchment-lined sheet pan (I use a quarter sheet pan). Freeze, transfer the chocolate to a plastic bag, break the chocolate into tiny shards, and fold into the churned ice cream.
If you want more insight into how this technique works, check out this recipe here.
Additional Notes & Tips
- Prep the homemade nut milk and pistachio butter ahead of time. It’ll make the ice cream-making process a bit smoother and less time-consuming if you already have these prepped a few days ahead.
- Freeze the ice cream after churning for 4-6 hours, ideally overnight. This is the last stage in the ice cream process – yes, you can eat it right after churning, but it won’t be the right texture. Freezing helps the ice cream firm up and develop even more flavor.
- If you want to add chopped pistachios to the final ice cream, fold them in by hand with a rubber spatula after the ice cream is done churning. Most ice cream makers (including the KitchenAid ice cream bowl) will suck the mix-ins to the bottom, and it’ll impair the churning process.
- I swear by the raw pistachio nutmeats from Trader Joe’s – they yield the brightest green color. I prefer to use raw pistachios (I like the sweetness they give the ice cream). But feel free to use roasted shelled pistachios (make sure they’re unsalted) for a deeper, nuttier flavor. Keep in mind that using roasted pistachios will alter the color a lot – the ice cream will be a muddy green color.
- While I prefer using honey in this recipe for multiple reasons (honey pairs so well with pistachios and cardamom), feel free to swap it out for regular granulated cane sugar.
- Want more insight into the recipe development process of this ice cream? Check out my column here with all the deets!
Happy pistachio ice cream-making! Feel free to leave any questions, comments, or reviews below — love hearing from you!
Print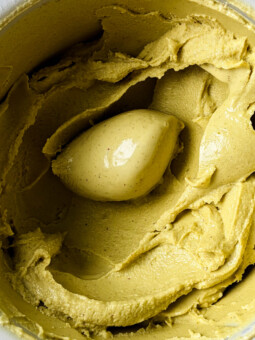
Cardamom Pistachio Ice Cream
- Prep Time: 30 minutes
- Chill Time: 24 hours
- Cook Time: 15 minutes
- Total Time: 24 hours 45 minutes
- Yield: 1 quart 1x
- Category: Dessert
- Cuisine: Middle-Eastern
Description
This dairy-free homemade cardamom pistachio ice cream is by far my favorite ice cream flavor – it’s silky smooth, creamy and rich, and perfectly nutty!
Ingredients
- 1 cup (122 g) raw, unsalted, shelled pistachios (also called pistachio nutmeats)
- 90 g (5 large) egg yolks
- 480 g (2 cups) heavy cream and 300 g (1 ¼ cups) milk OR 760 g (3 ¼ cups) homemade nut milk (see below)*
- 175 g honey (sub with granulated sugar)
- 5 cardamom pods, crushed
- 1/2 tsp Diamond Crystal kosher salt
- 1/4 tsp ground vanilla or 1 tsp vanilla bean paste (optional)
Instructions
Homemade Nut Milk
- Make the homemade nut milk by blending 910 g of water with 215 g of raw cashews and 140 g of raw almonds. Start on low and ramp up the speed to 8 (or high) on your Vitamix, blending for 2 minutes total. Strain in a nut milk bag and store in a glass jar. It’ll keep well for 5-6 days, so feel free to make this ahead of time.
Pistachio Butter
- Add the pistachios to a food processor (used the Cuisinart 14-cup food processor). Turn the processor on and let it run. NOTE: I like to add double the pistachios because the processor runs better with more volume. You can save the butter for 3 months and make ice cream again – you’ll want to.
- The pistachio butter will go through 3 phases before it starts forming butter. It’ll go from a flour-like consistency to a wet sand texture, and then it’ll start to clump into a large ball. At this point, stop the processor, scrape it down, and let it run again. Let the butter continue to run – it’ll form a paste and eventually form a smooth but stiff paste after 10ish minutes. Scrape into a jar and store in the pantry.
Custard Base
- Whisk the egg yolks in a small bowl and set aside.
- Add the milk and cream (or homemade nut milk) to a pot, along with the honey, cardamom pods, salt, and ground vanilla (again, the vanilla is optional). Heat over medium heat until hot to the touch or 120°F.
- Scoop about 1/2 cup of the milk mixture out, and, whisking constantly, stream it into the bowl of egg yolks. Repeat this twice more to temper the eggs. Then, whisking the milk mixture constantly, stream in the tempered eggs. Switch to a rubber spatula/large wooden spoon, and stir constantly (I typically stir the mixture every 10 seconds) until it thickens and coats the back of a spoon — temperature should be ~178°F.
- Remove the custard from the heat and whisk in the pistachio butter (you’ll need to aggressively whisk to incorporate the butter).
- Strain the mixture through a fine mesh sieve into a large bowl or pitcher to catch any pistachio bits and cardamom pods. Then place the custard base in an ice bath, stirring constantly until cool. Cover the base with plastic wrap or a lid and place in the fridge overnight. NOTE: If you have a chinois, use that instead of a sieve – it’ll give you the smoothest, silkiest ice cream!
Churn & Freeze
- Pour the chilled base into your ice cream bowl and churn according to the manufacturer’s instructions. Mine takes about 20 minutes to churn up – it should be the consistency of soft serve.
- Scoop the churned ice cream into your container, place a parchment round on top (this helps prevent crystallization), and freeze for at least 6 hours, ideally overnight.
Notes
*A high-fat creamy homemade nut milk is the key to getting this dairy-free ice cream to taste like it was made with dairy. To replicate the combo of milk and cream in traditional ice cream, I used a combo of cashews and almonds in my milk-cream hybrid. The creaminess of the cashews perfectly replicates the richness of heavy creamy, while the almonds add protein and structure that you would normally get from 2% milk.
My typical plan for this ice cream is to make the homemade milk, pistachio butter, and custard base on day one. Then on day two, I’ll churn the chilled base in the morning, and freeze the ice cream so it’s ready just in time for post-dinner dessert! This gives the ice cream about 10 hours to freeze.
Came from Substack – lucky for me my freezer bowl was already cold. Tried this, it was fantastic! Although, I highly recommend lightly toasting the pistachios before chopping/ food processing – feel that the flavor is more rounded out.
Omg I’m so sorry for not seeing this sooner! So happy you liked it, and thank you so much for leaving such a lovely review!
Throughly enjoyed reading your recipe creation process. Thank you for bringing us along.
Thank you so much!! So happy to hear 🙂
The ice cream turned out so good, thank you for the recipe. In case you want to make it less sweet I used half of the honey and it was enough for me 😉
Omg I’m so sorry for not seeing this sooner! So happy you liked it, and thank you so much for leaving such a lovely review!
Hi! Loved this recipe! Can I use the same technique/ratios for hazelnut ice cream?
Hii! So happy to hear that – thank you so much! Yes, the only additional step I would add is to toast the hazelnuts and then rub them in a towel to remove the skins.
Would this work in a ninja creami?