I don’t say this lightly, but this really is the best homemade hummus recipe. It’s fluffy, silky smooth, and packed with flavor.
And, like all my recipes, it’s super easy and foolproof. You just need a handful of ingredients to make this healthy hummus recipe, most of which you likely already have in your pantry.
After making this homemade garlic hummus, you’ll never go back to the store-bought stuff.
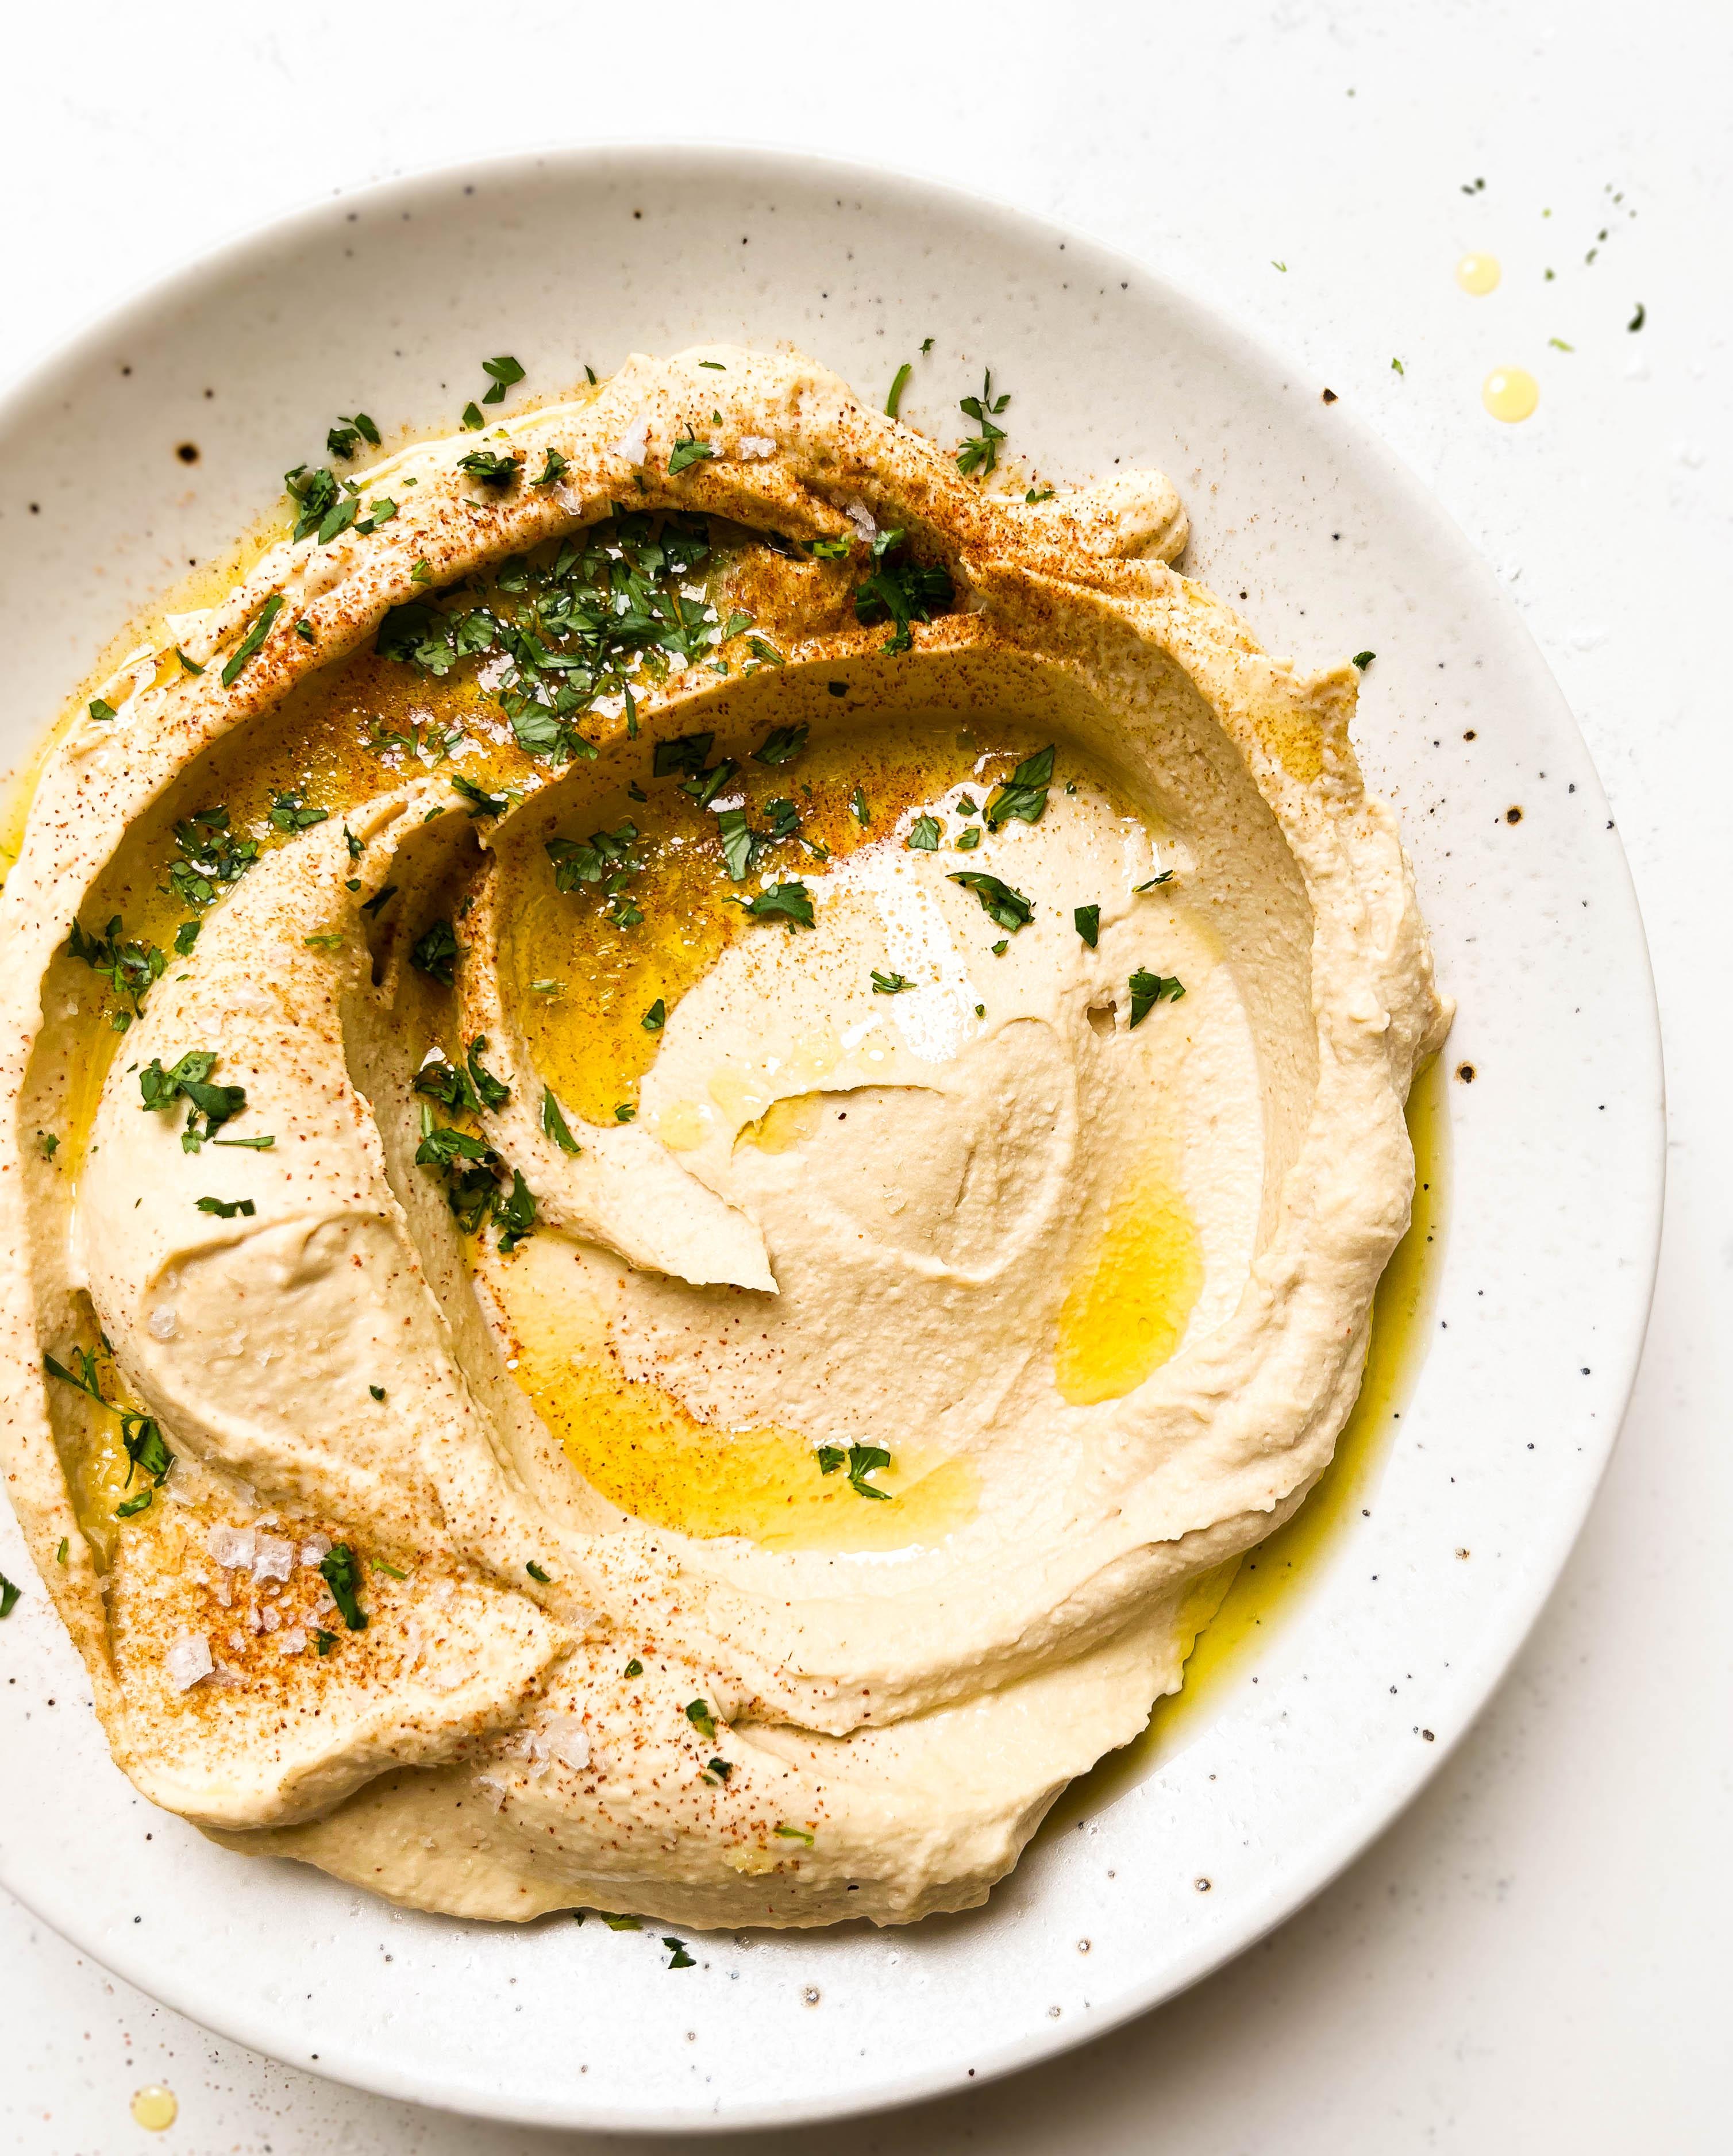
What is Hummus
Hummus (also known as “houmous”, “hommus”, or “humus”) is the Arabic word for chickpeas. And as the name suggests, it’s a classic dip made from chickpeas, tahini, garlic, lemon juice, and salt. Some versions will add extra spices like cumin and cayenne pepper.
And like many classic dishes, this has been a staple in most Middle Eastern countries for centuries.
But Is Homemade Hummus Better?
Without a doubt, homemade hummus will always trump anything you get from the store.
The stuff from the store is gritty, gloopy, and stiff, the exact opposite of what good hummus should be. Seriously, grocery-store hummus doesn’t hold a candle to homemade hummus.
Plus, store-bought hummus has tons of preservatives, additives, and unnecessary ingredients.
Safe to say that in terms of price, flavor, texture (and EVERYTHING else), homemade hummus will always be better.
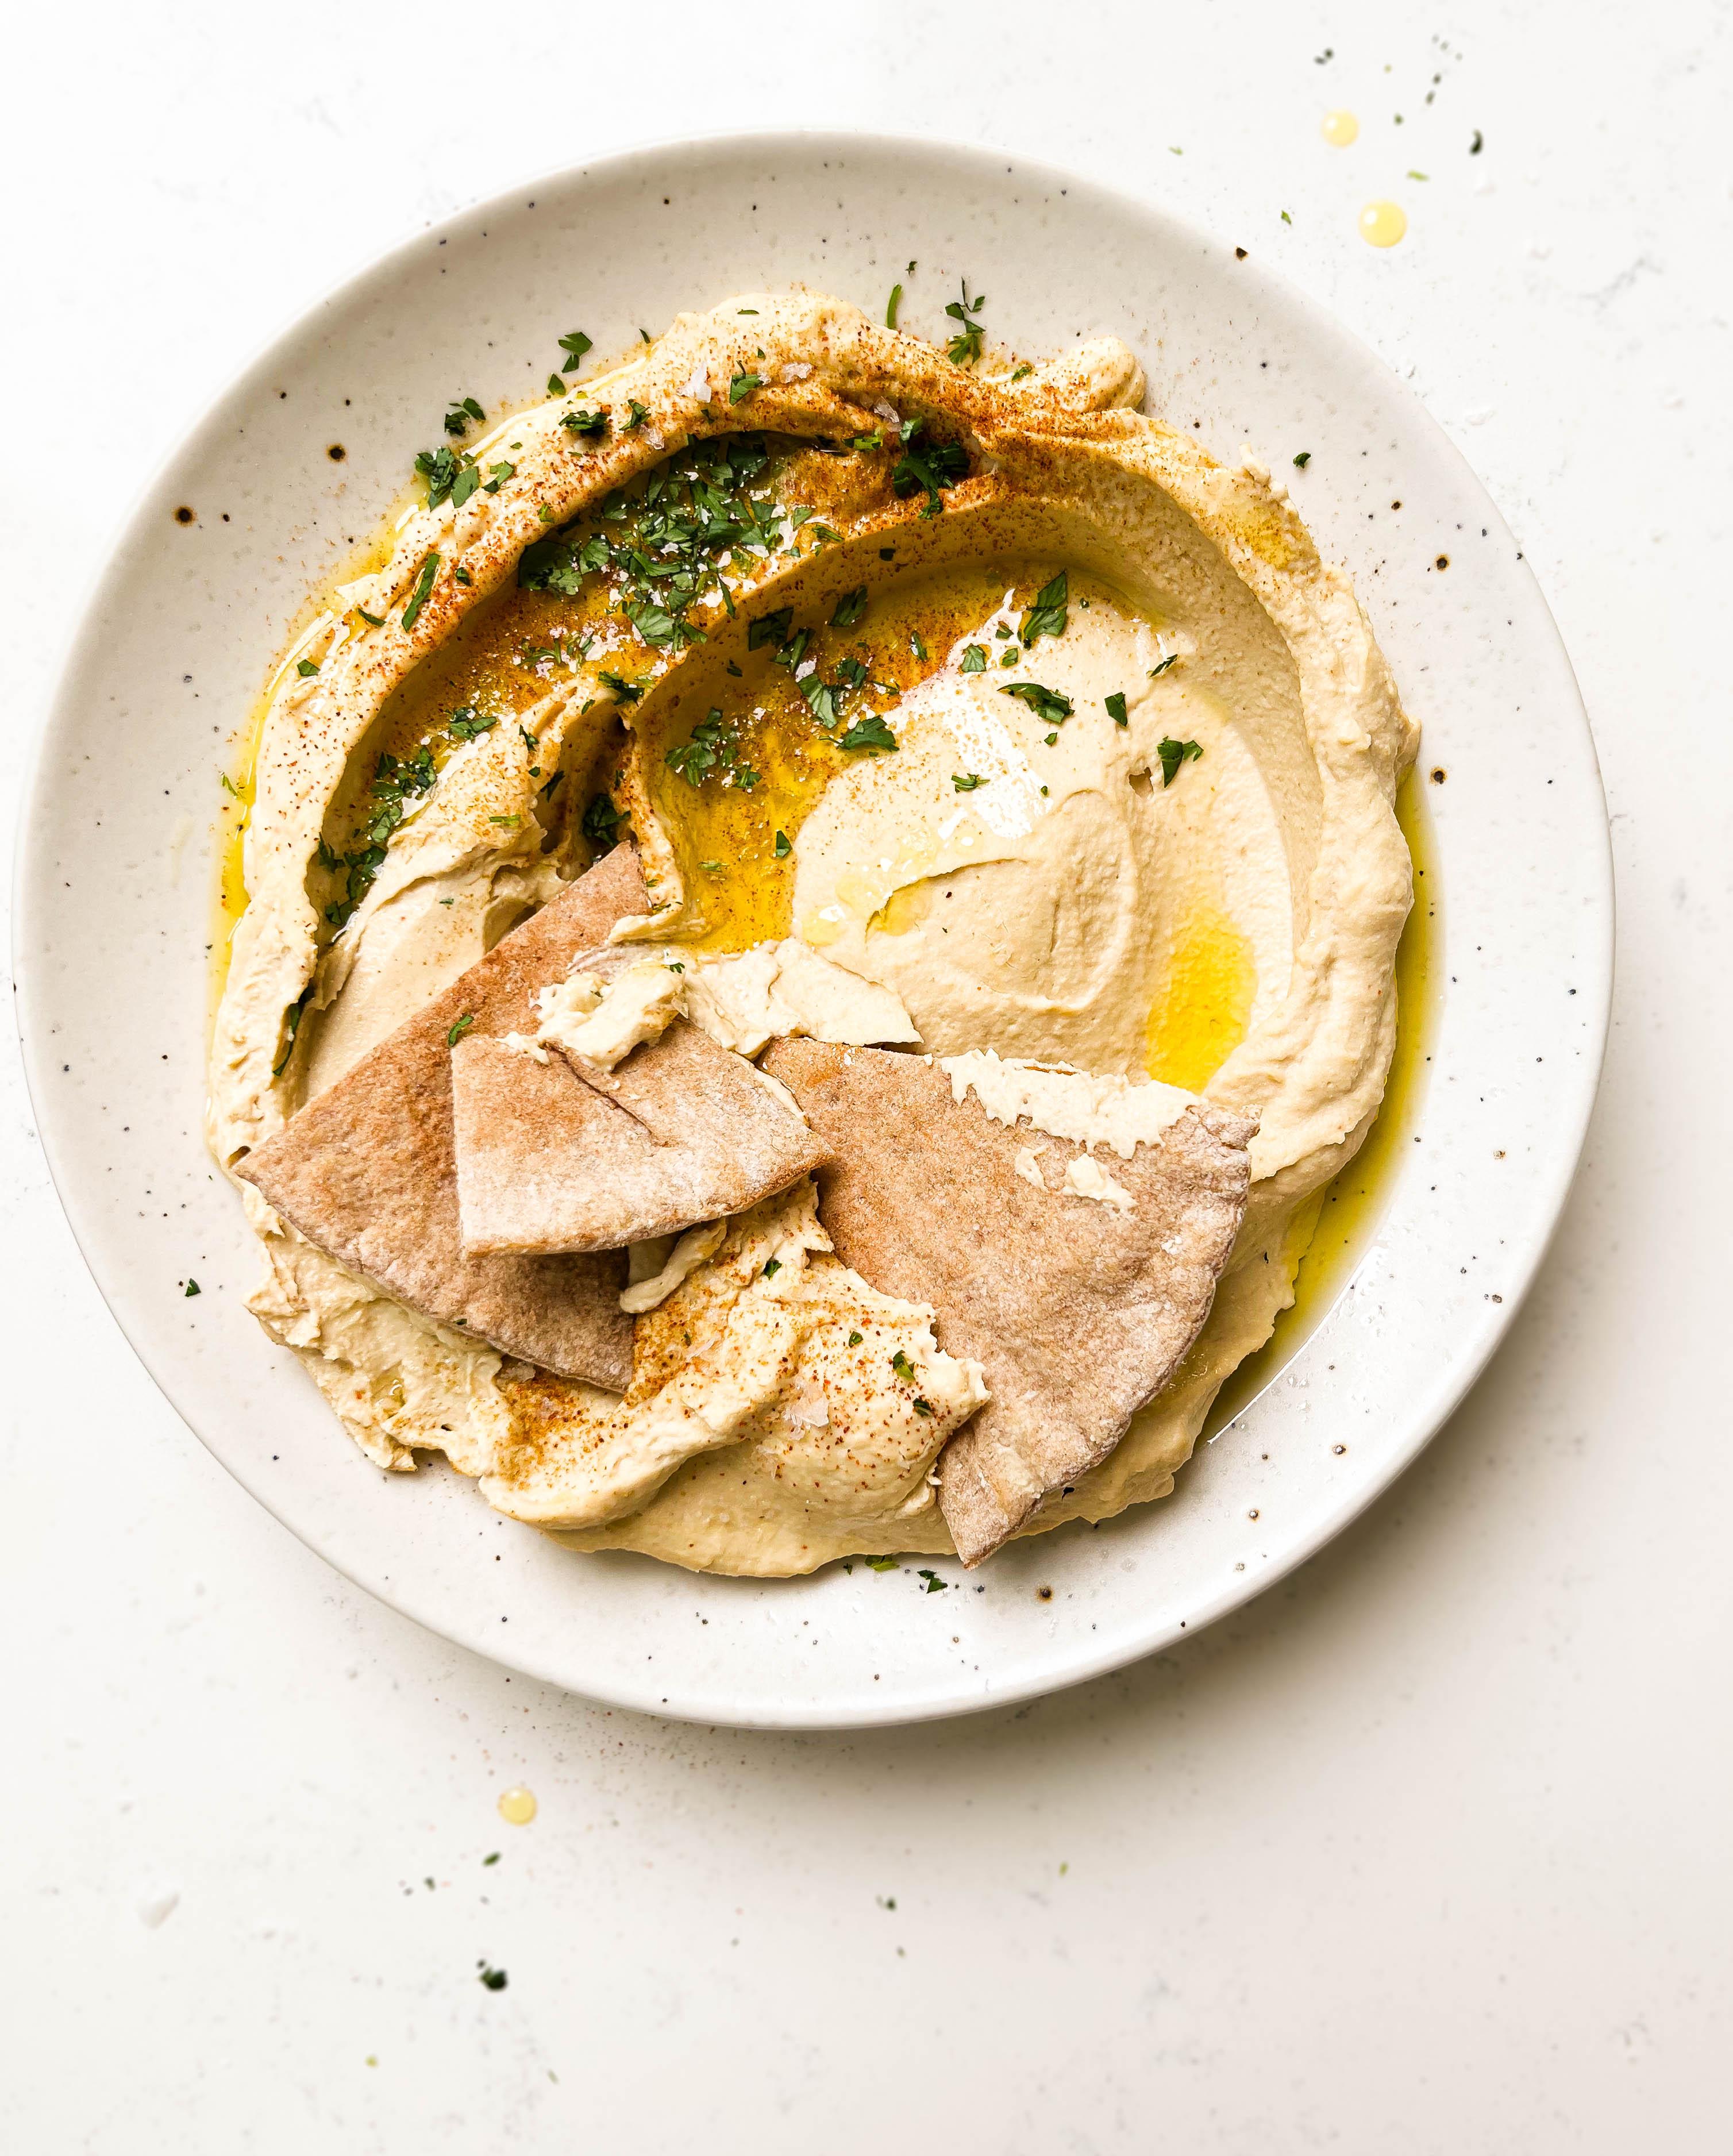
Hummus Ingredients
Here’s everything you’ll need to make this easy hummus recipe.
- Chickpeas: I used a regular 15 oz carton of chickpeas; make sure to buy organic!
- Tahini: I highly recommend using Soom Foods tahini; it’s the best tahini on the market.
- Lemon juice
- Garlic: I like the sharpness that raw garlic adds to this hummus, but feel free to roast your garlic prior or mince it and marinate it in lemon juice — this will mellow out the garlic quite a bit.
- Kosher salt
- Cumin: This is not traditional, but I like adding cumin for extra flavor.
How to Make Homemade Hummus
Briefly outlining exactly how to make this homemade hummus. As always, the full recipe with measurements and detailed instructions (+ notes) is in the recipe card below.
- Start by draining and rinsing your chickpeas in cold water. This is super important as the thick liquid in the can hold all the “gassy” compounds from the beans.
- Next, dump the chickpeas into your blender and the lemon juice, tahini, garlic, salt, and cumin.
- Begin blending on low speed until the mixture becomes homogeneous. Continue blending and slowly stream in the cold water.
- Ramp the speed up to medium-high and let the hummus blend for 3 minutes until it’s lightened in color and looks silky smooth, and fluffy.
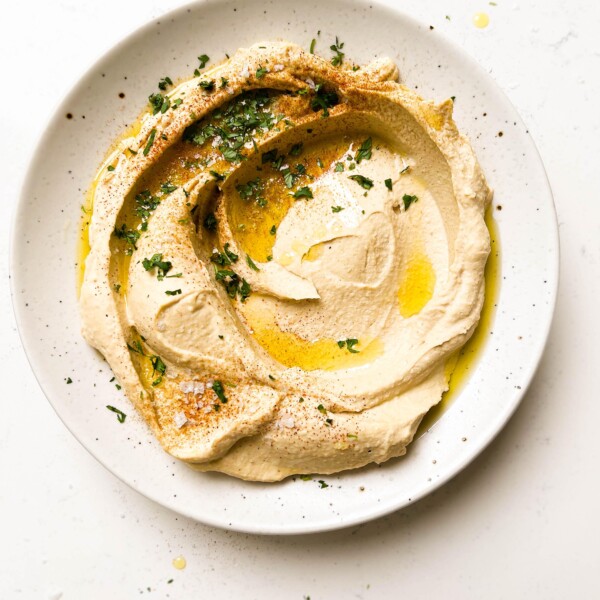
- To serve, dollop the hummus onto a plate and swirl it around using a spoon. Top with a drizzle of olive oil, a sprinkle of cumin and cayenne, and minced cilantro.
- To store, simply pop the hummus into a glass Tupperware and store it in the fridge for up to 4 days.
Tips and Tricks
- Make sure your chickpeas are soft and almost falling apart for silky smooth hummus. I typically use chickpeas from a can because it’s easier and more convenient. But oftentimes, the chickpeas are still too hard to make hummus with. To re-cook canned chickpeas, simply fill a pot with water and add ½ tsp of baking soda; bring it to a boil and add the canned chickpeas. Reduce the heat to medium and let the chickpeas simmer for 15-20 minutes until the beans almost fall apart.
- If you don’t like raw garlic’s sharpness, mince it and let it marinate in lemon juice for 10 minutes. Or you can roast the garlic in the skin until it’s super soft and mushy. Both of these methods will mellow out the garlic quite a bit.
- Use ice-cold water. This will help lighten the color of the hummus and make it super fluffy.
- Blend the hummus for a minimum of 3 minutes. Once you’ve streamed in the ice water, I highly recommend blending the hummus for at least 3 minutes. This will not only ensure the hummus is silky smooth but will also whip the hummus and make it super light and fluffy.
How to Serve This Hummus
- Pop it on toasty sourdough bread with a generous sprinkle of microgreens, minced cilantro, lemon juice, and olive oil.
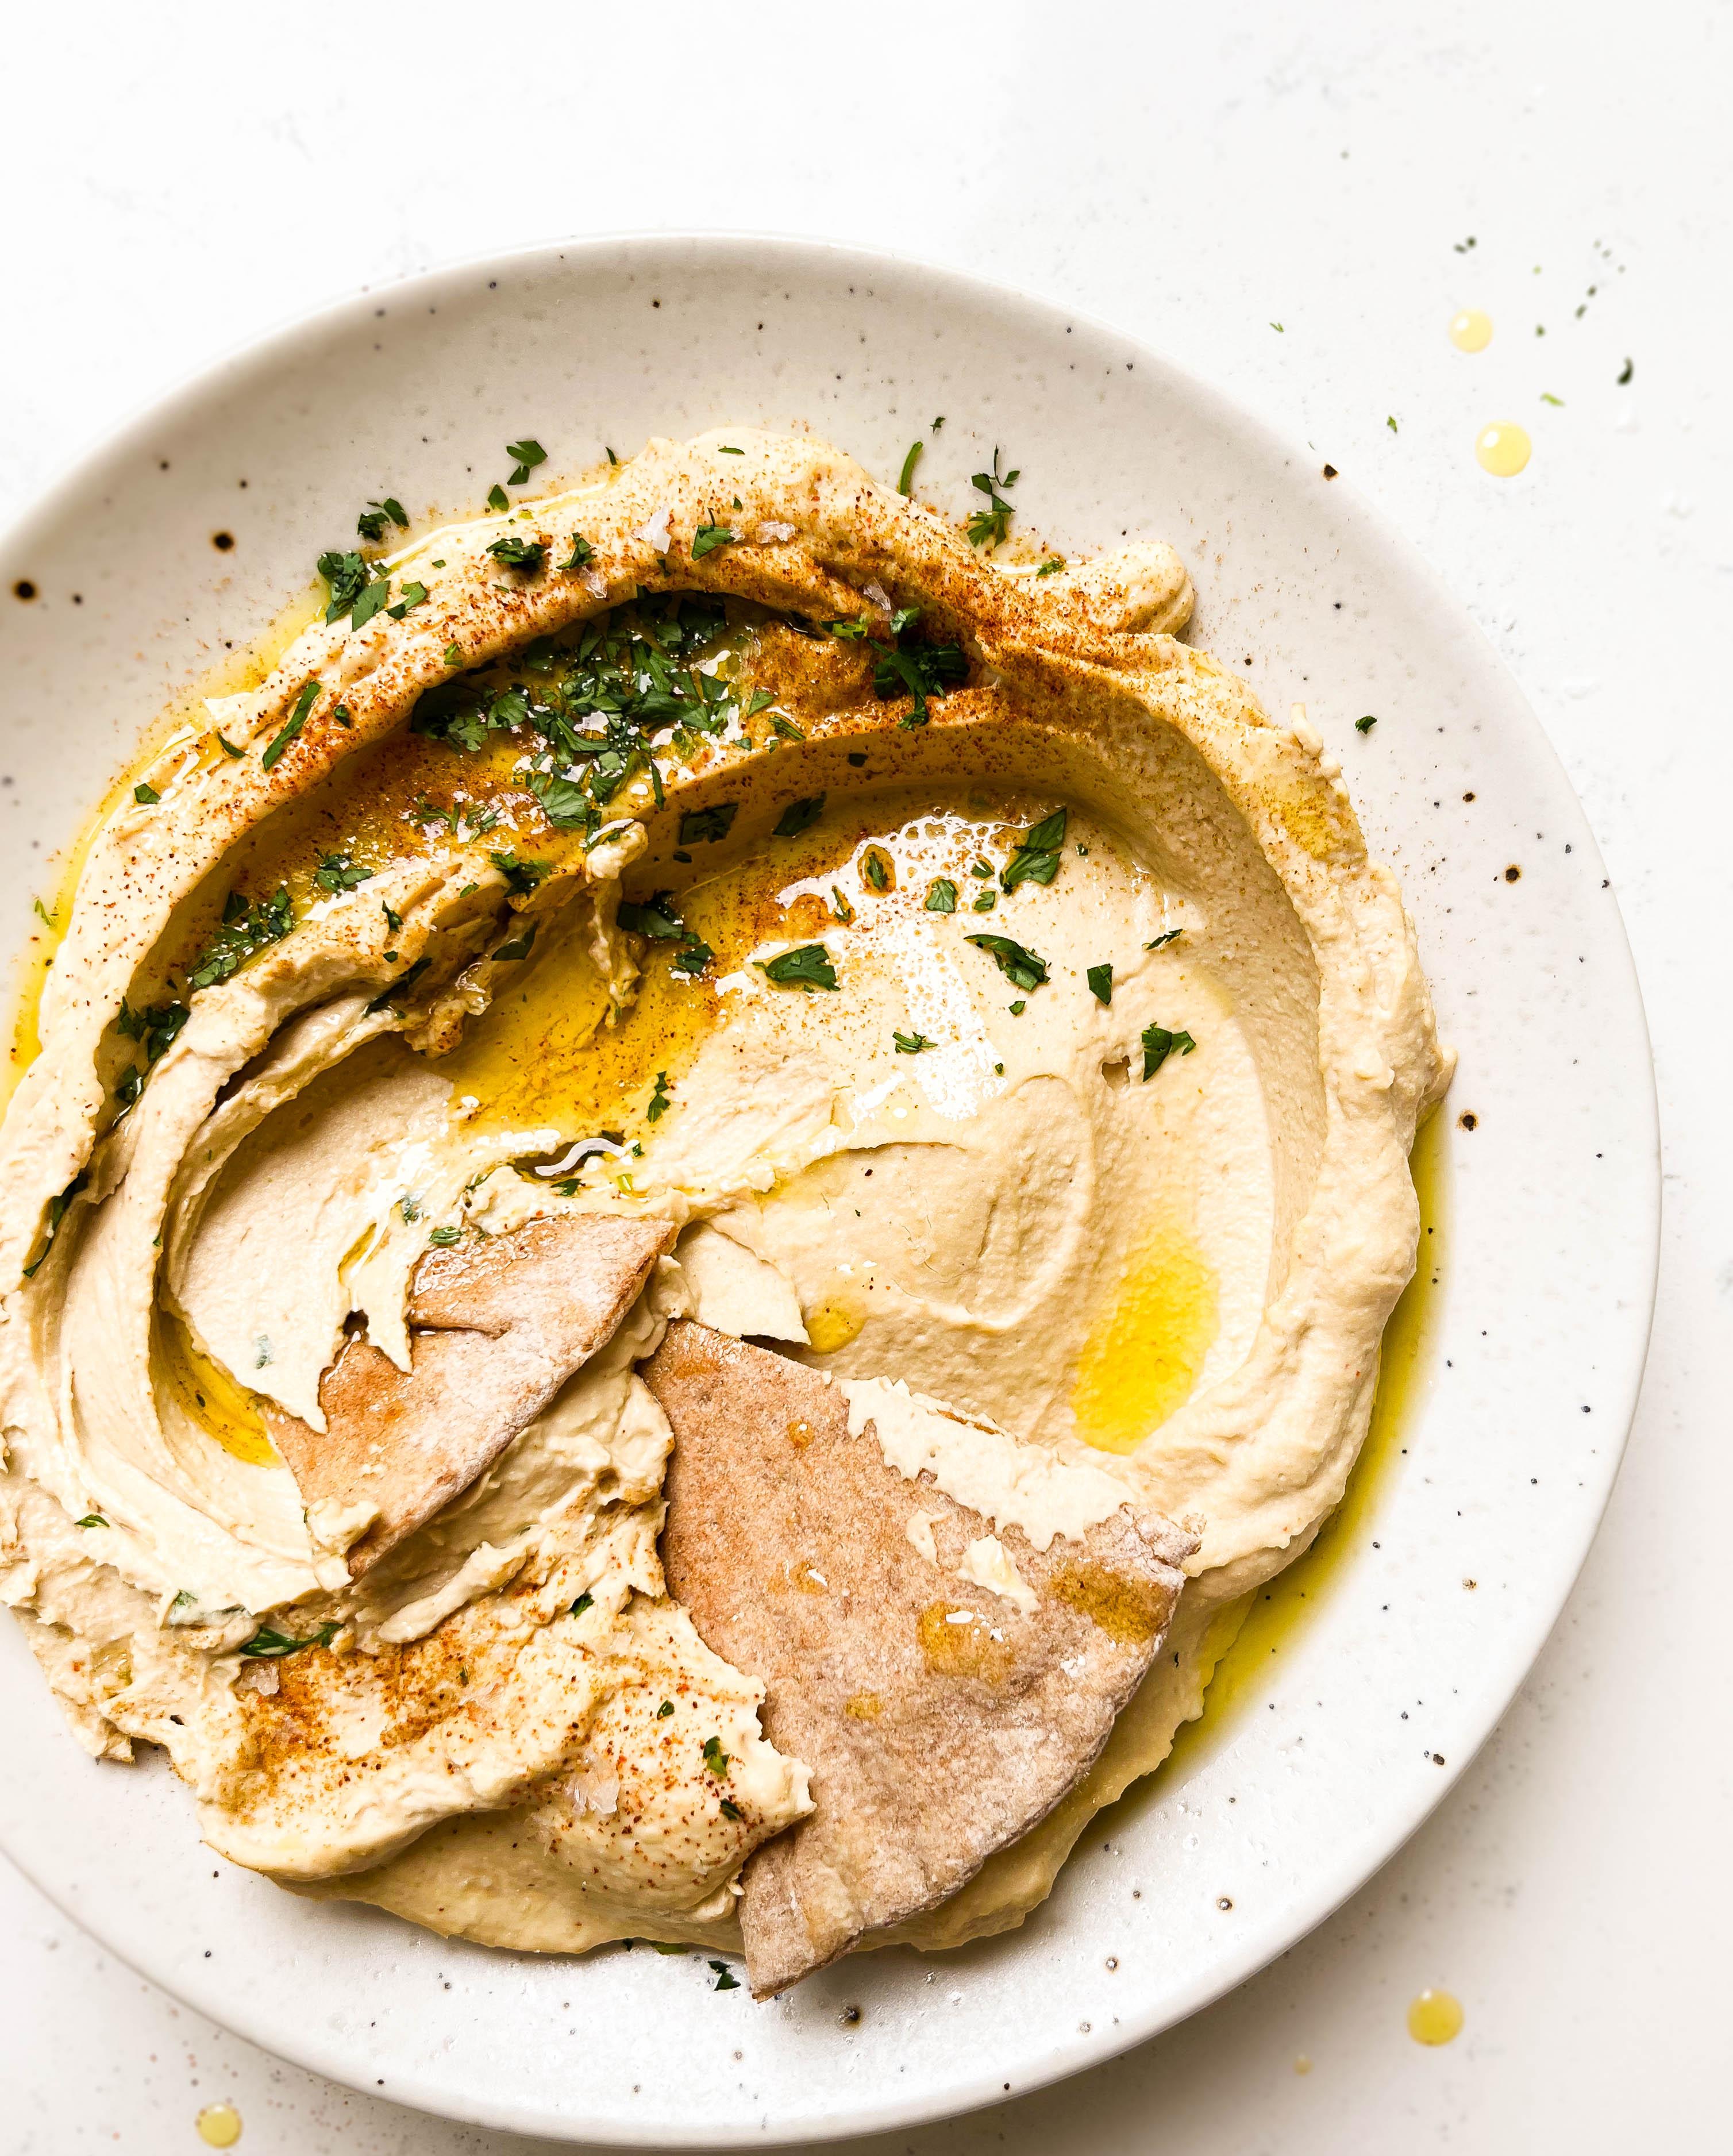
- Treat this hummus as an appetizer and pair it with fresh pita bread and carrots for a simple and nutritious snack.
- Use it as a dressing for salads or grain bowls. Just thin it out with some extra lemon juice or cold water.

FAQ’s
- Can I use any type of chickpea? Both canned chickpeas and home-cooked chickpeas work here. The key is to ensure the chickpeas are super soft. If they’re not, the hummus will be gritty. Sometimes I’ll cook the canned chickpeas longer(despite being cooked already) if they’re not soft enough. To re-cook canned chickpeas fill a pot with water and add ½ tsp of baking soda; bring it to a boil and add the canned chickpeas. Reduce the heat to medium and let the chickpeas simmer for 15-20 minutes until the beans almost fall apart.
- Which Tahini brand do you recommend? Soom Foods tahini is my favorite brand (both Whole Foods and Amazon sell it). Seed + Mill is also a great option, although it’s not as easy to find, depending on where you live. If you’re looking for a more budget-friendly option, Whole Foods 365 tahini is excellent.
- Can I use a food processor? Yep, a food processor will work just as well as a blender. Keep in mind to use a small-capacity blender or food processor; otherwise, the hummus won’t blend well.
- How long does homemade hummus last? It’ll stay fresh in the fridge for up to 4 days. Make sure to store it in an airtight glass container. Fun tip, a layer of extra virgin olive oil on top will help maintain moisture in the hummus.
- How do you serve leftover hummus? Let the hummus come to room temperature on the counter, or you can warm it up. Simply add however much hummus you want to reheat to a small pot and add a few teaspoons of water. Warm on low heat, stirring for a few minutes until warm.
- Can you freeze hummus? No! Hummus is traditionally made fresh and tastes best during the day when it’s still warm and fluffy. Freezing the hummus makes this wonderful dip lose the qualities that make it so freaking good. Plus, it only takes 10 minutes to make, so there is no need to prep this in advance.
Sharing is Caring!
If you make this recipe, please leave a review and rating below. And don’t forget to snap a picture and tag me on either Instagram or TikTok (if you’re not already following me, make sure to for new recipes and wellness tips)!
Print
The Best Homemade Hummus
- Prep Time: 20 minutes
- Total Time: 20 minutes
- Yield: 4 servings 1x
- Category: Appetizer
- Cuisine: Middle Eastern
Description
After making this homemade garlic hummus, you’ll never go back to the store-bought stuff. It’s fluffy, silky smooth, and packed with flavor.
Ingredients
- 1 can (15 oz) Chickpeas
- ½ cup Tahini
- ¼ cup Lemon juice
- 2 medium Garlic cloves
- ½ tsp Kosher salt ((add more as needed))
- ¼ tsp Cumin
- ⅓ cup ice Water
Instructions
- Start by draining and rinsing your chickpeas in cold water. This is super important as the thick liquid in the can hold all the “gassy” compounds from the beans.
- Next, dump the chickpeas into your blender and the lemon juice, tahini, garlic, salt, and cumin. Begin blending on low speed until the mixture becomes homogeneous. Continue blending and slowly stream in the cold water. Ramp the speed up to medium-high and let the hummus blend for 3 minutes until it’s lightened in color and looks silky smooth, and fluffy.
- To serve, dollop the hummus onto a plate and swirl it around using a spoon. Top with a drizzle of olive oil, a sprinkle of cumin and cayenne, and minced cilantro.
- To store, simply pop the hummus into a glass Tupperware and store it in the fridge for up to 4 days.
Notes
*Sometimes I’ll cook the canned chickpeas longer(despite being cooked already) if they’re not soft enough, otherwise the hummus will be gritty. To re-cook canned chickpeas fill a pot with water and add ½ tsp of baking soda; bring it to a boil and add the canned chickpeas. Reduce the heat to medium and let the chickpeas simmer for 15-20 minutes until the beans almost fall apart.
**If you don’t like raw garlic’s sharpness, mince it and let it marinate in lemon juice for 10 minutes. Or you can roast the garlic in the skin until it’s super soft and mushy. Both of these methods will mellow out the garlic quite a bit.

Pingback: Crispy Roasted Chickpeas | MWM
Pingback: 29 Delicious Easy-to-Make Lake Snacks for a Day On the Water | Meredith Adkisson
I love hummus and often make it with cooked chickpeas.
However, I didn’t know that the water the chickpeas are in has such properties, and I used to add it directly into the blender. Thanks to you, I’ll always rinse the chickpeas and use fresh water to achieve the right consistency.
This was incredibly easy to make! And delicious! I won’t ever buy hummus from a store again!
Absolutely delicious and super simple to make!
So happy you liked it!!
I’ve made this delicious hummus several times. I usually chop up Kalamata olives, red peppers, green olives and place on the side in case not everyone likes that! I’ve never had to store leftovers…. because there are none… ever.
No leftovers is the ultimate compliment!!