This website uses affiliate links which may earn commission for purchases made at no additional cost to you.
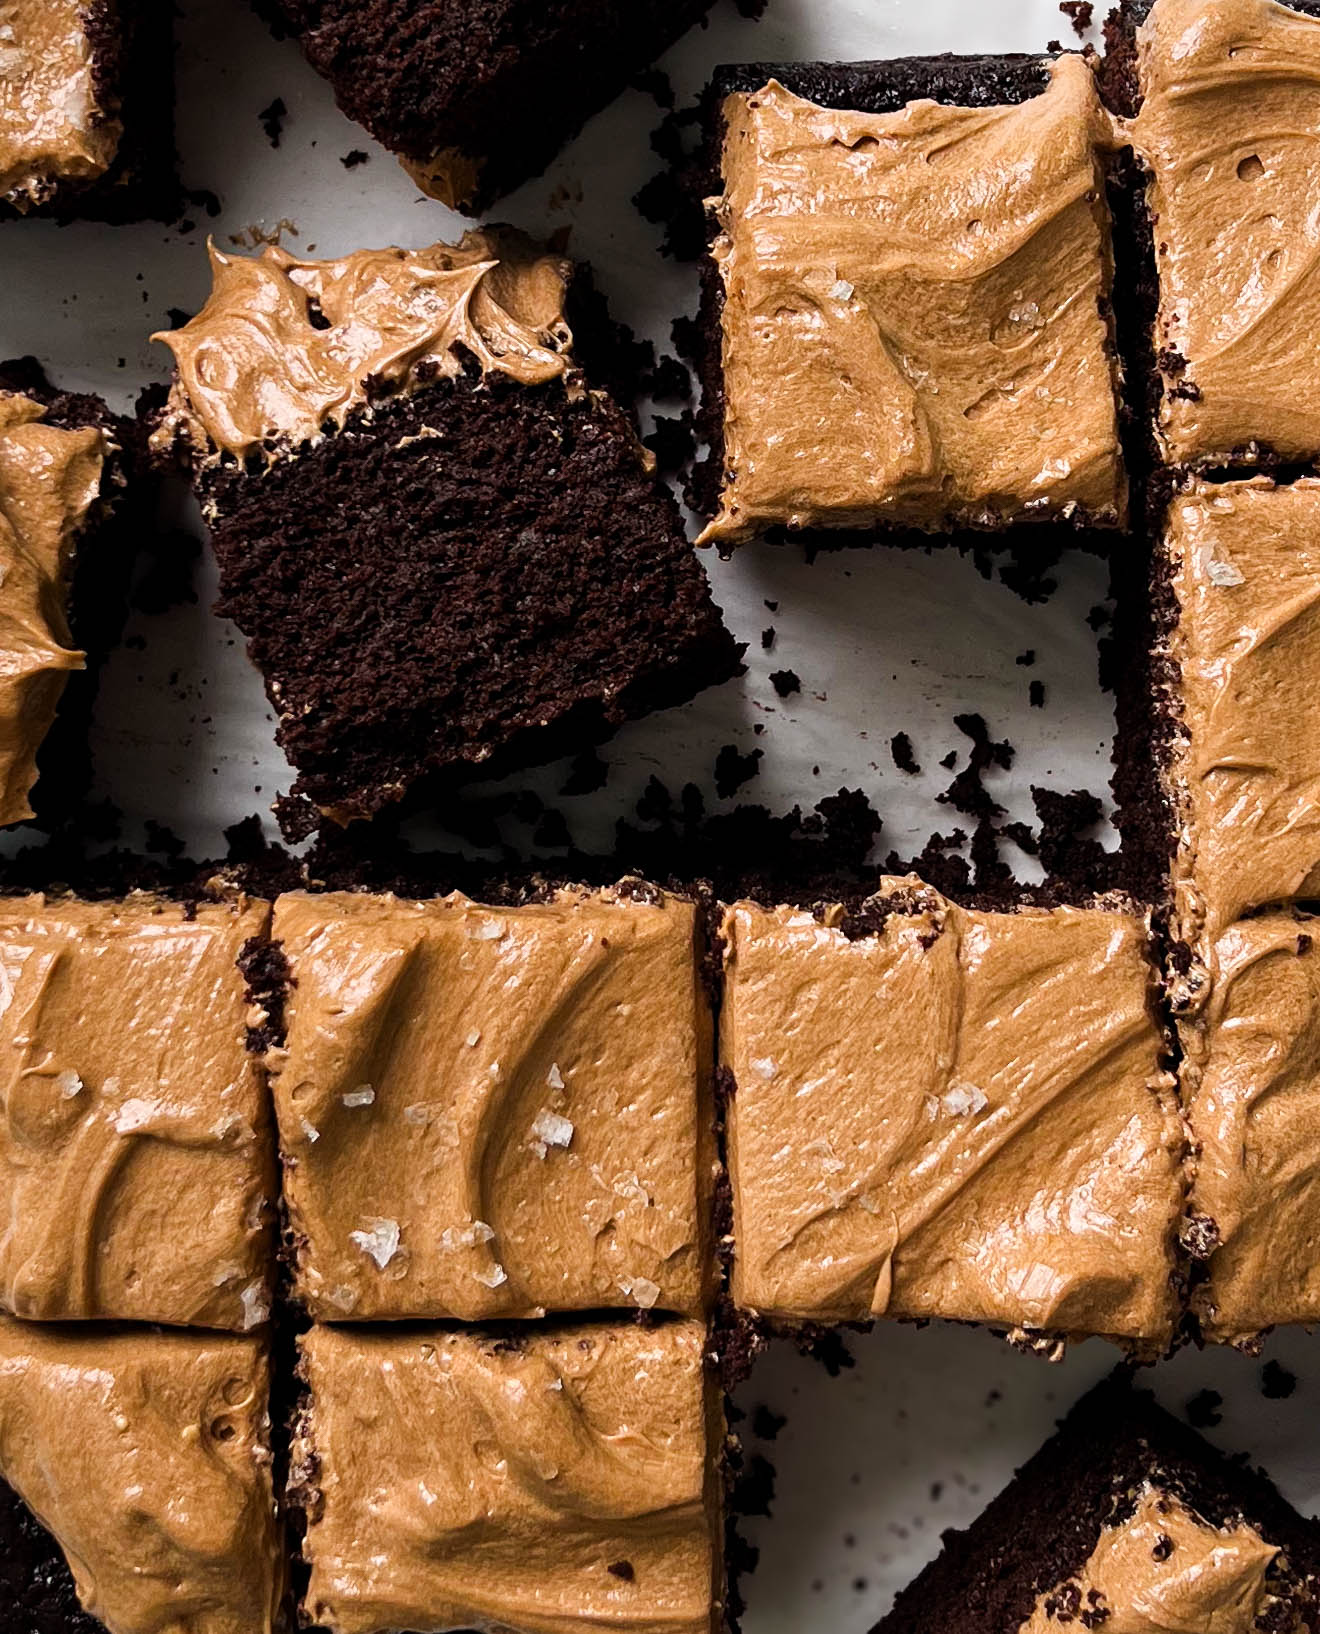
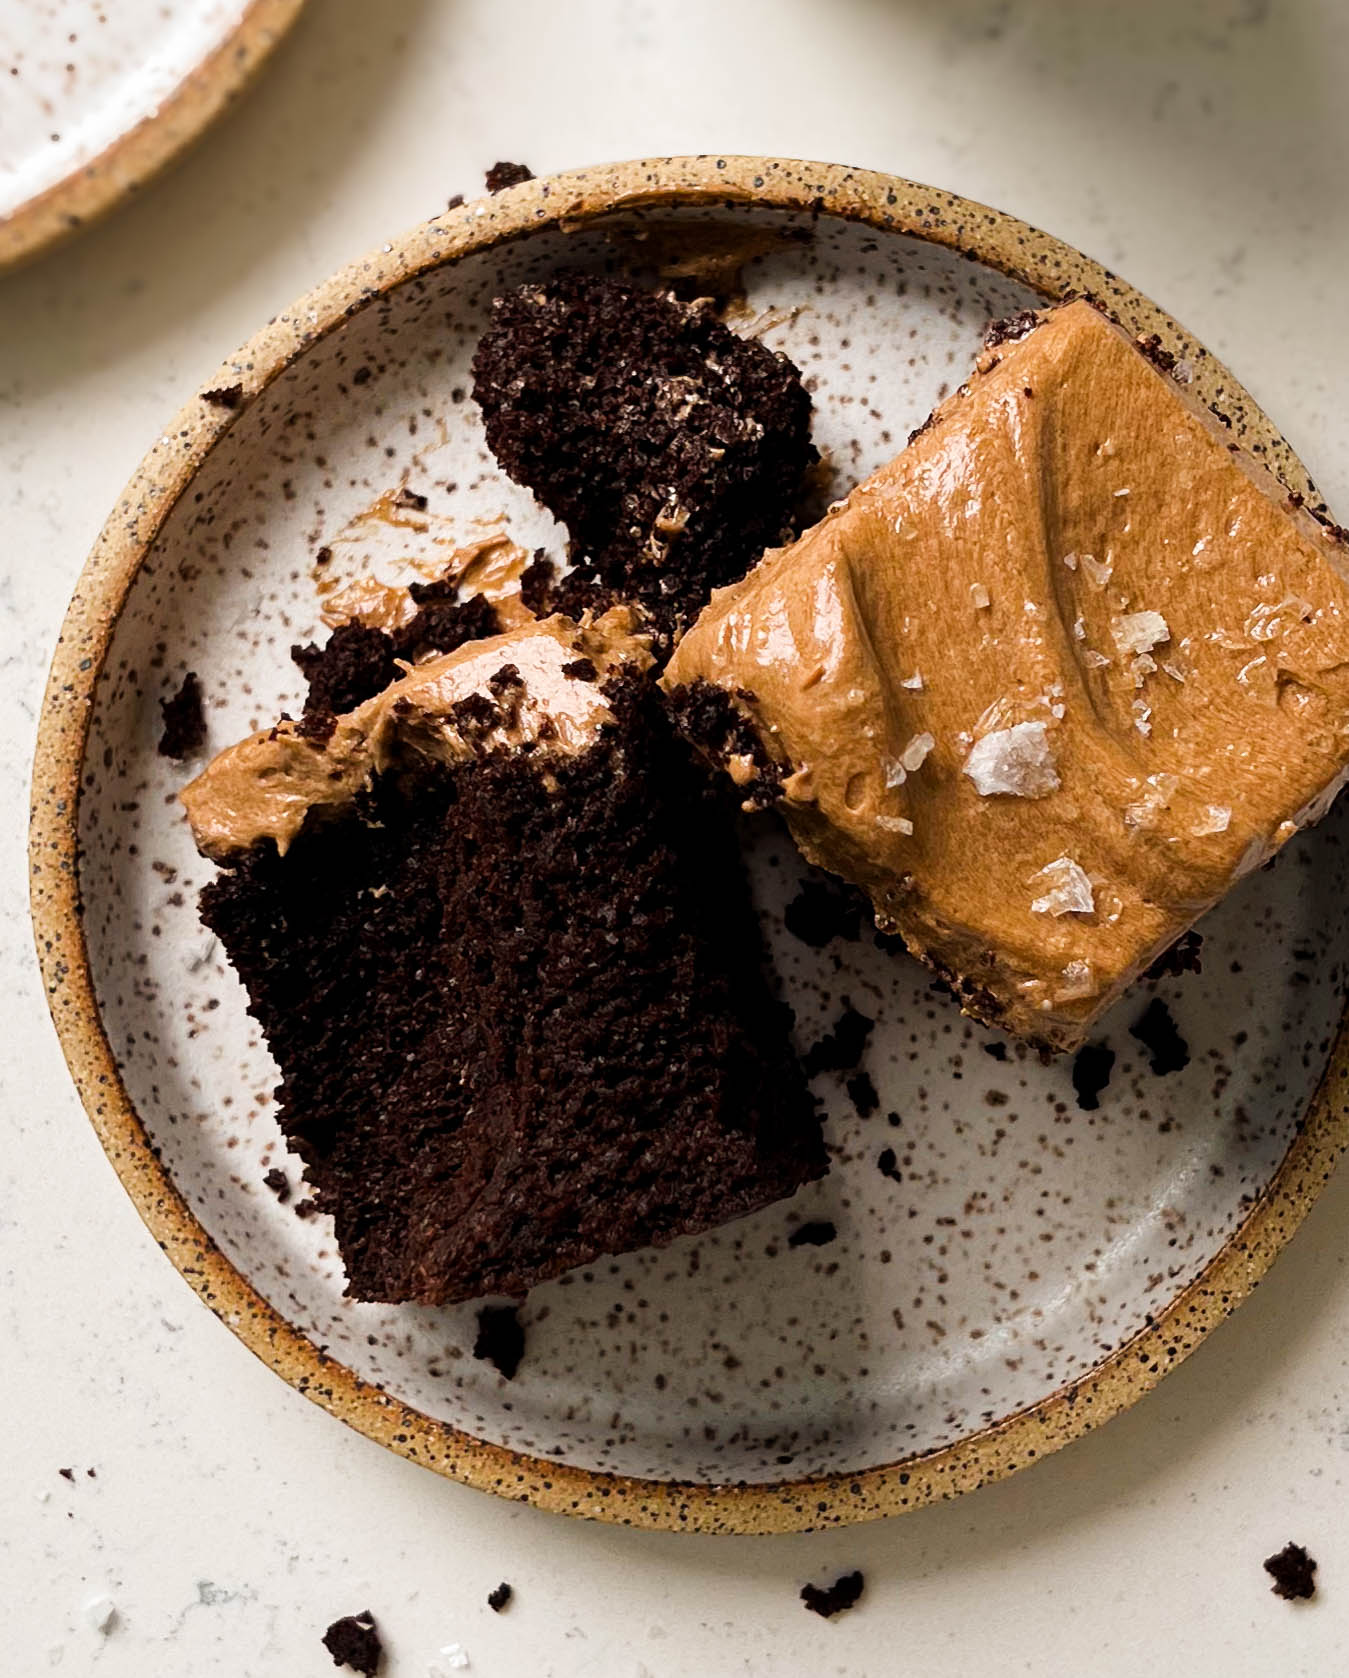
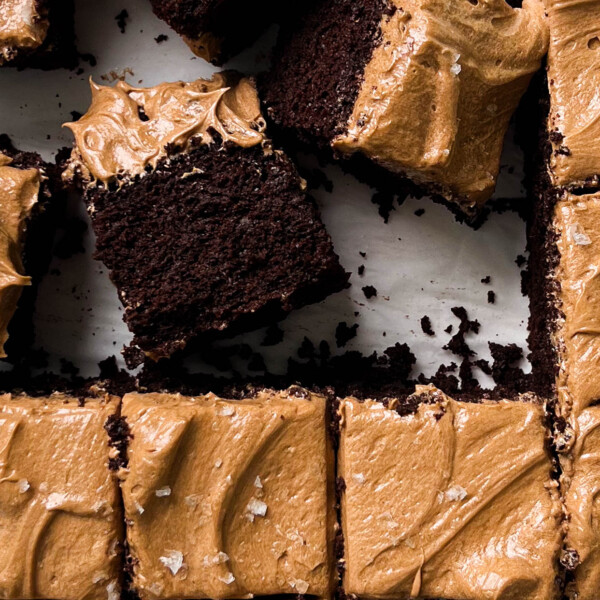
Brought to life by my love for all things coffee and chocolate, and an insatiable desire for cake, this mocha snack cake is everything you could want in a chocolate cake, and so much more. Think super moist and fudgy chocolate cake with notes of coffee, paired with a fluffy mocha cream cheese frosting. Need I say more?
And beyond tasting sinfully good, this vegan mocha snack cake recipe is egg-free, dairy-free, and easily made gluten-free!
Quick note, if you’re looking for a chocolate layer cake, highly recommend my fudgy vegan chocolate cake.
Ingredients For This Mocha Snack Cake
Outlining everything you’ll need below + a few notes on ingredients!
Cake Ingredients
- Spelt flour: I’m a big fan of One Degree Organics sprouted spelt flour.
- Unsweetened Dutch process cocoa powder: Unlike regular cocoa, dutch process cocoa is alkalized to give it a smooth, less acidic flavor, and a deeper, richer, chocolate color.
- Coconut sugar
- Espresso powder
- Baking powder and baking soda
- Kosher salt
- Cashew milk or any creamy milk: Any creamy almond milk or regular cow’s milk are the two best substitutes.
- Coconut yogurt or any thick yogurt: The yogurt in this cake helps provide the structure that eggs usually would, so make sure to use a super thick and creamy yogurt. My three favorites are Culina Greek-style coconut yogurt, CocoJune plain yogurt, and Harmless Harvest original coconut yogurt. I’ve tested this cake with all three of these yogurts and each test turned out amazing!
- Avocado oil
- Lemon juice: An acid like vinegar or lemon juice is a common ingredient in gluten-free and vegan cakes because it activates the baking soda. Essentially when the acid reacts with the baking soda, bubbles begin to form which helps give the cake lift.
- Vanilla bean paste: You can use vanilla extract, but it doesn’t come close to the intense vanilla flavor you get from the paste version.
- Freshly brewed coffee: The hot coffee helps bloom the cocoa powder and amplify its flavor.
Frosting Ingredients
- Butter or vegan butter
- Cream cheese or vegan cream cheese
- Powdered coconut sugar: Aka finely ground and sifted coconut sugar. I’ve included in the recipe card how to make your own powdered coconut sugar (hint: it’s super easy).
- Espresso powder
- Vanilla bean paste: You can use vanilla extract, but it doesn’t come close to the intense vanilla flavor you get from the paste version.
The Method Behind This Mocha Snack Cake
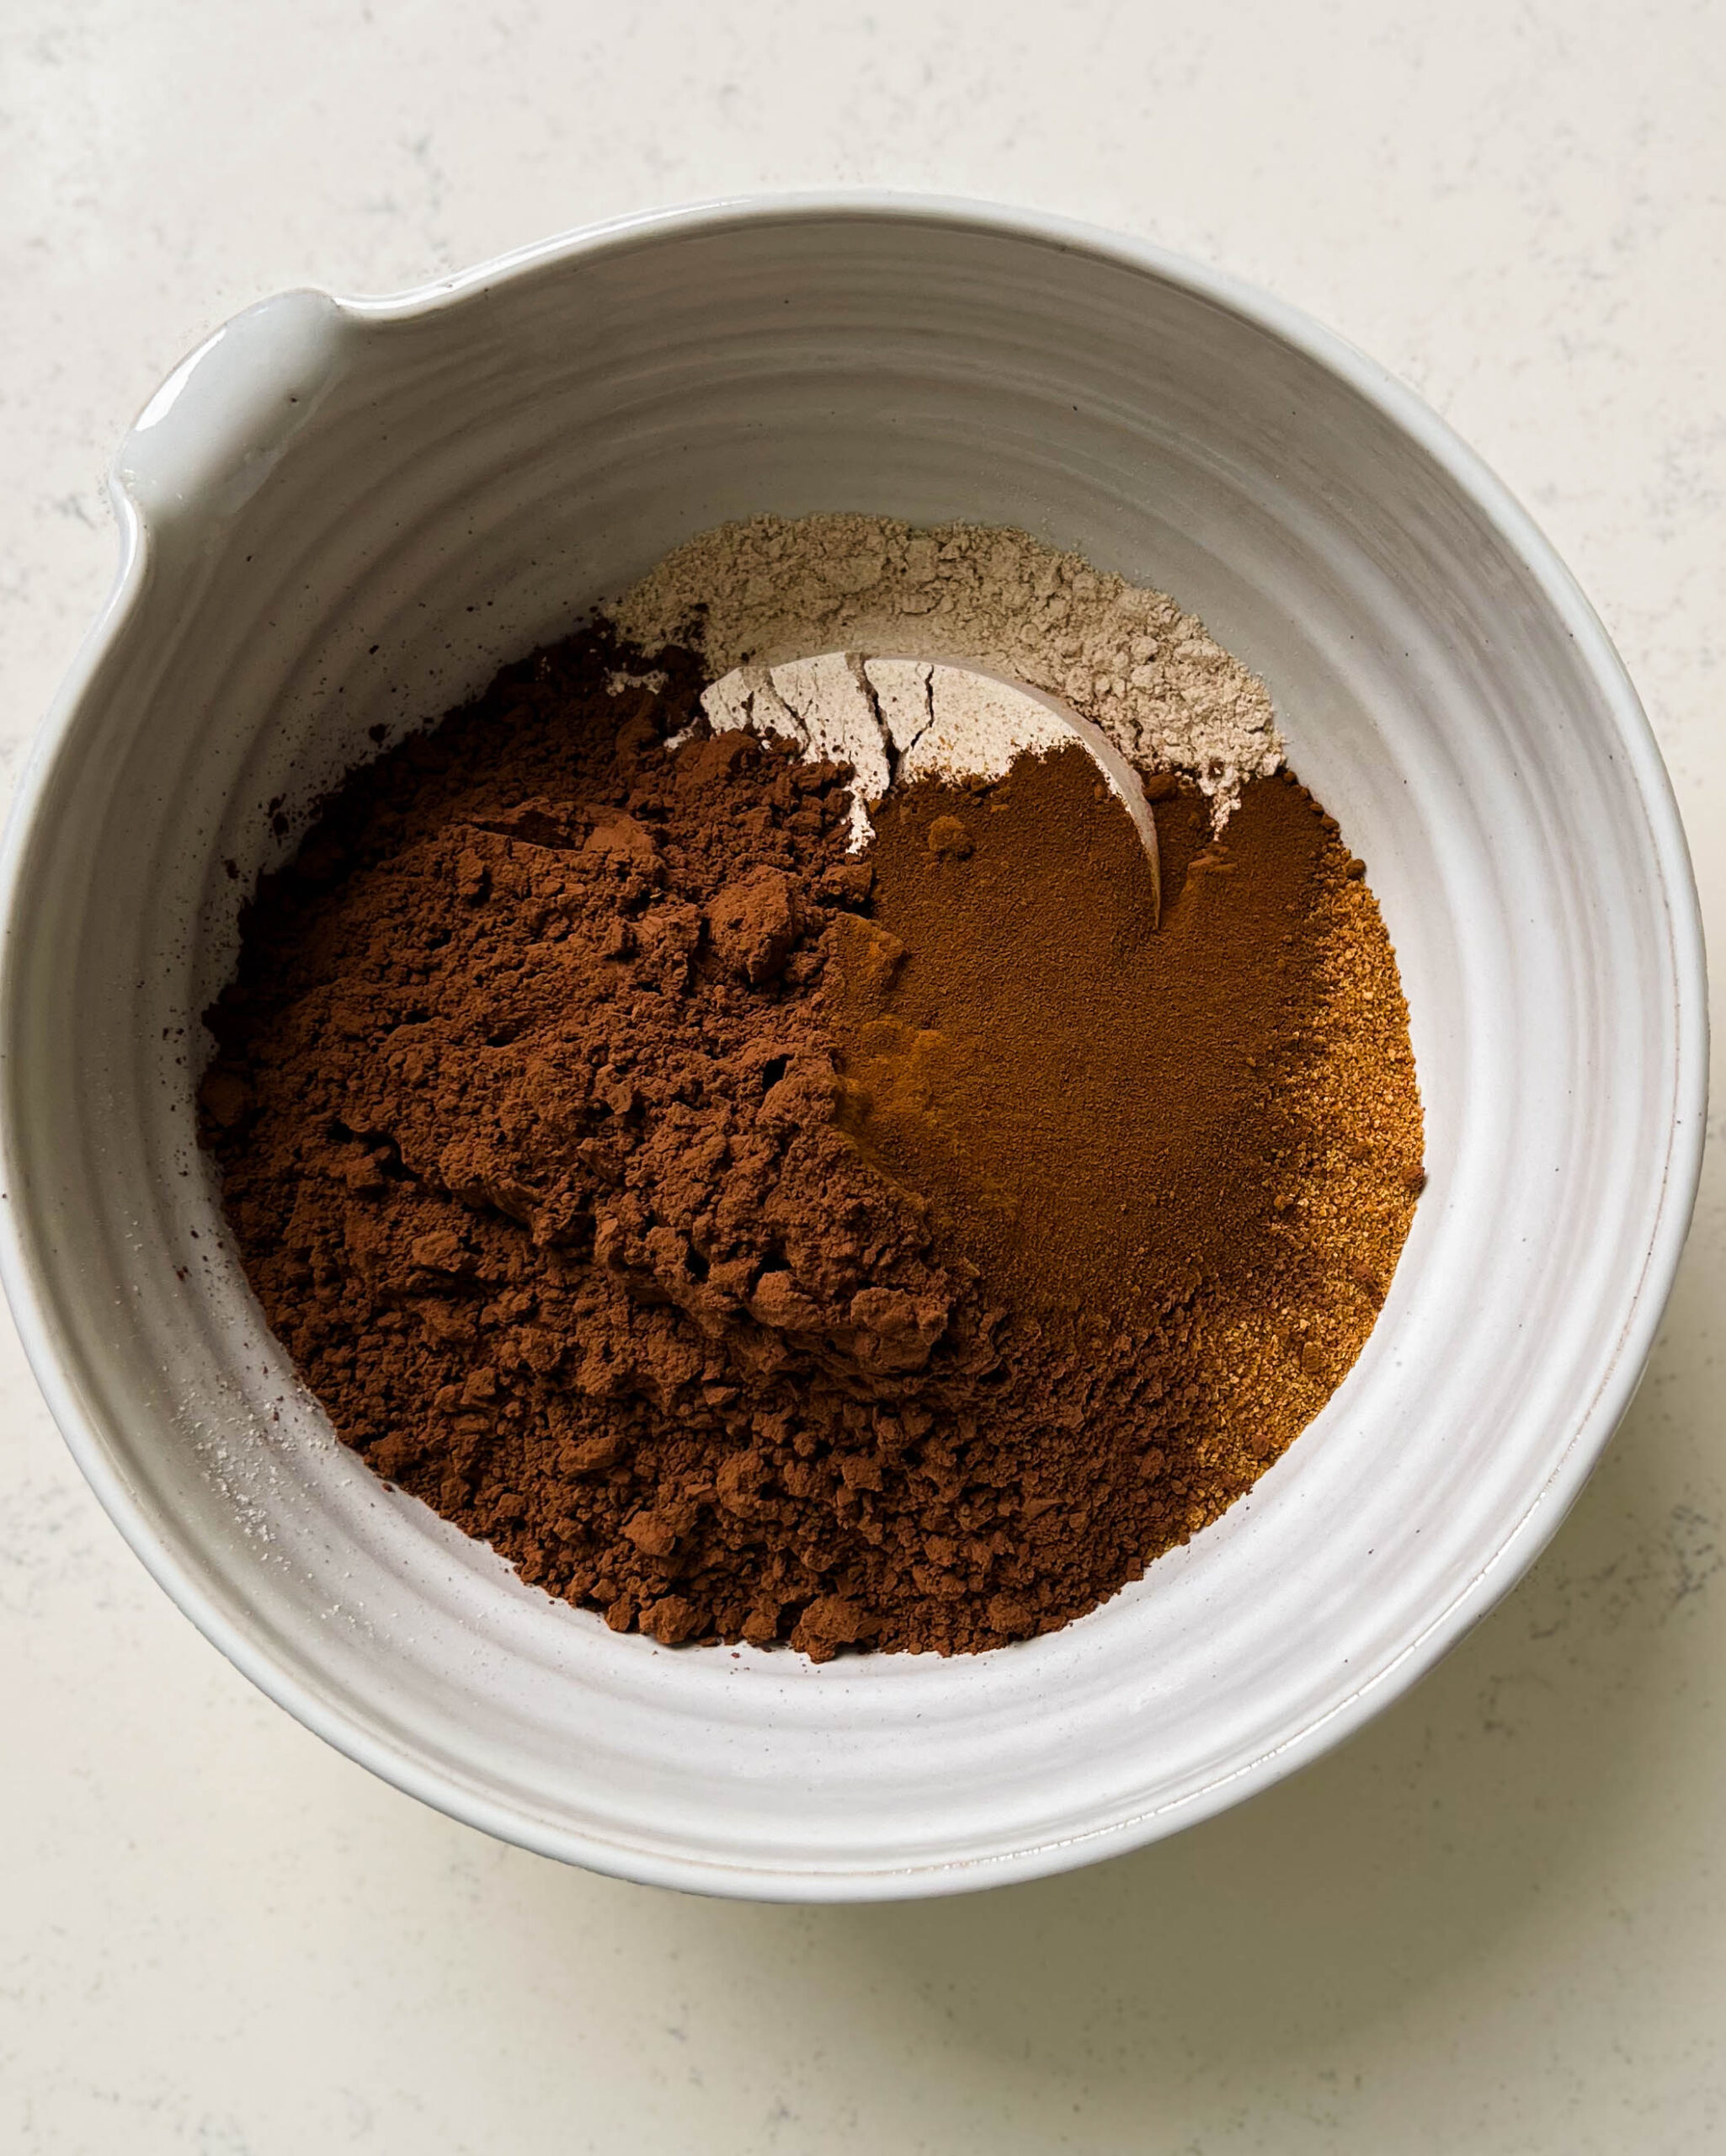
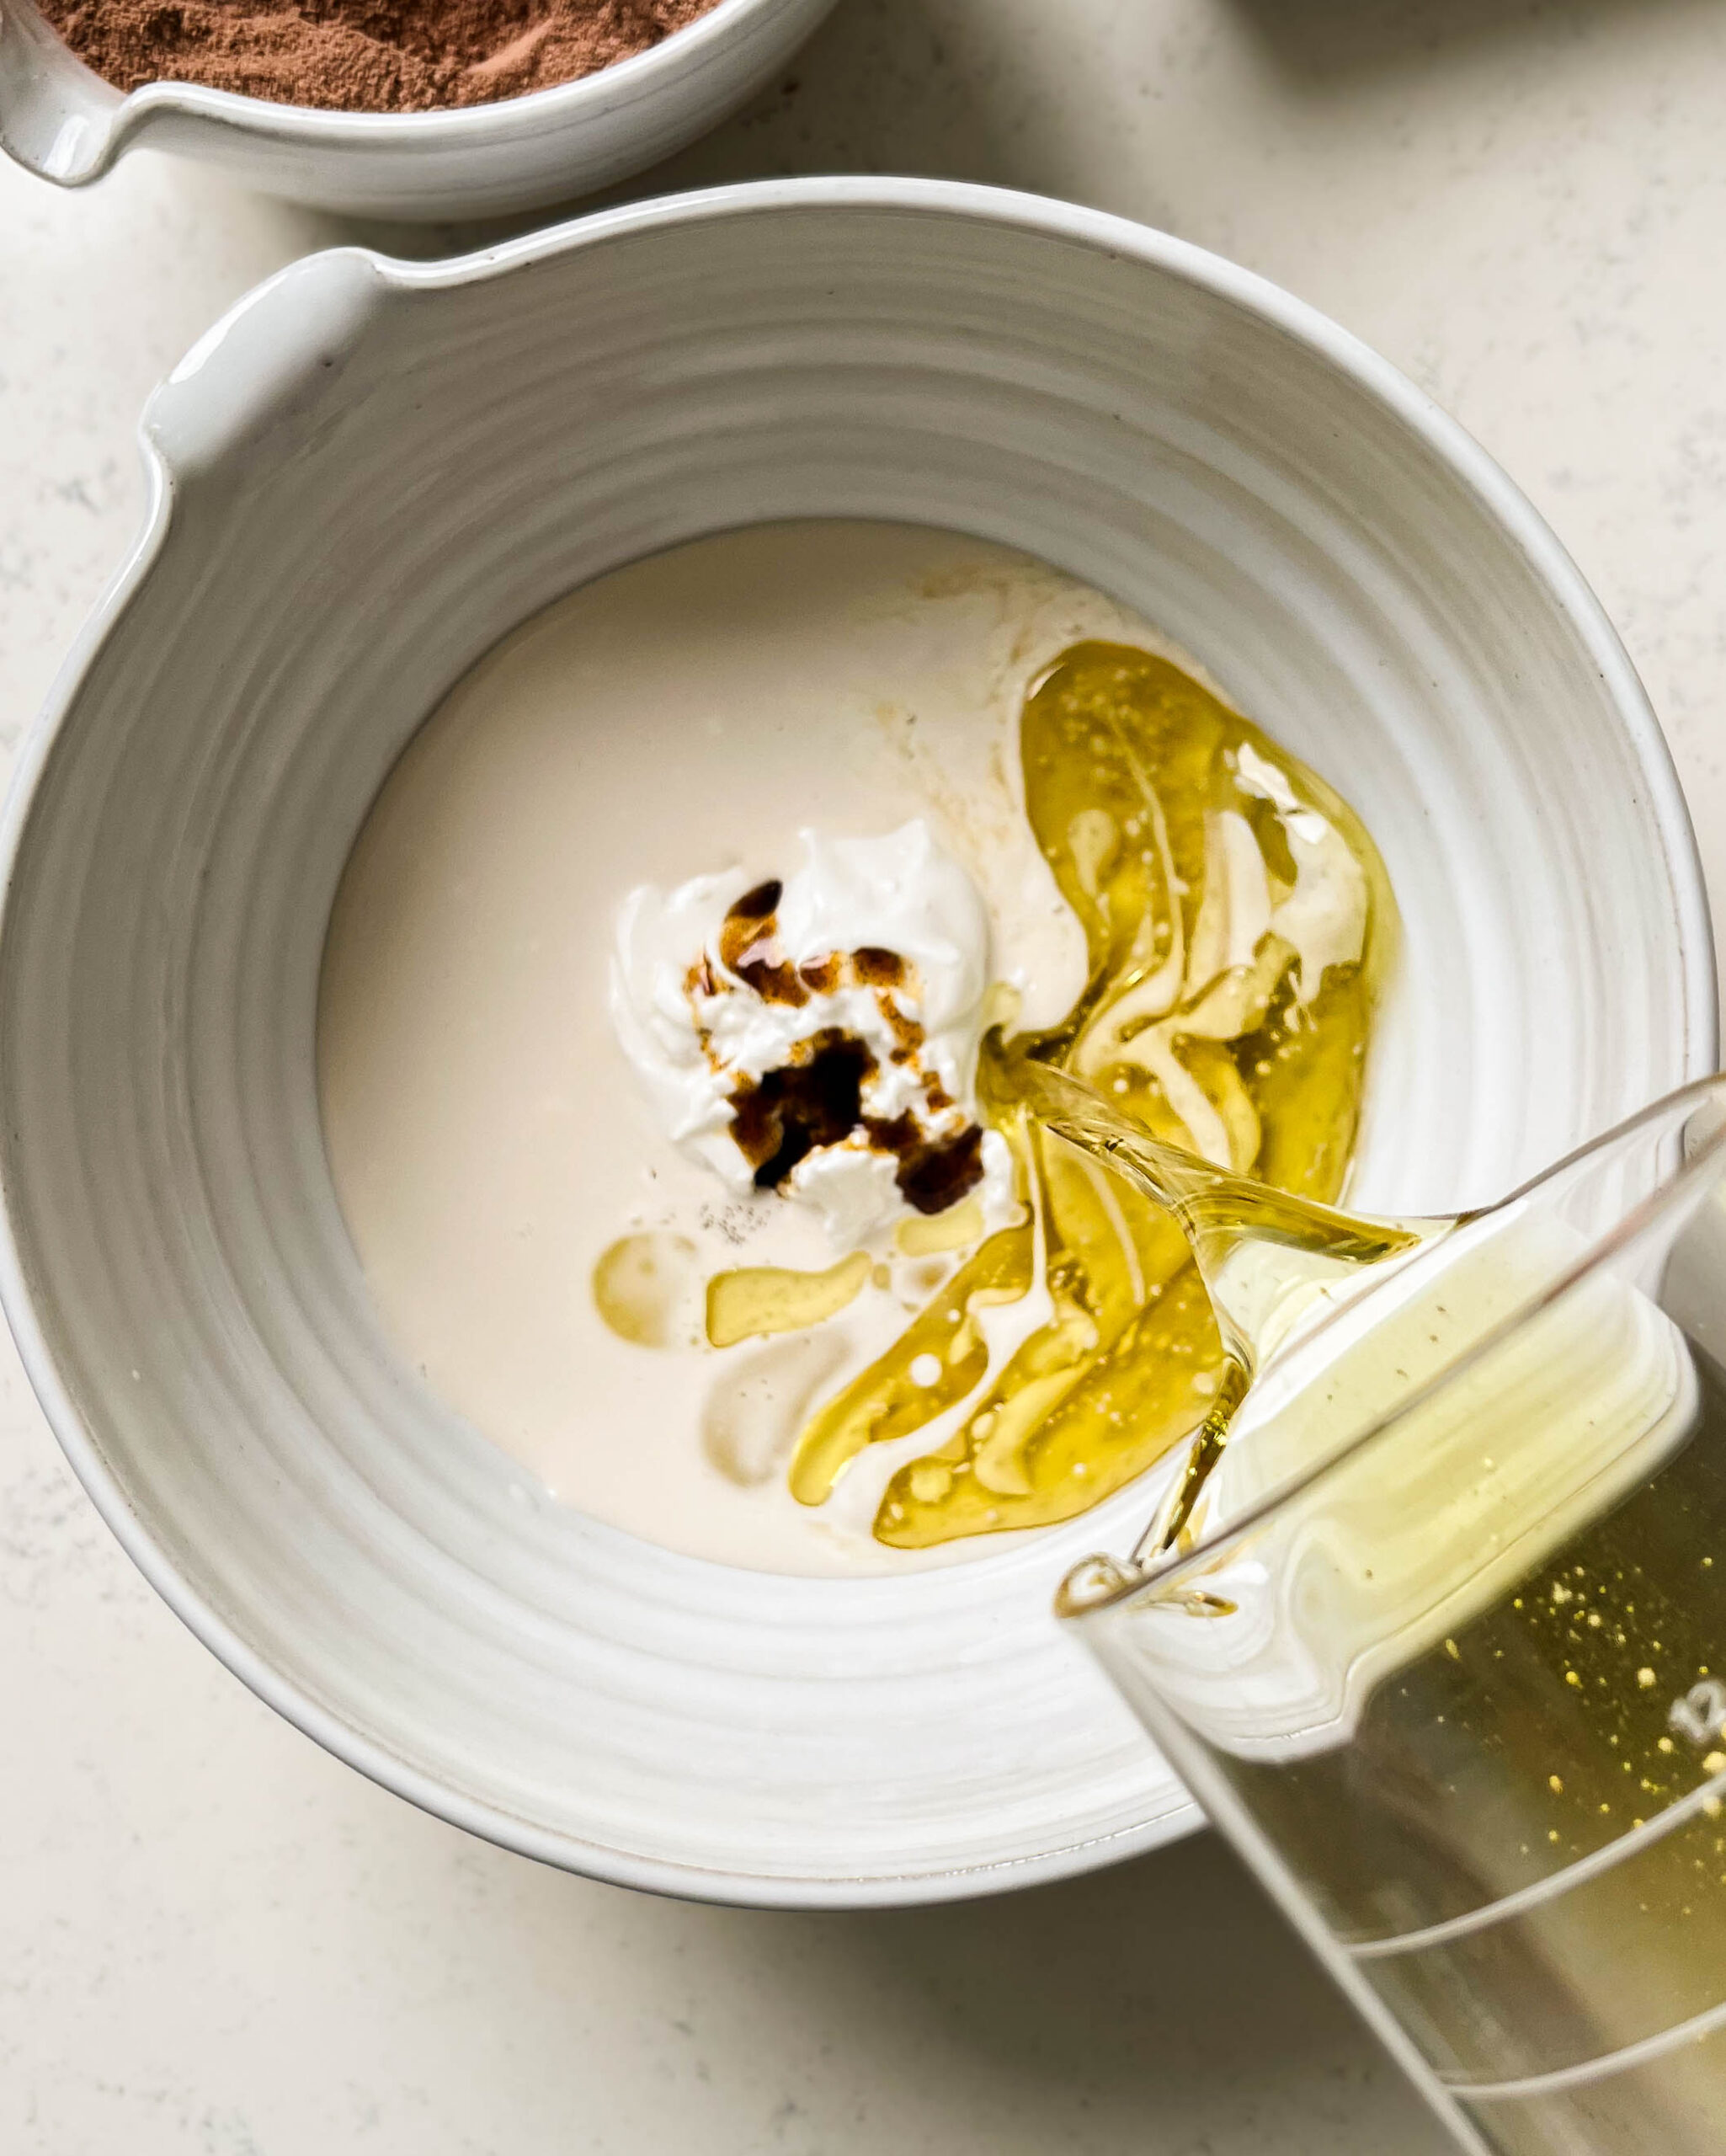
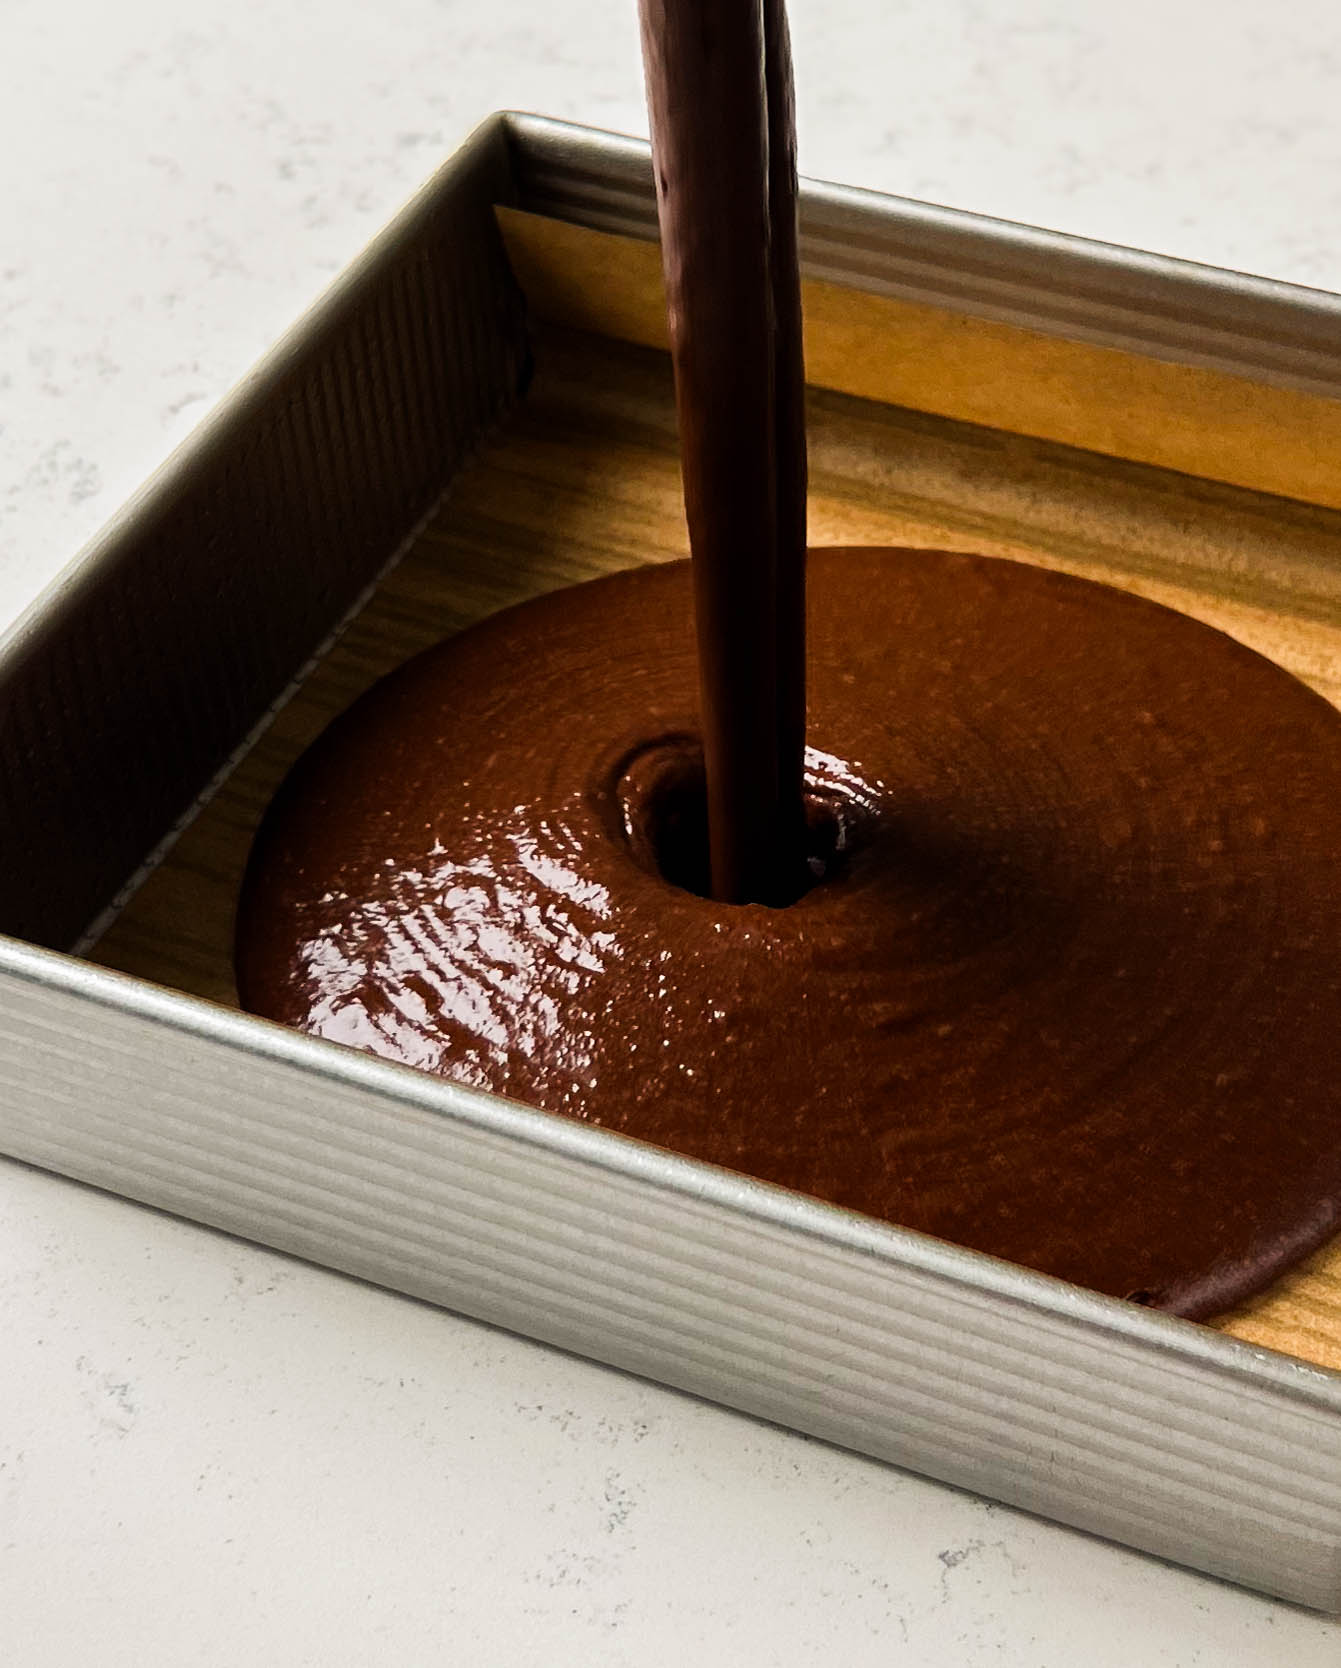
Whisk the dry ingredients in a bowl, and then whisk the wet ingredients in a separate bowl. To the milk mixture, alternate whisking in the flour mixture and freshly brewed coffee, starting and ending with the flour mixture. The batter will look thin; this is totally normal!
Pour the batter into the prepared pan and bake for 28-30 minutes, or until a toothpick in the center comes out mostly clean. Allow the cake to cool in the pan until room temperature, about 3 hours. However, I prefer to make the cake a day ahead, as cake ALWAYS tastes better the following day.
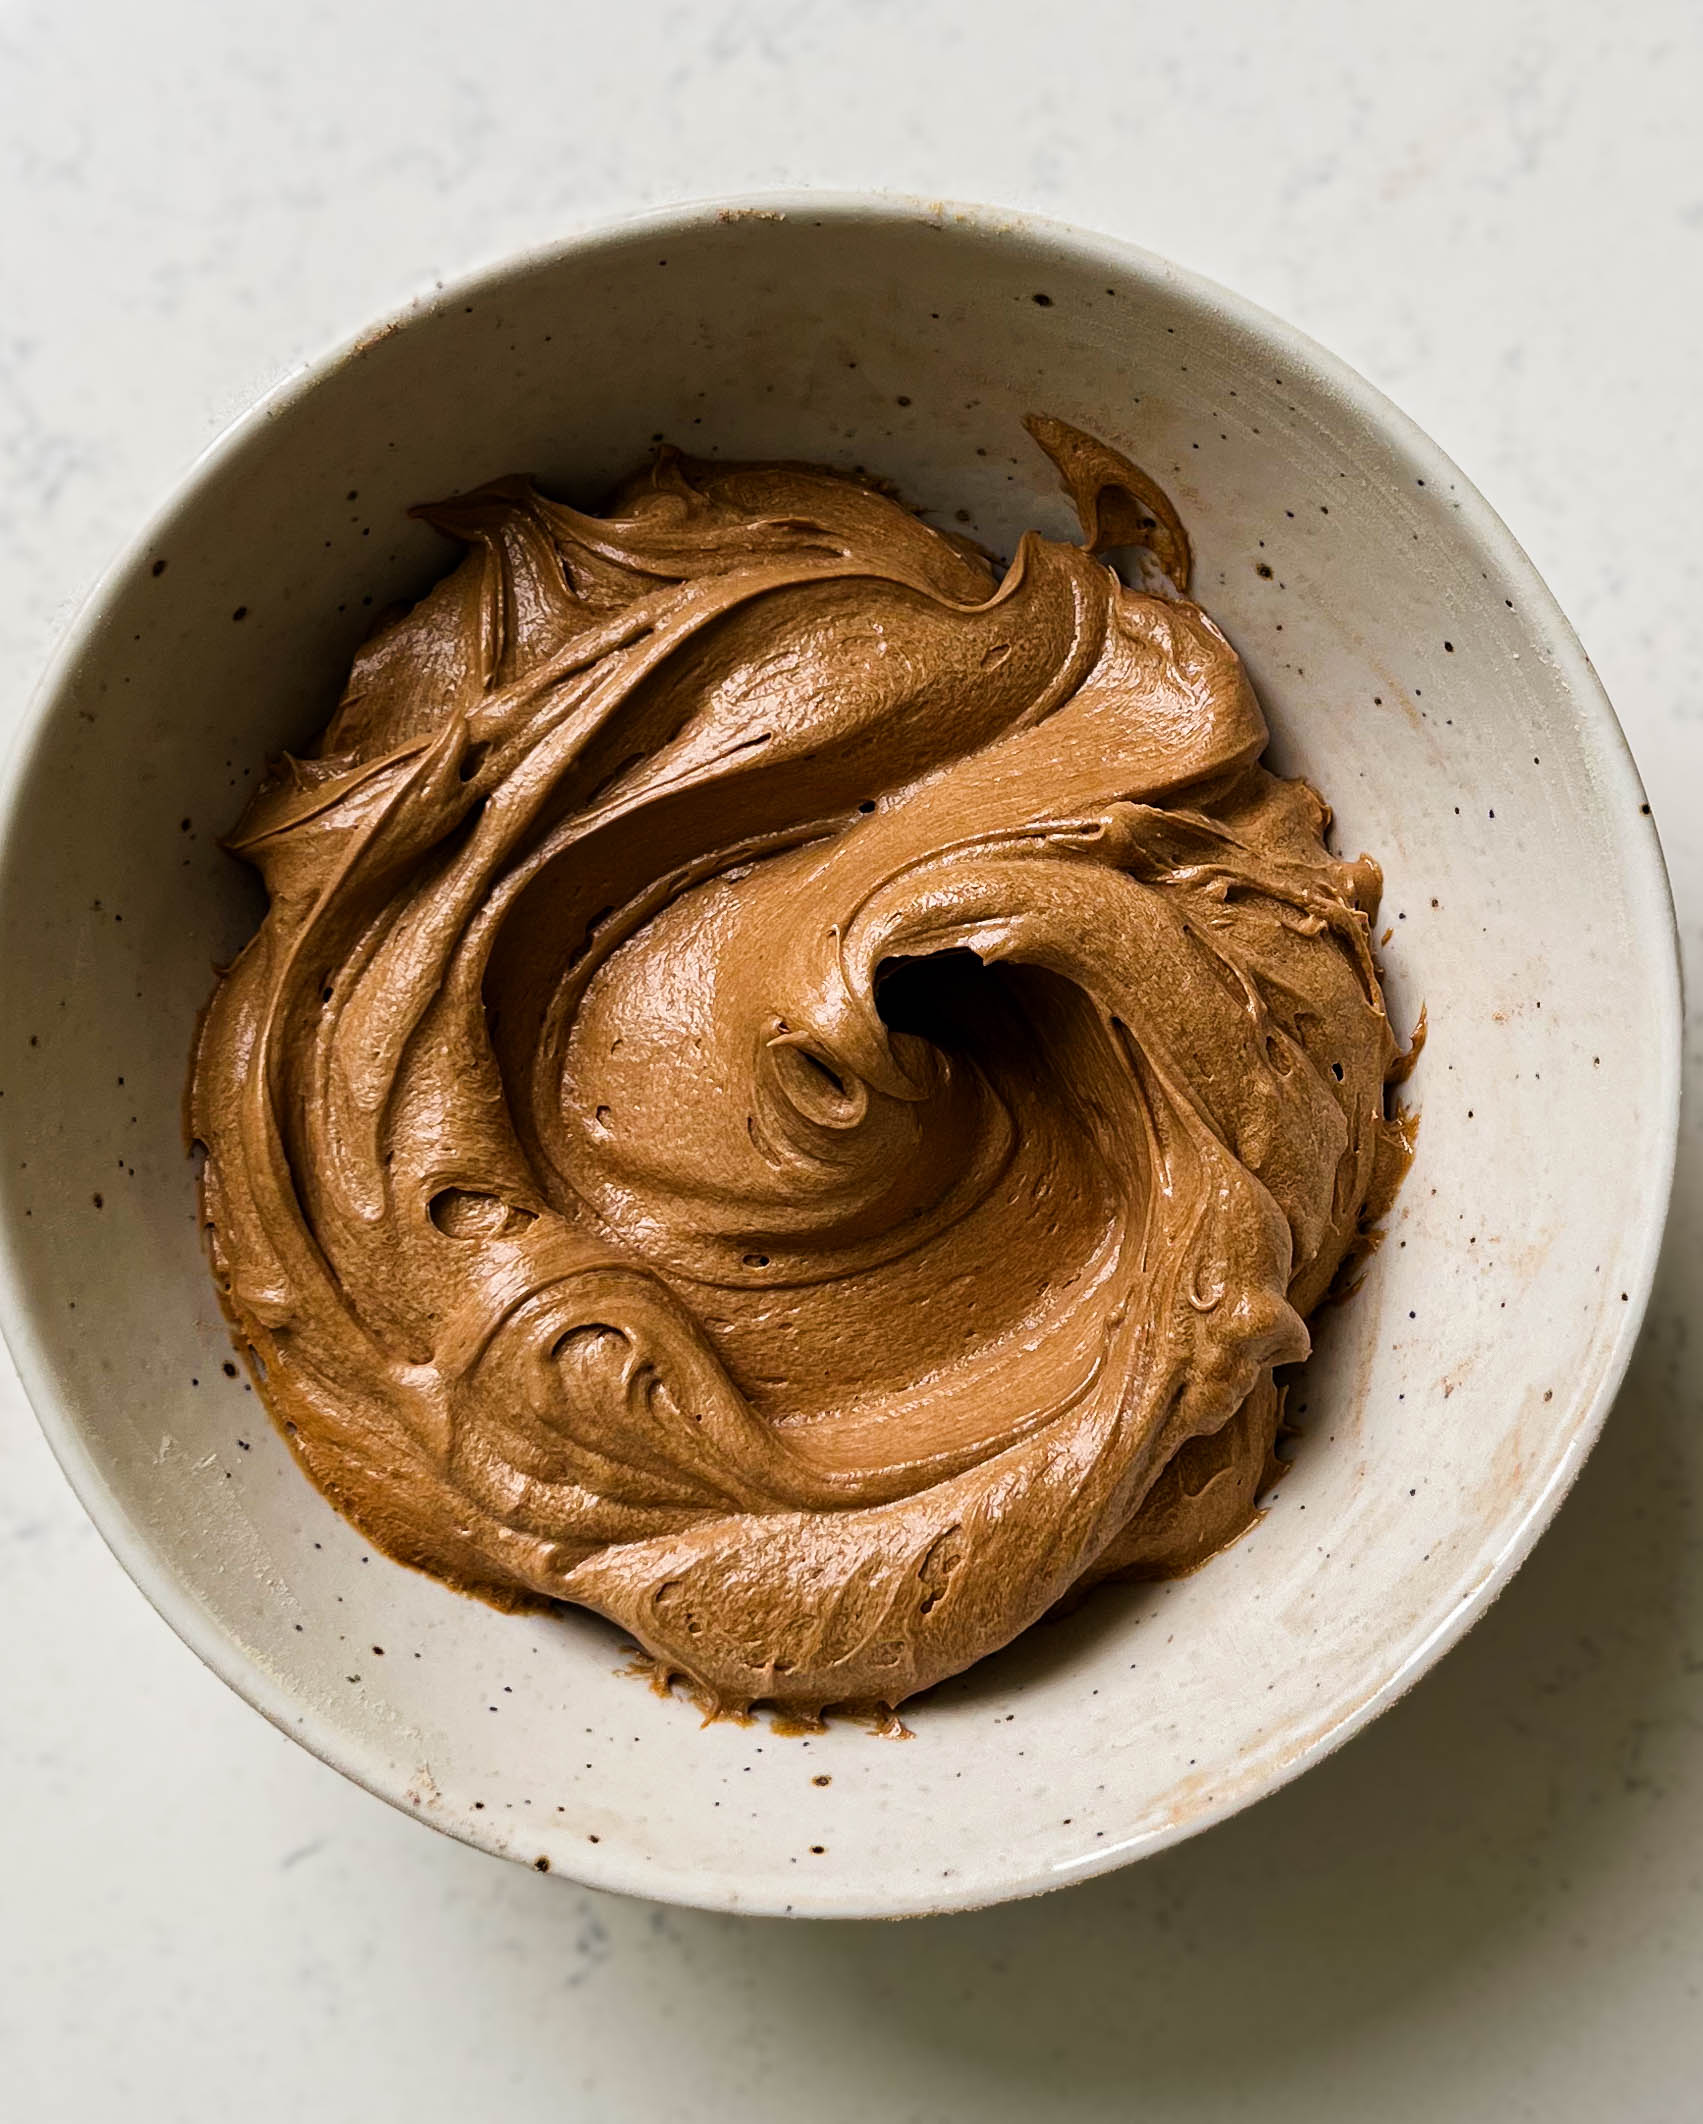
Make the powdered coconut sugar and sift together with the cocoa powder, and espresso powder, then set aside.
Using an electric mixer (I used an immersion blender with the whisk attachment), cream together the softened vegan butter and vegan cream cheese.
Sift together the powdered sugar, cocoa powder, espresso powder, and dump into the frosting along with the vanilla paste. Using a spatula, fold the dry ingredients into the frosting. I love doing this as opposed to whisking the powdered sugar/dry ingredients as it minimizes the poof of sugar and cocoa that always ends up on your cabinets. Once combined, cream the frosting together for 2 minutes on high. Taste and feel free to add in more powdered coconut sugar if you want the frosting sweeter.
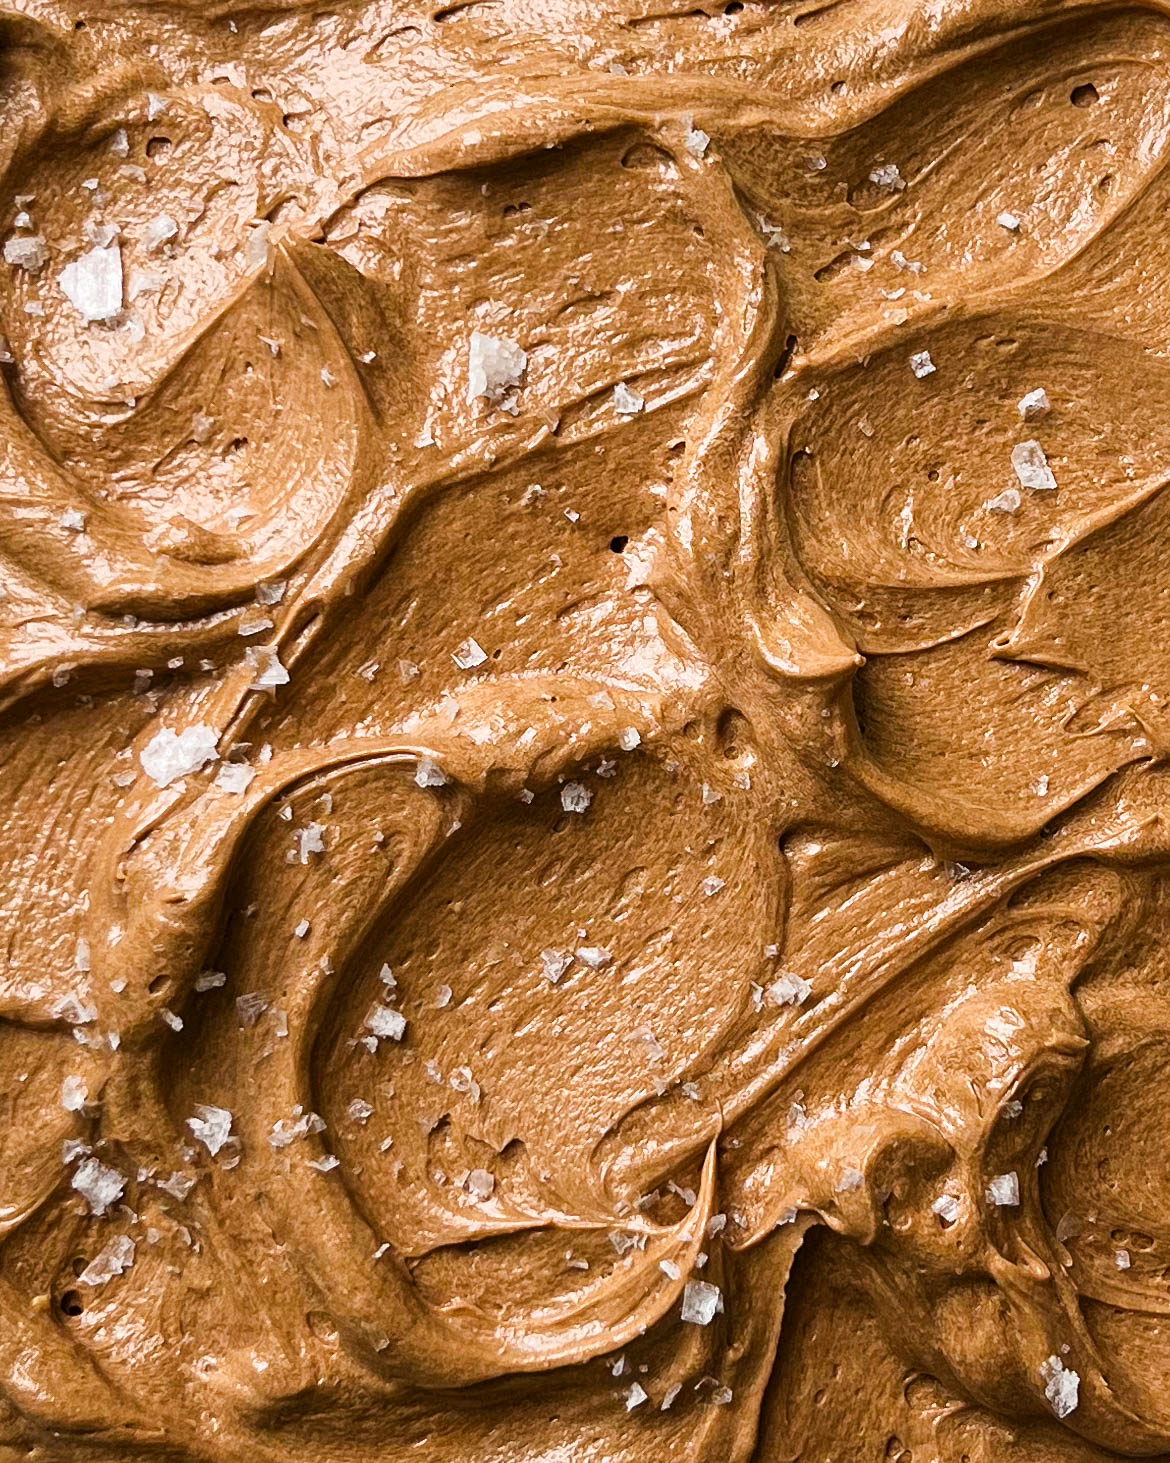
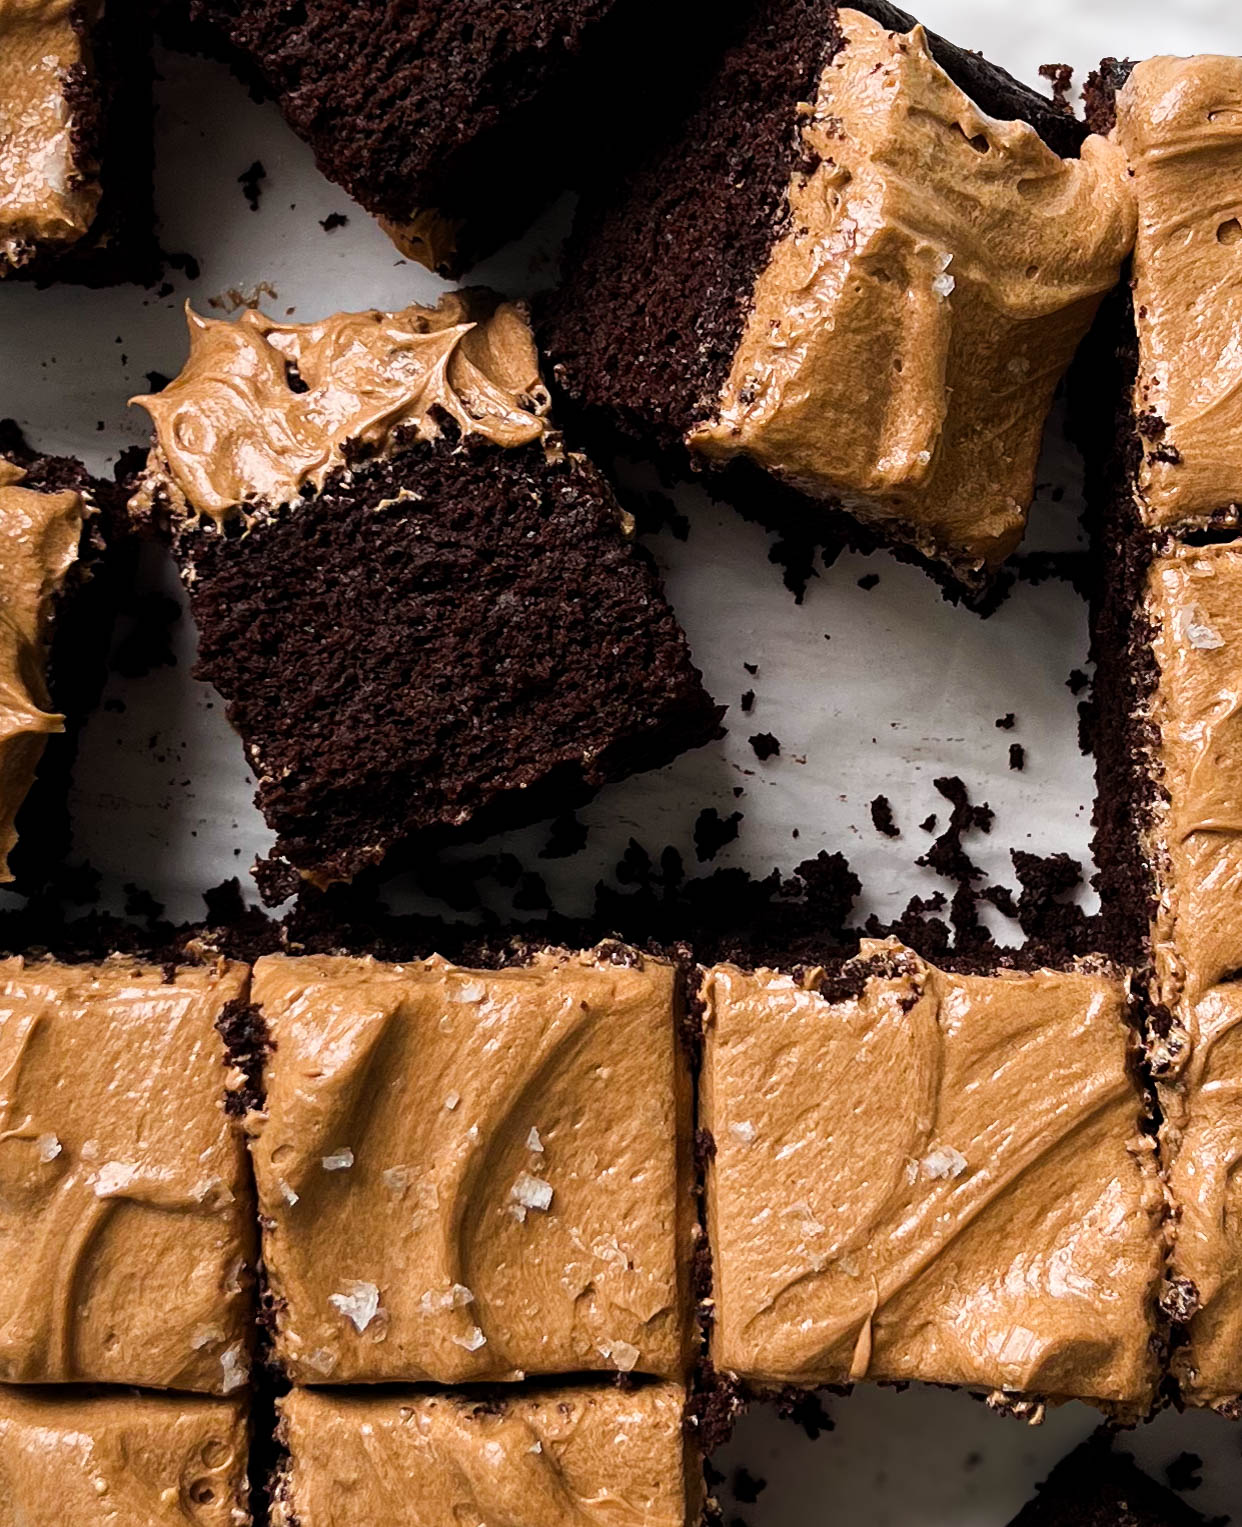
Once the cake is done cooling, plop on all of the frosting (yep, all of it). Spread the frosting out creating loose swirls and loops. Sprinkle over some flaky salt, cut into squares, and serve. Store any leftovers in a glass tupperware in the fridge for up to one week.
Important Notes
- Use metric measurements. Because metric is the only way to accurately bake!
- Your cake pan matters, like a lot! As a baking rule of thumb, use an aluminum alloy baking pan for best results. This material conducts heat very well, helps your baked goods cook evenly. I love USA Pan’s aluminized steel pans, they are incredible! Linking the exact pan I used here.
- Use high-quality ingredients, specifically cocoa powder. Quality ingredients will make your cake taste better, and using high-quality Dutch process cocoa powder can make or break the chocolatey flavor of your cake.
- Don’t over-bake your cake and chill it overnight for best results. There is nothing worse than dry cake. So instead of taking your cakes out of the oven when the toothpick comes out clean, take it out when a few moist crumbs are clinging to the toothpick. Additionally, most vegan baked goods are a bit delicate, so it’s super important to let the cake cool and chill completely to lock in structure – I prefer to chill the cake overnight.

Ingredient FAQ’s
Full transparency, I don’t condone substitutions in baking, as it can wildly skew the final results. That said, the only substitutions I can comfortably say would work are the ones flagged below.
- Can I use all-purpose flour? Absolutely! Quick note, use the imperial measurement, as the metric measurement will differ since AP flour has a different weight per gram as opposed to spelt flour.
- Can I make this cake gluten-free? Just swap in a 1:1 gluten-free flour for the spelt flour – Bob’s Red Mill 1:1 Gluten-Free Baking Flour is my personal favorite. Quick note, use the imperial measurement, as the metric measurement will differ since GF flour has a different weight per gram as opposed to spelt flour.
- Can I use regular ingredients (ie. butter, yogurt, cane sugar, etc.)? While I haven’t tested this cake with regular yogurt and cane sugar, I imagine it should work just well. To reiterate what I said above, use the imperial measurement, as the metric measurement will differ. However, this mocha cream cheese frosting is super forgiving, so feel free to use regular butter and cream cheese if you prefer.
- What vegan butter do you recommend? Miyoko’s unsalted vegan butter.
- What vegan cream cheese do you recommend? Kite Hill’s plain vegan cream cheese.
- What espresso powder did you use and is instant coffee a good substitute? Love this espresso powder from King Arthur – the flavor is exceptional. You can use instant coffee, but the espresso flavor won’t be as prominent in the cake.
So excited for you to make this mocha snack cake! If you have any questions, feel free to comment below or send me a message on Instagram. Don’t forget to leave a rating and review below – always appreciate your feedback.
Happy baking!
Print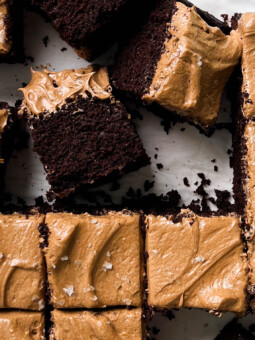
Mocha Snack Cake
- Prep Time: 25 minutes
- Cool Time: 3 hours
- Cook Time: 30 minutes
- Total Time: 3 hours 55 minutes
- Yield: 6–8 servings 1x
- Category: Dessert, Cake
- Cuisine: American
Description
This sinfully good mocha snack cake is a combo of super moist and fudgy chocolate cake with notes of coffee, paired with a fluffy mocha cream cheese frosting. Plus, it’s refined sugar-free, egg-free, dairy-free, and easily made gluten-free!
Ingredients
Mocha Cake Ingredients
- 2 cups (260 g) spelt flour
- 1 1/2 cups (210 g) coconut sugar
- 3/4 cup (60 g) unsweetened Dutch process cocoa powder, sifted
- 1 tbsp espresso powder
- 1 1/2 tsp baking powder
- 1 tsp baking soda
- 1/2 tsp kosher salt
- 1 cup (220 ml) cashew milk or any creamy milk
- 2/3 cup (160 g) thick coconut yogurt
- 1/2 cup (115 ml) avocado oil
- 1 tbsp lemon juice
- 1 tsp vanilla bean paste
- 1 cup (220 ml) freshly brewed hot coffee
Mocha Cream Cheese Frosting
- 1/2 cup (4 oz or 115 g) unsalted butter or unsalted vegan butter, softened
- 1 cup (8 oz or 227 g) cream cheese or vegan cream cheese
- 1 cup (125 g) powdered coconut sugar*
- 1 tbsp cocoa powder
- 1 tbsp espresso powder
- 1 tsp vanilla bean paste
- Flaky salt for garnish, optional
Instructions
- Preheat the oven to 350°F and grease a 9-inch square pan (I love USA Pan’s aluminized steel pans) with avocado oil (or any neutral oil) and line with parchment paper. I like to leave an overhang so I can easily lift the cake from the pan using the paper.
- Whisk together the dry ingredients. Sift together the flour, coconut sugar, cocoa powder, espresso powder, baking powder, baking soda, and salt in a medium bowl, whisk and set aside.
- Whisk together the wet ingredients. In a large bowl, whisk together the milk, yogurt, avocado oil, lemon juice, and vanilla paste.
- Make the batter. To the milk mixture, alternate whisking in the flour mixture and freshly brewed coffee, starting and ending with the flour mixture. The batter will look thin; this is totally normal!
- Bake and cool. Pour the batter into the prepared pan and bake for 28-30 minutes, or until a toothpick in the center comes out mostly clean. Allow the cake to cool in the pan until room temperature, about 3 hours. However, I prefer to make the cake a day ahead, as cake ALWAYS tastes better the following day,
- Make the frosting. Using an electric mixer (I used an immersion blender with the whisk attachment), cream together the softened vegan butter and vegan cream cheese. In a separate bowl, sift together the powdered coconut sugar, cocoa powder, and espresso, then dump into the bowl of frosting along with the vanilla paste. Using a spatula, fold the dry ingredients into the frosting. I love doing this as opposed to whisking the powdered sugar as it minimizes the poof of sugar and cocoa that always ends up on your cabinets if you’re not careful. Once combined, cream the frosting together for 2 minutes on high. Taste and feel free to add in more powdered coconut sugar if you want the frosting sweeter.
- Assemble and serve. Once the cake is done cooling, plop on all of the frosting (yep, all of it). Spread the frosting out creating loose swirls and loops. Sheet cakes are supposed to be rough and imperfect, plus they always look good no matter how much you play with the frosting, so don’t fuss with it too much. Sprinkle over some flaky salt, cut into squares, and serve.
- Store any leftovers in a glass tupperware in the fridge for up to one week.
Notes
*How do I make powdered coconut sugar? Simply add 1/2 cup of coconut sugar into a spice grinder or coffee grinder and grind on high until powdery. Repeat this process for the remaining 1/2 cup of sugar. Dump the powdered sugar into a fine-mesh sieve and sift so you’re left with powdered coconut sugar that acts just like regular powdered sugar! And feel free to just use regular powdered sugar if you’re not refined sugar-free.
Adapted this recipe and made it into my 3-tier birthday cake. Simply followed the recipe for the cake as written, but baked the batter in three 8″ cake rounds at 350°F for about 22 minutes (they bake fast). And used this chocolate cream cheese frosting recipe instead.

This cake turned out super moist and I loved how flat the layers are (you don’t even need to level it!). I made quite a few alterations–for example, used all dairy products, and used 2 cups of all purpose flour since I didn’t have spelt, also baked this in 3, 6″ diameter cake pans, and also used 2 shots of espresso + 3/4 cup hot water–but low and behold, it still turned out delicious and perfect!
Only critique, the cake tastes more like a dark chocolate than mocha/coffee, I’d probably try and add 2 additional TBSP of espresso powder? But Mariyah, please advise there 🙂 Thank you for sharing this egg-free recipe!
Was searching by aesthetics for a mocha cake on tiktok & came across this one – and was amazed to see it’s also vegan!! This was my first egg/dairy free bake and was the fluffiest tastiest cake I’ve had. Took it to friends and family & it served everyone and they all loved it. Will definitly use your recipes more going forwards!!
Blushing, so happy everyone loved it!! Thank you so much for leaving a review 🙂