Nothing says the holidays quite like fluffy homemade cinnamon rolls! And I’ve spent the better part of the past 2 months perfecting this recipe for homemade cinnamon rolls without eggs. So not only is this recipe close to perfect, but I also have a ton of tips and notes to share with you (I promise, it’s worth reading through).
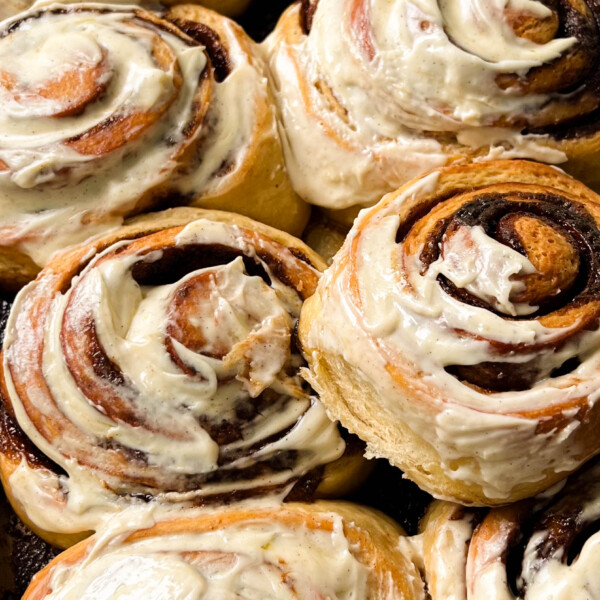
Now, these overnight cinnamon rolls are basically my IDEAL cinnamon roll – they’re fluffy and soft, with a golden-brown exterior, plus they’re loaded with a cinnamon sugar vanilla bean filling and generously topped with a vanilla bean cream cheese frosting (yes, frosting, not icing)! These homemade vegan cinnamon rolls are ooey gooey heaven!
Best of all, these homemade cinnamon rolls are refined sugar-free, egg-free, and easily made vegan!

Ingredients For These Homemade Cinnamon Rolls
Outlining everything you’ll need for these vegan cinnamon buns – including equipment!
- Stand mixer with a dough hook: I hate to say this, but this recipe will not work without a stand mixer. The dough needs around 20 minutes of kneading, and incorporating the butter by hand would be a nightmare.
- Rimmed baking sheet: I like to use an aluminized steel pan instead of a baking dish because it conducts heat very well and ensures the rolls bake evenly. Plus, a rimmed baking sheet helps the rolls bake in a circle, instead of a square.
- Rolling pin
- All-purpose flour: I love Bob’s Red Mill AP flour (nope, not sponsored, just a big fan).
- Instant yeast: Not active dry yeast, but instant yeast. And before you ask, yes, there is a difference between both. Active dry yeast and instant yeast both help leaven bread and give it an airy, light crumb, but in different ways. Active dry yeast needs to be dissolved or activated in warm water. While instant yeast can be mixed directly into the dry ingredients. And since I wanted to keep this recipe as simple as possible, I opted to go with instant yeast so you could mix everything together (no muss, no fuss).
- Unsalted butter: Unsalted butter gives you so much more control over the amount of salt in your baked goods. If you’re vegan, Miyoko’s unsalted vegan butter; it’s the best 1:1 swap.
- Coconut sugar
- Creamy milk: Such as my homemade almond milk. Quick note, please use milk, not creamer!!
- Ceylon cinnamon
- Vanilla bean paste or ground vanilla bean
- Vegan cream cheese: Kite Hill cream cheese is my favorite non-dairy cream cheese; it tastes amazing and works so well in baked goods. Obviously, use regular cream cheese if you’re not dairy-free.
- Honey or maple syrup: Both work equally well to sweeten the frosting!
- Kosher salt

How To Make Homemade Cinnamon Rolls
Breaking down exactly how to make these homemade cinnamon rolls with photos (because I’m a visual girlie), but the full recipe with measurements is in the recipe card below.
Make The Dough
Warm the milk in a small saucepan over low heat until it’s lukewarm to the touch, but not hot (around 100°F). Pour the warmed milk into the bowl of a stand mixer and whisk in the sugar and yeast until combined.
Next, add in the flour and salt, and using the dough hook attachment, mix on low speed until a dough forms – it should be smooth and elastic and pull away from the bowl (about 4 minutes).Next, add the butter pieces, one at a time, waiting for the dough to absorb each piece before adding more until you have a soft and supple dough. This process takes a total of 20 minutes, so be patient. The dough is done mixing and kneading once you’ve tested it using the windowpane test (see the notes section of the blog post for details).
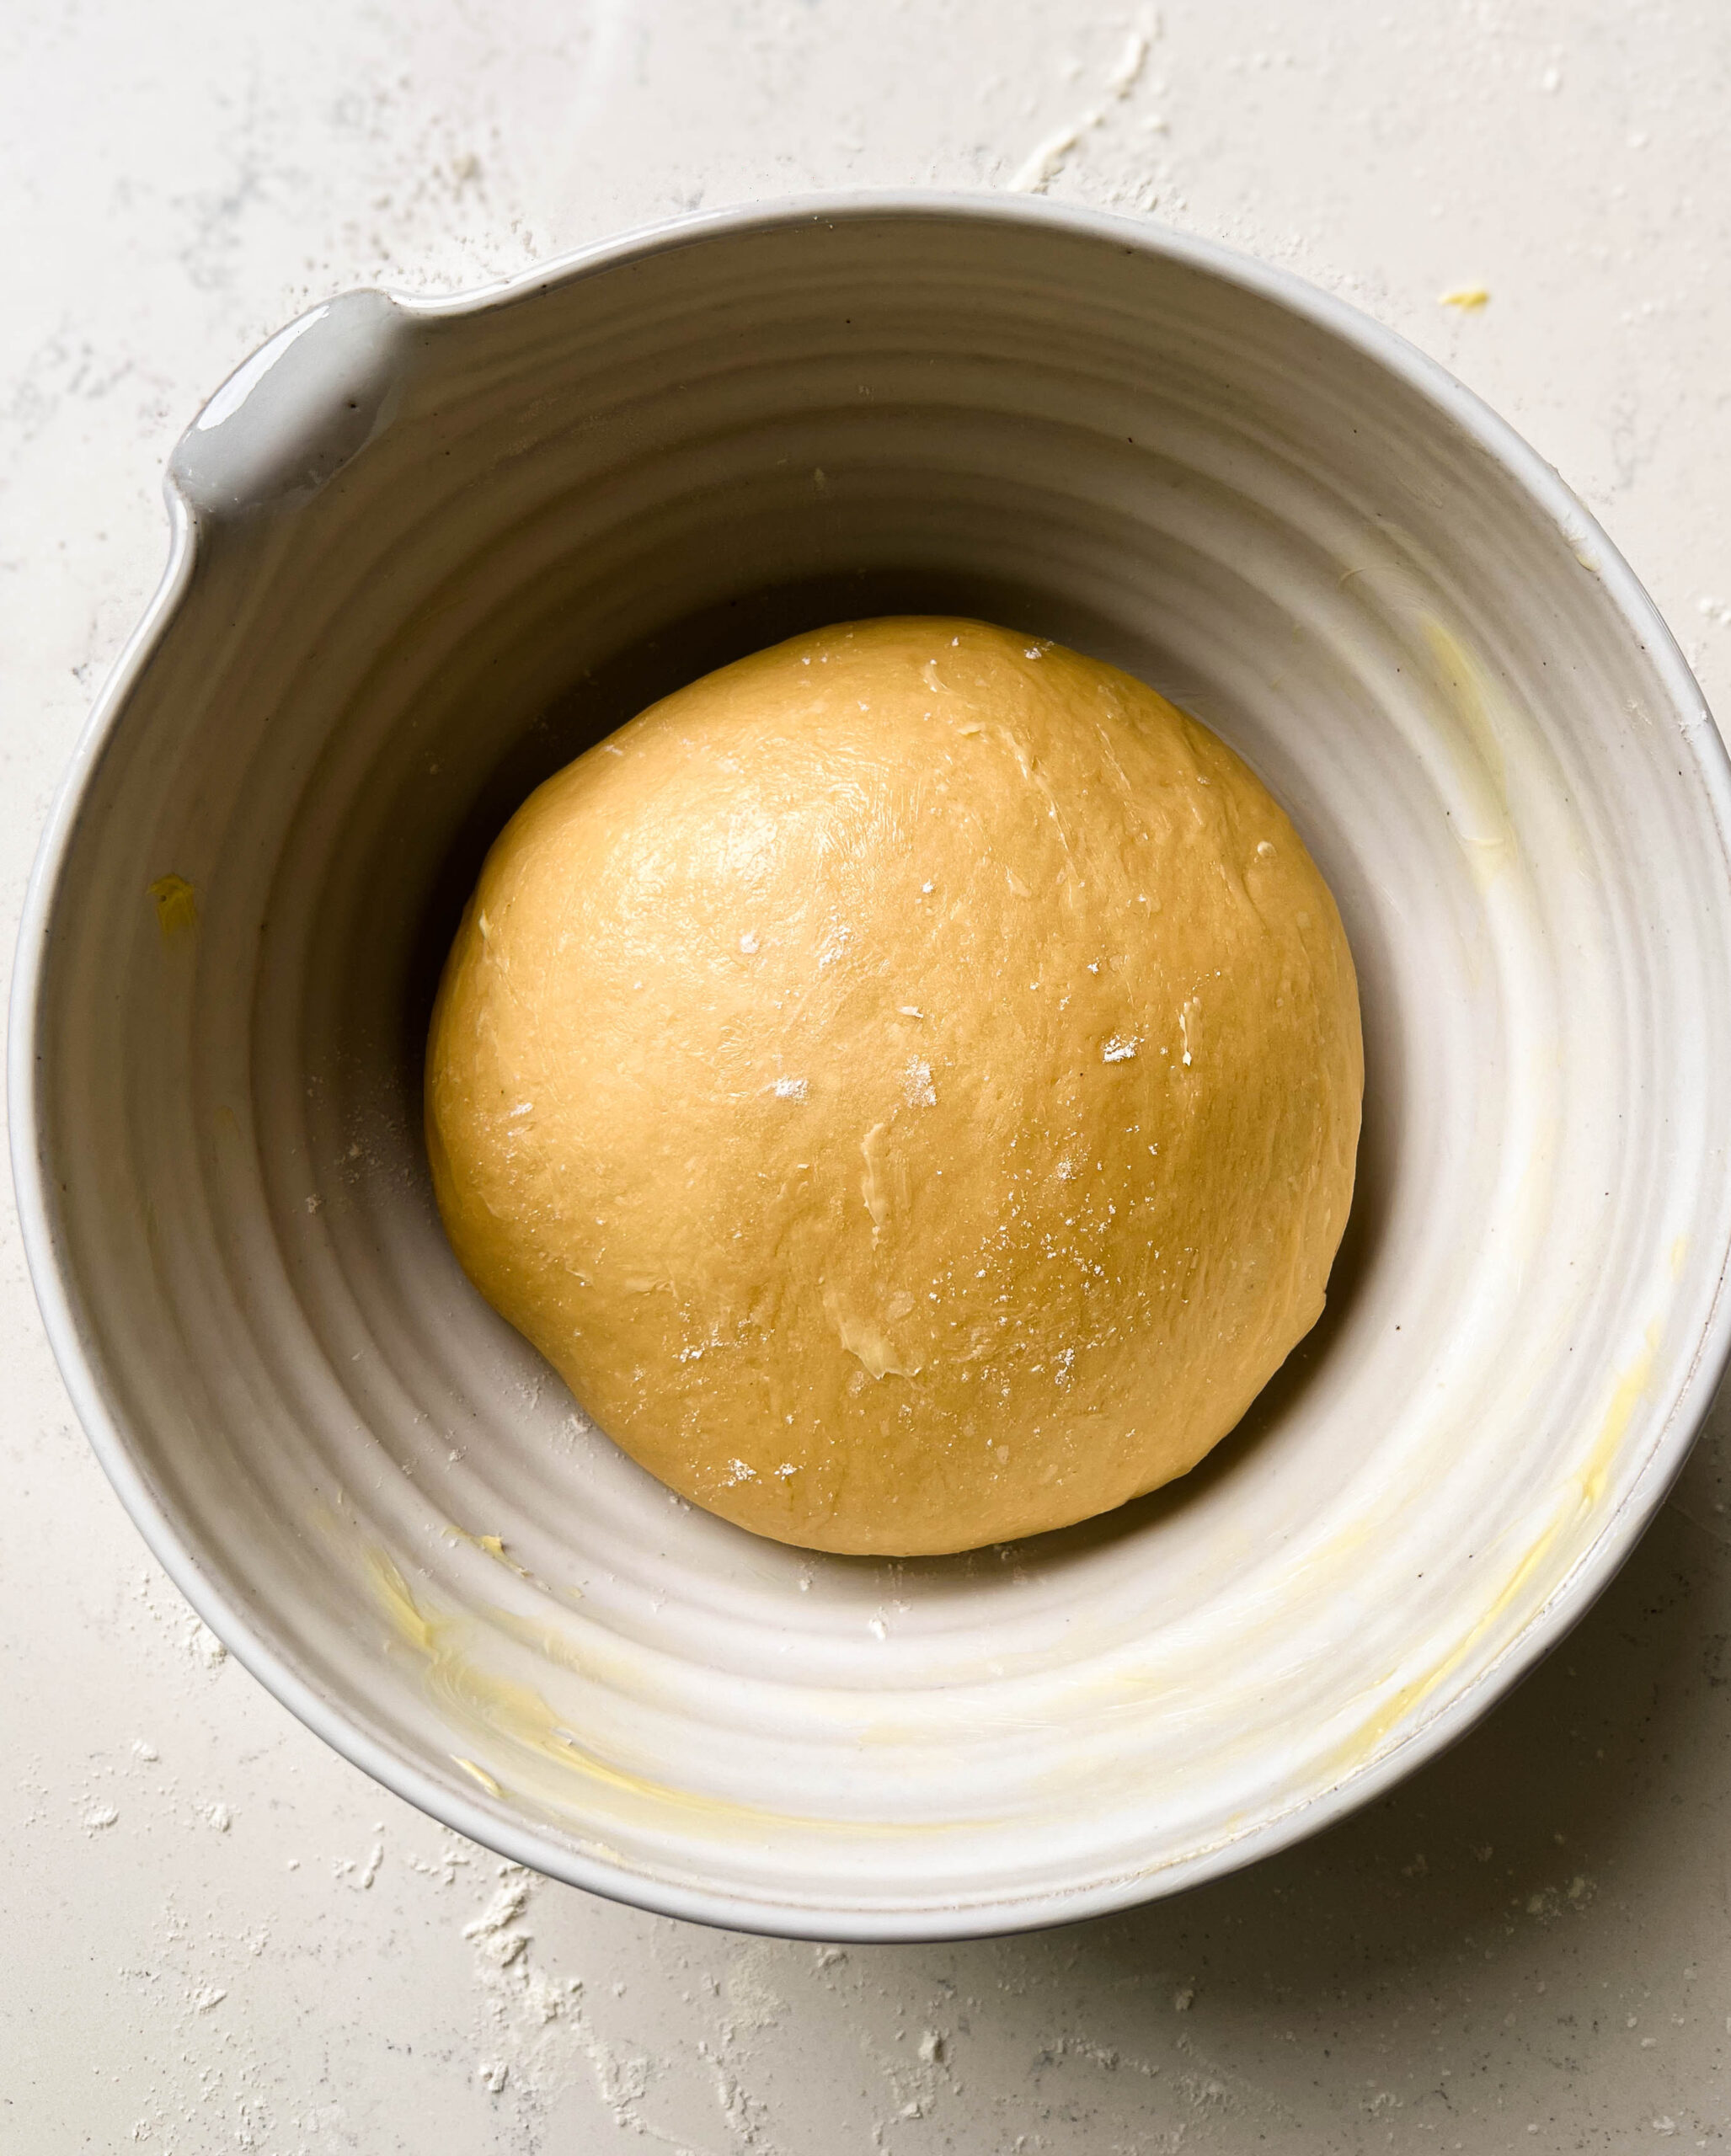
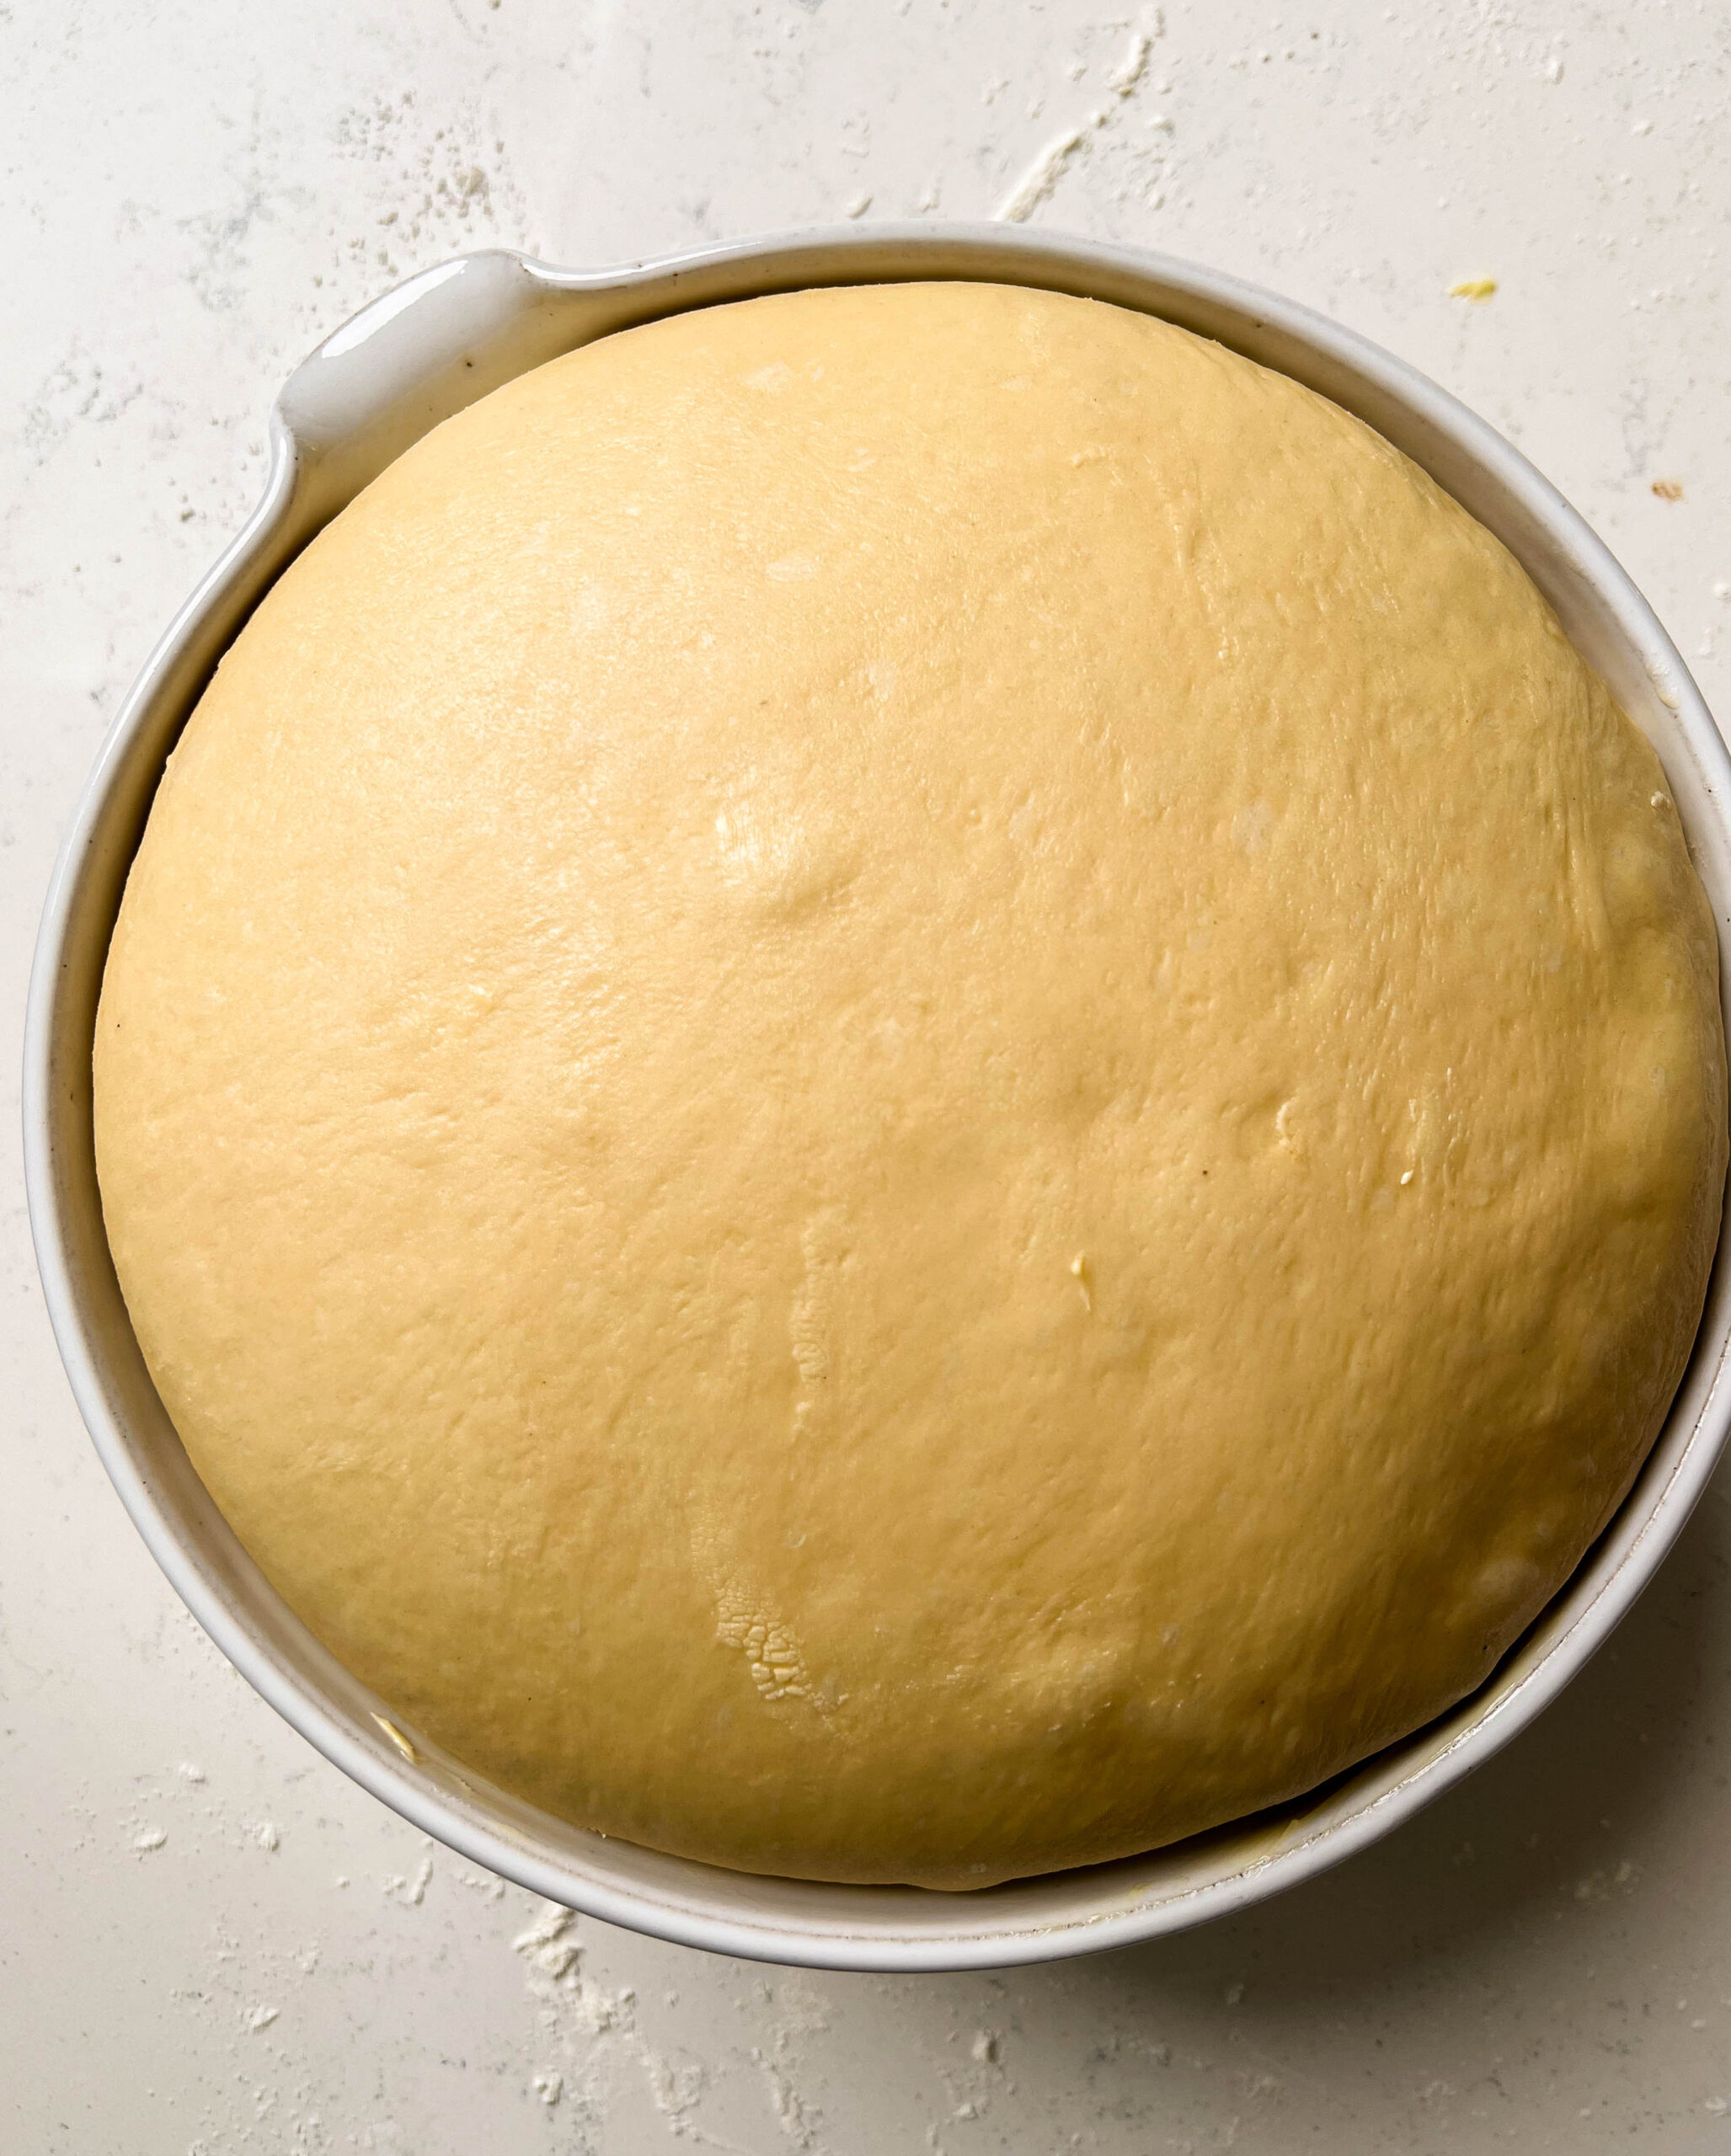
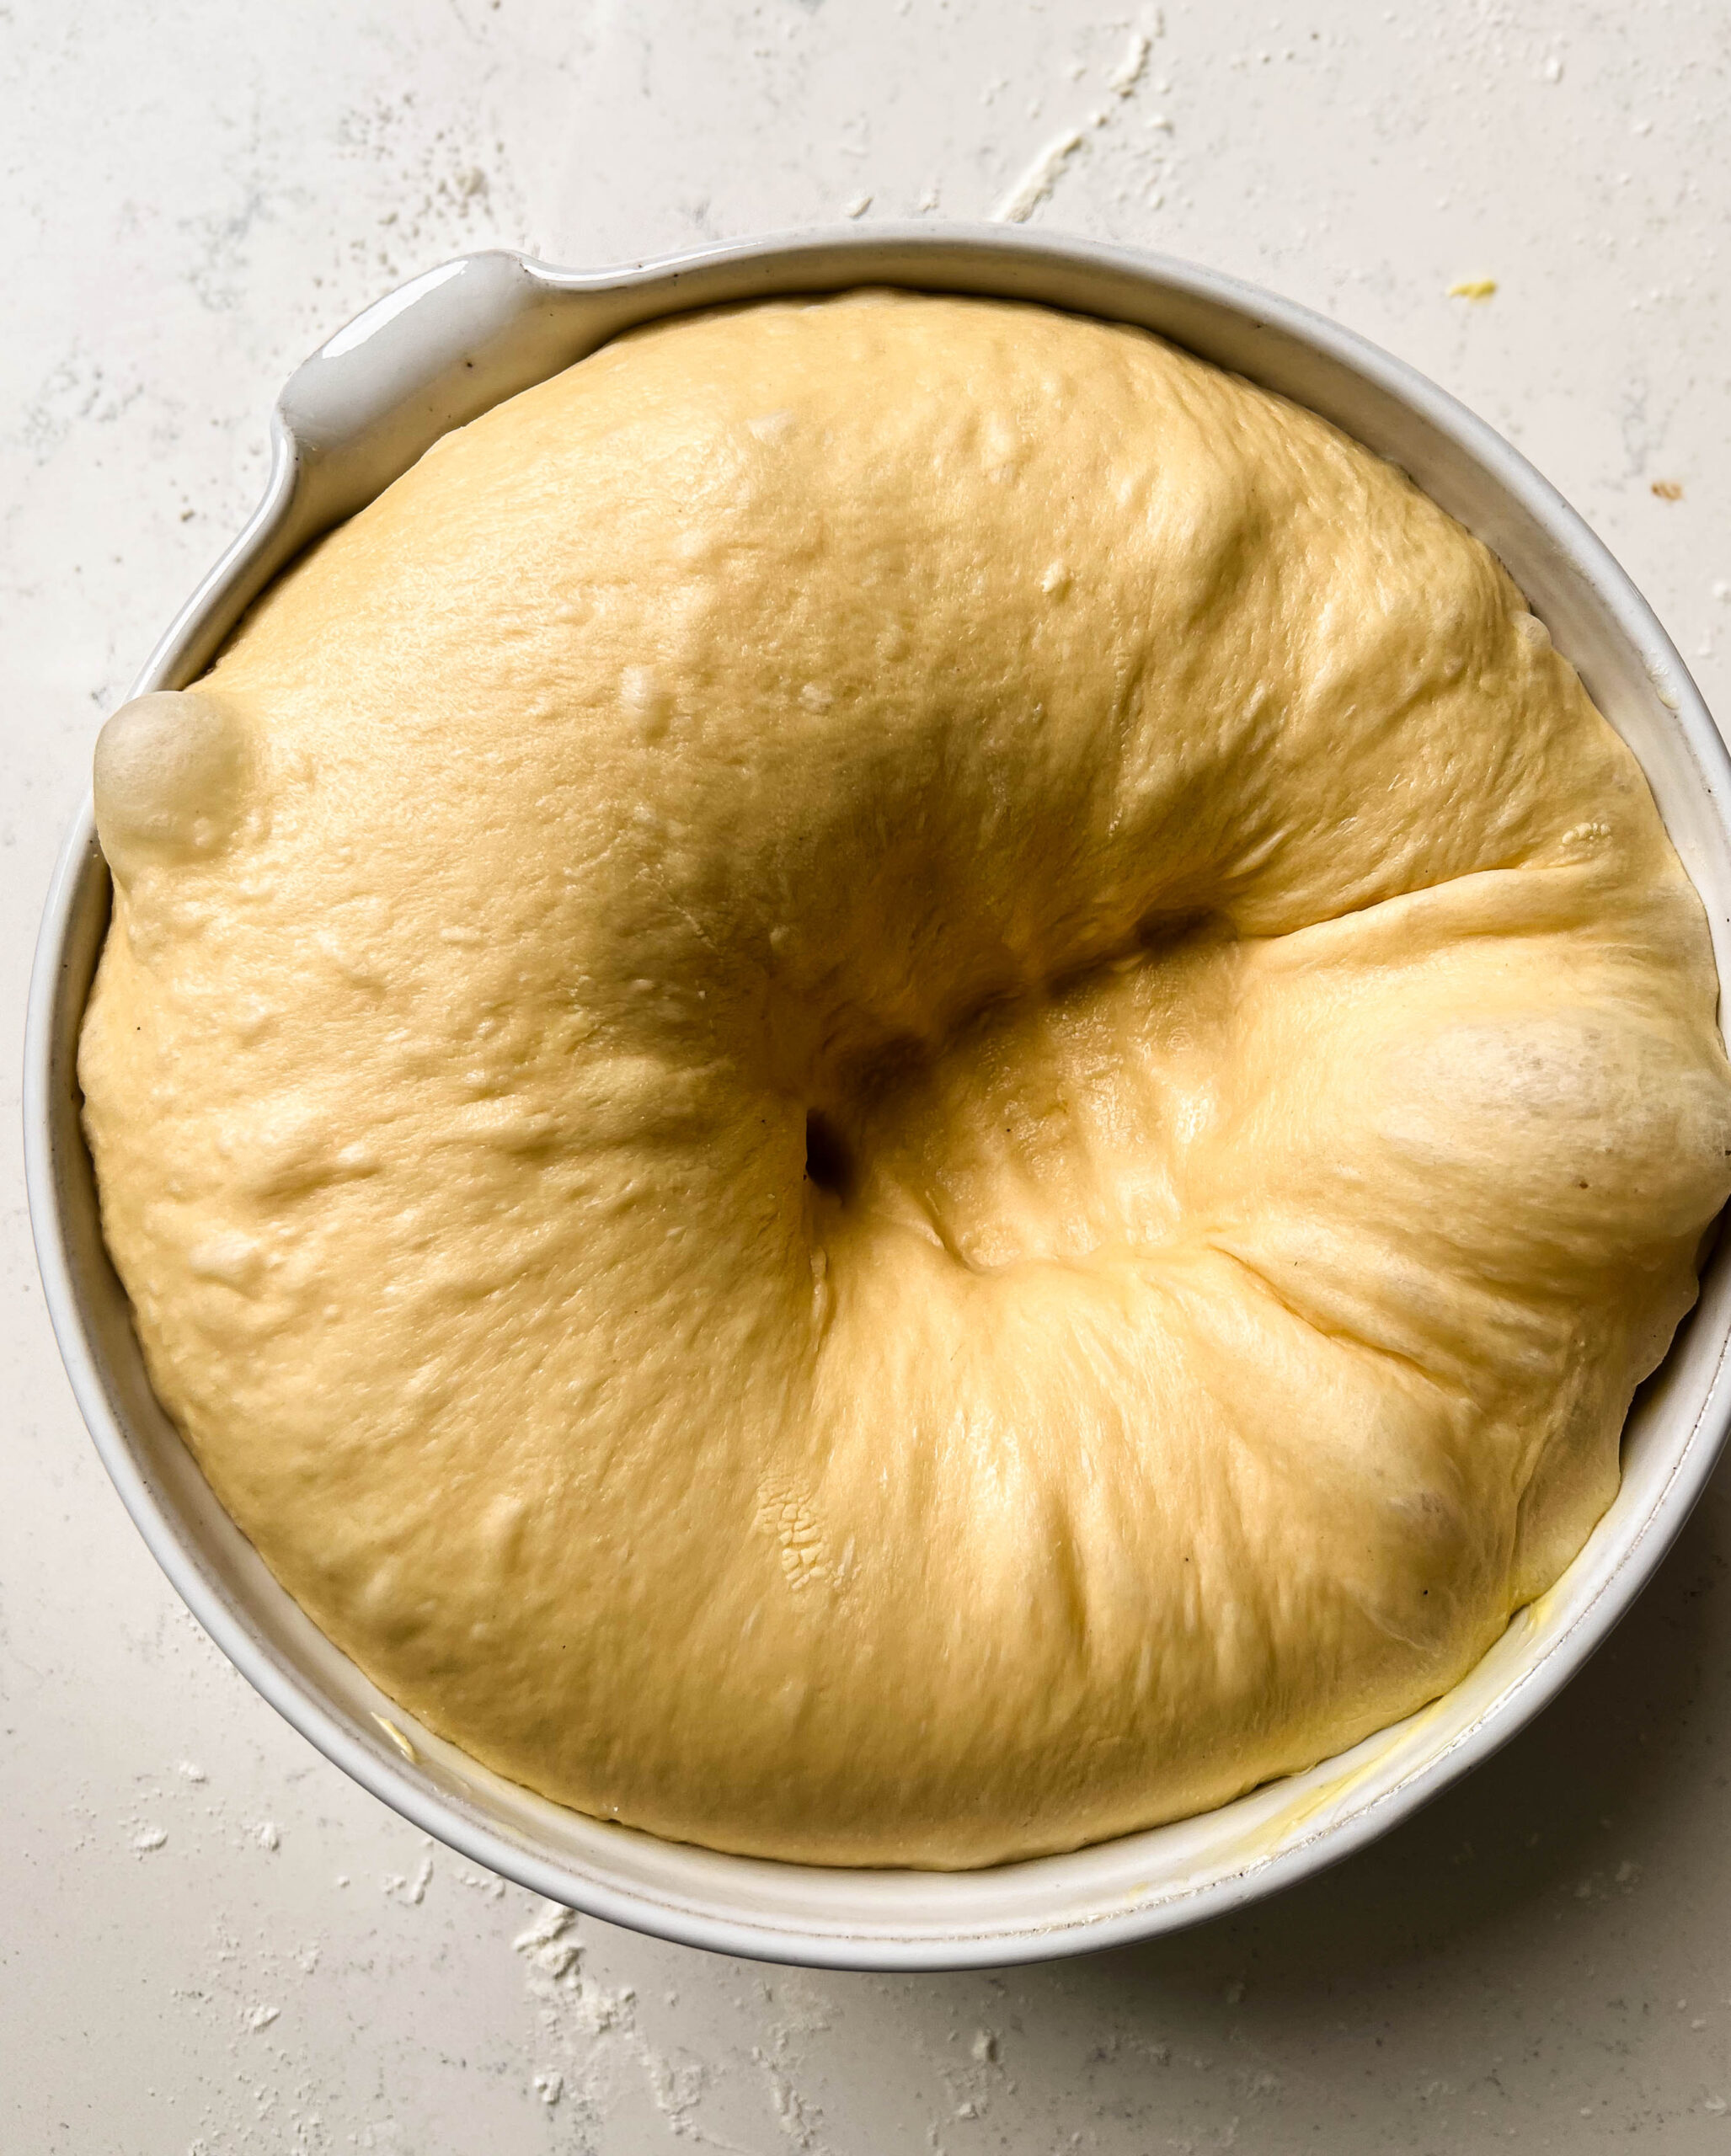
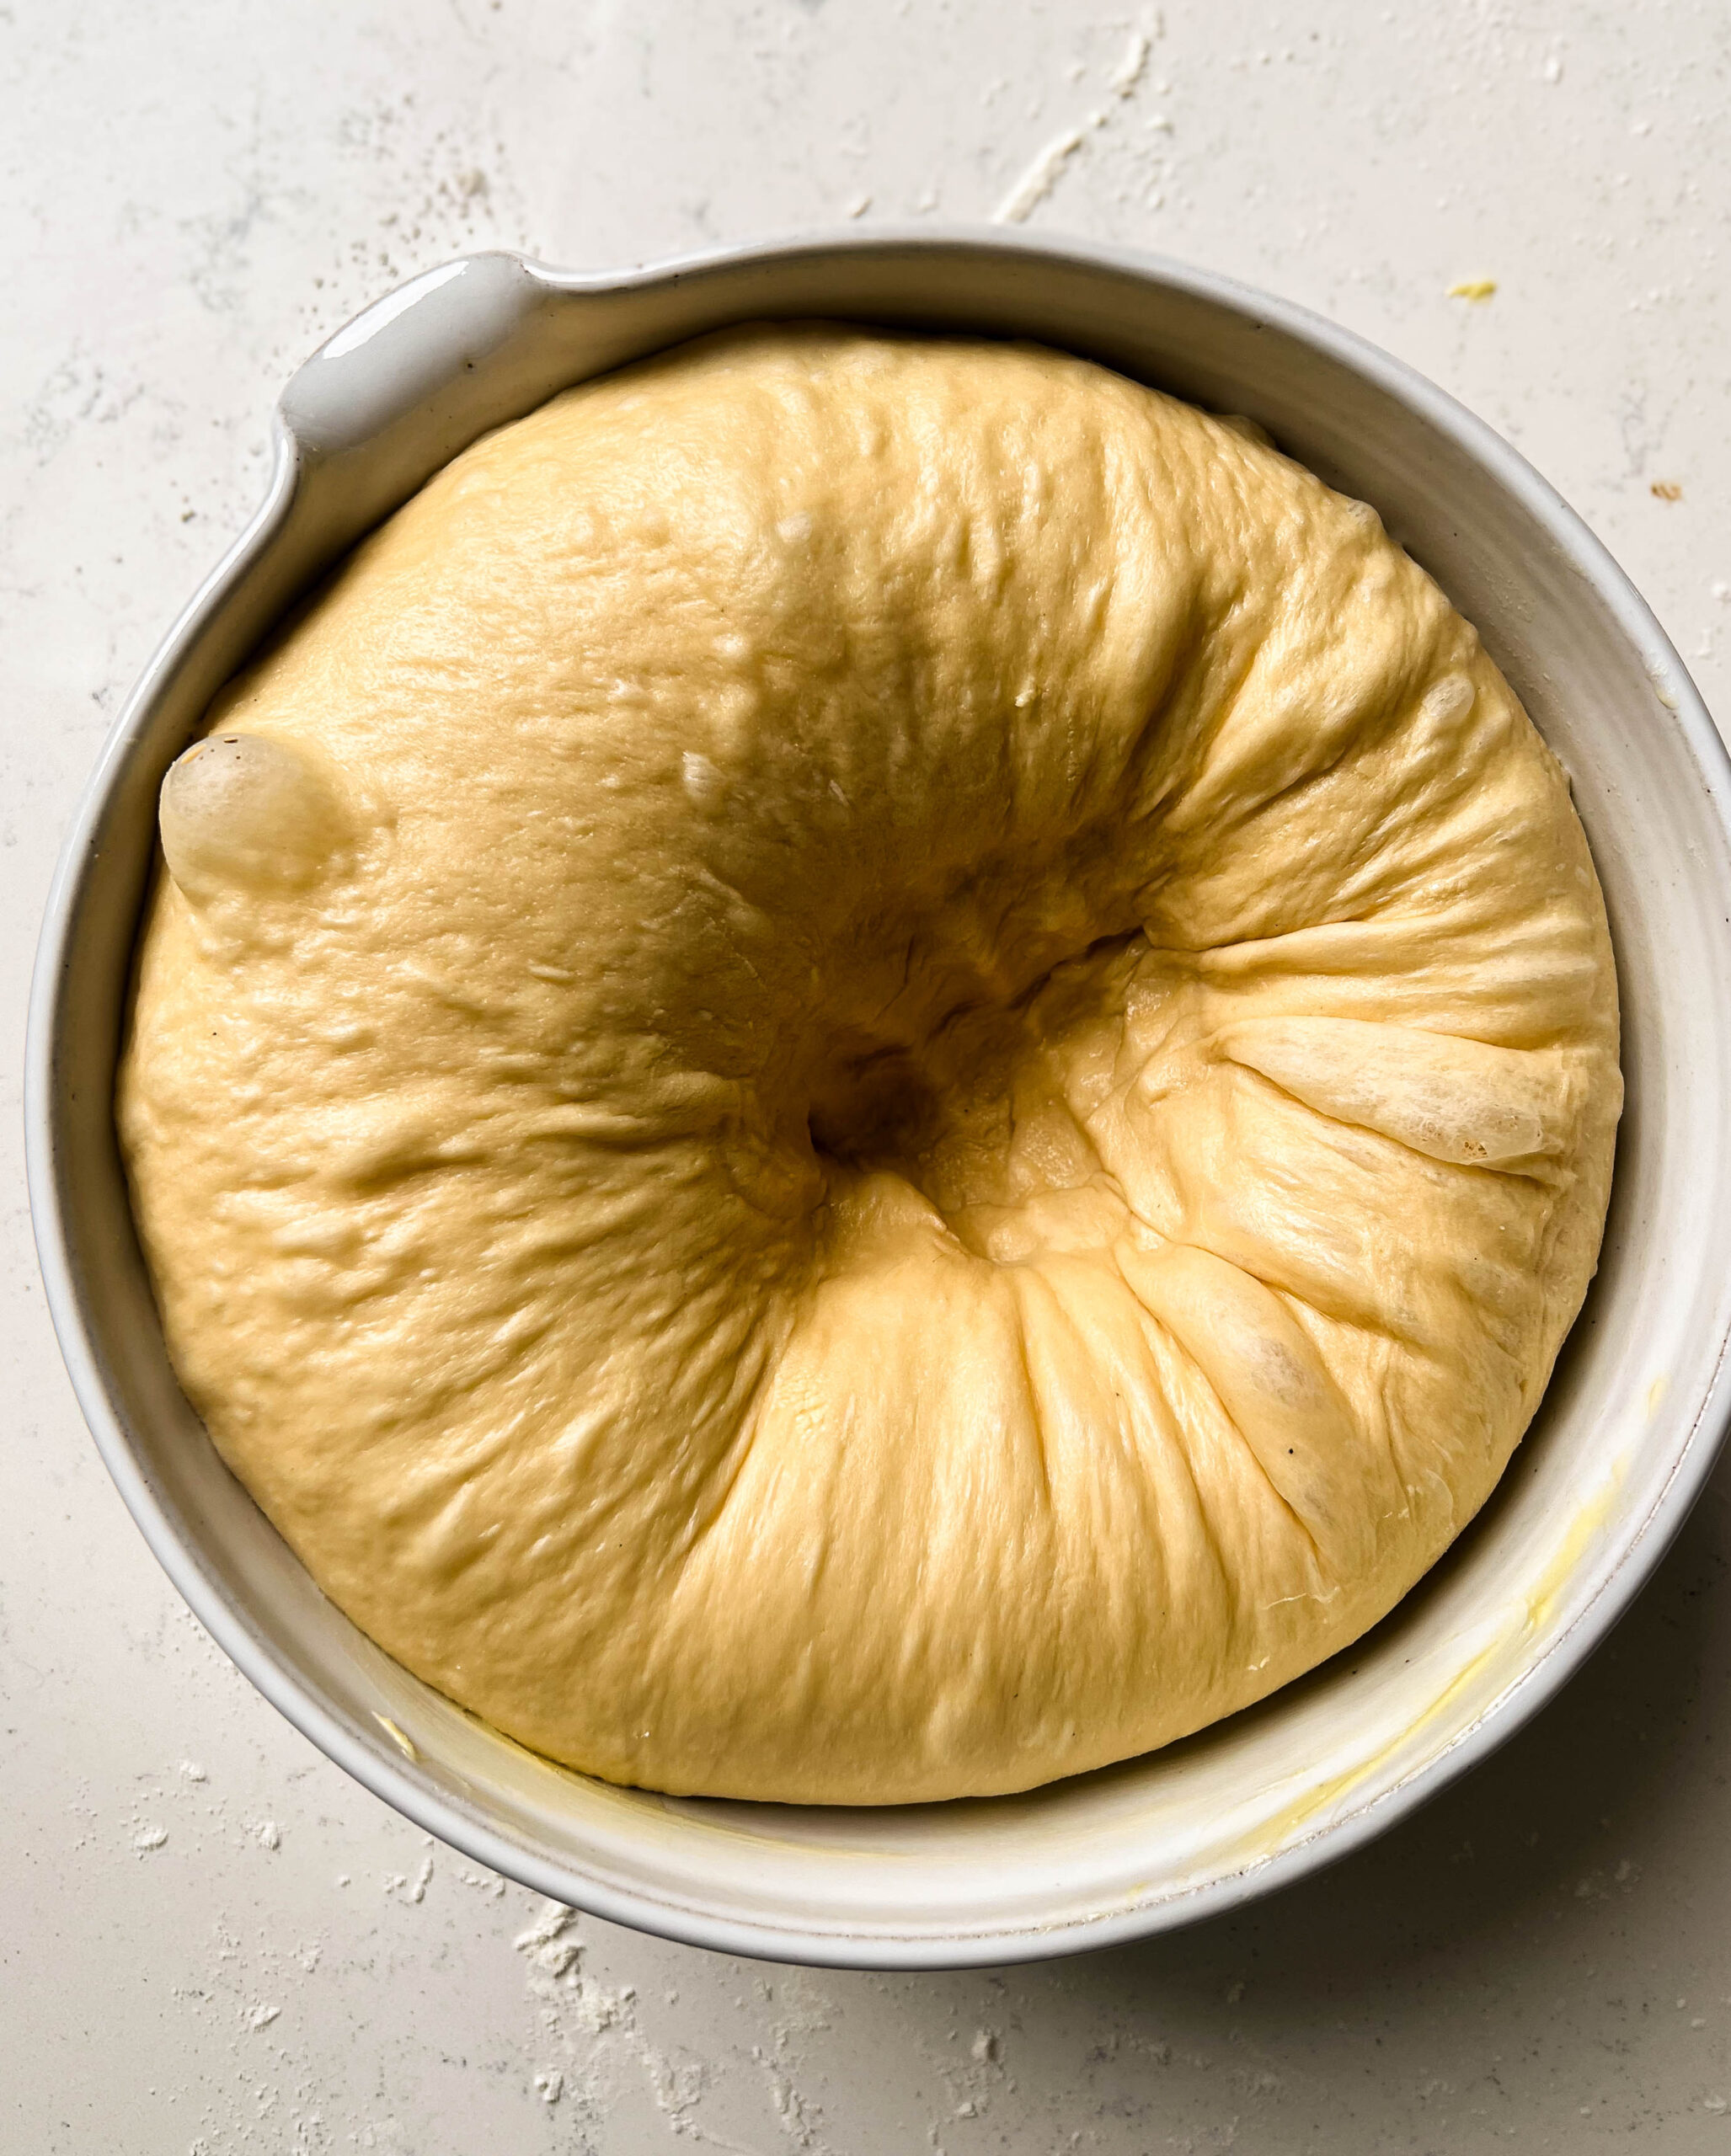
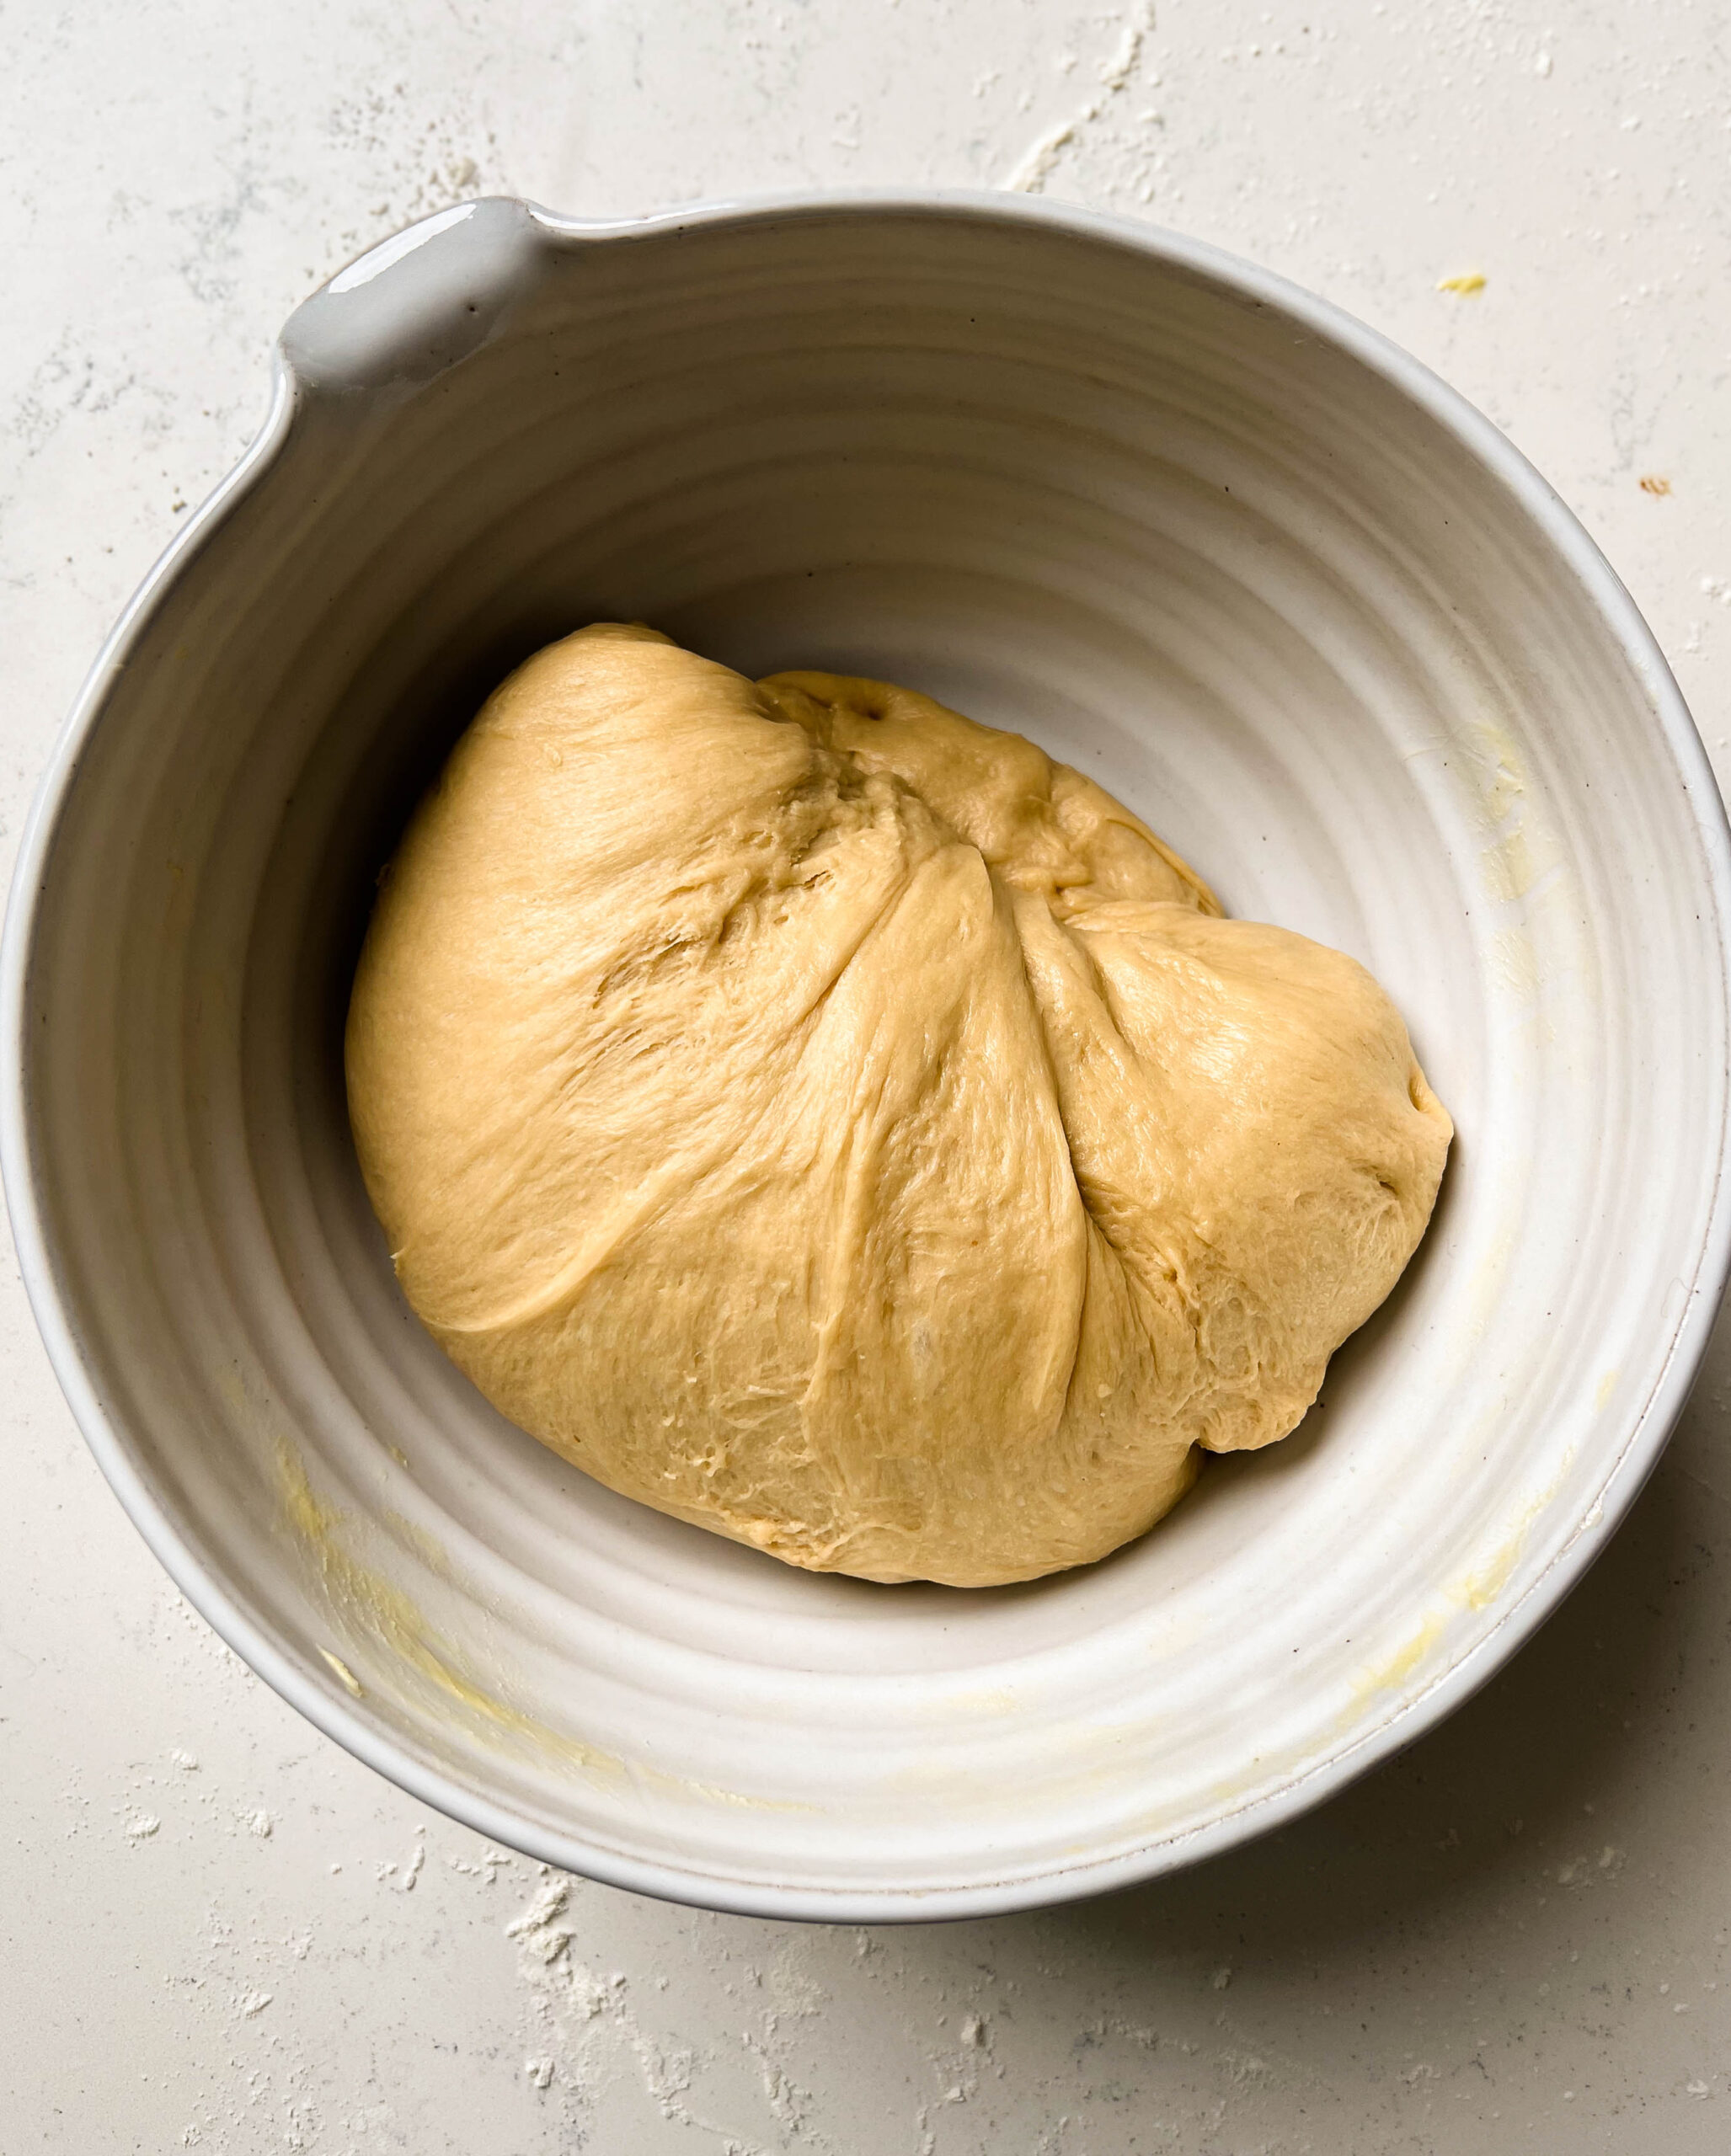
Lightly butter the inside of a clean, large bowl, alternatively, use the bowl of the stand mixer (it’s already buttered). Scrape the dough out of the mixer bowl onto a clean work surface and knead it into a ball. Place the dough inside the buttered bowl, seam side down. Cover and let sit at room temperature until it has expanded in size by 50 percent, about 1 hour. Then transfer the bowl to the refrigerator and chill overnight (18-24 hours) – the dough will continue to rise in the fridge and double in size.
Assemble The Rolls
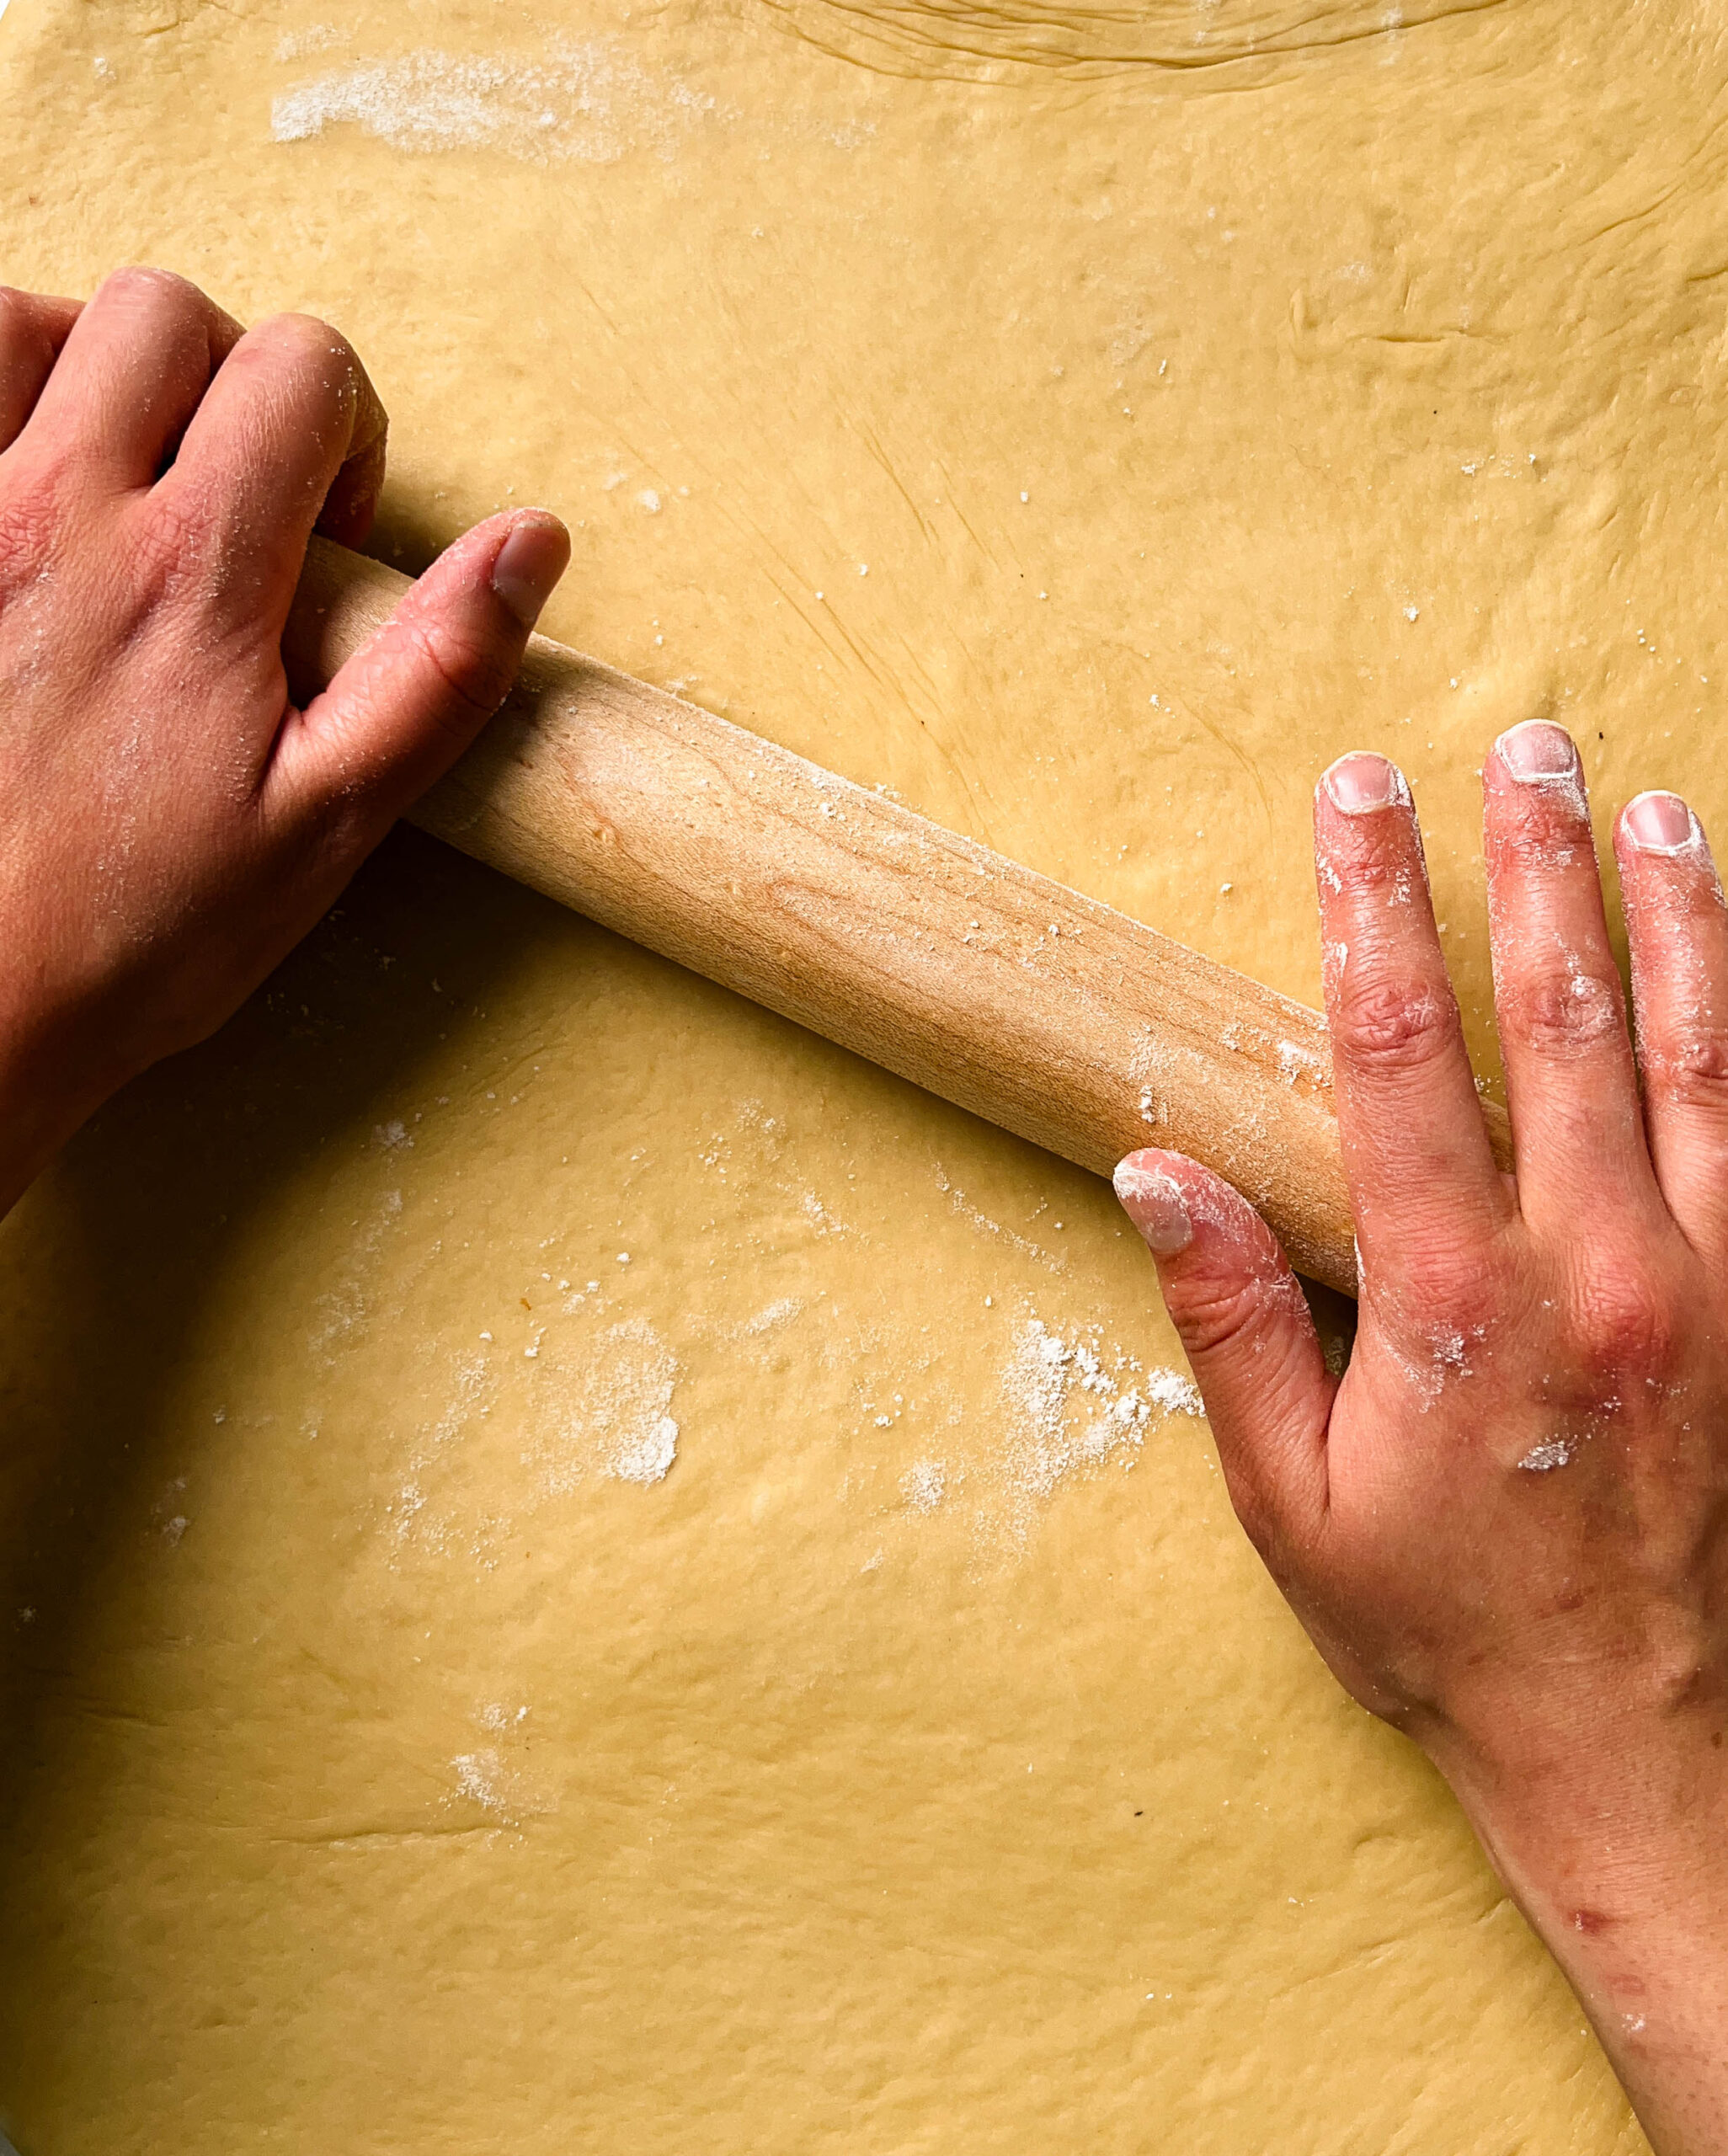
Remove the dough from the fridge, lightly punch it down, and transfer it to a lightly floured surface. Roll the dough into a large rectangle, approximately 16 inches by 20 inches.
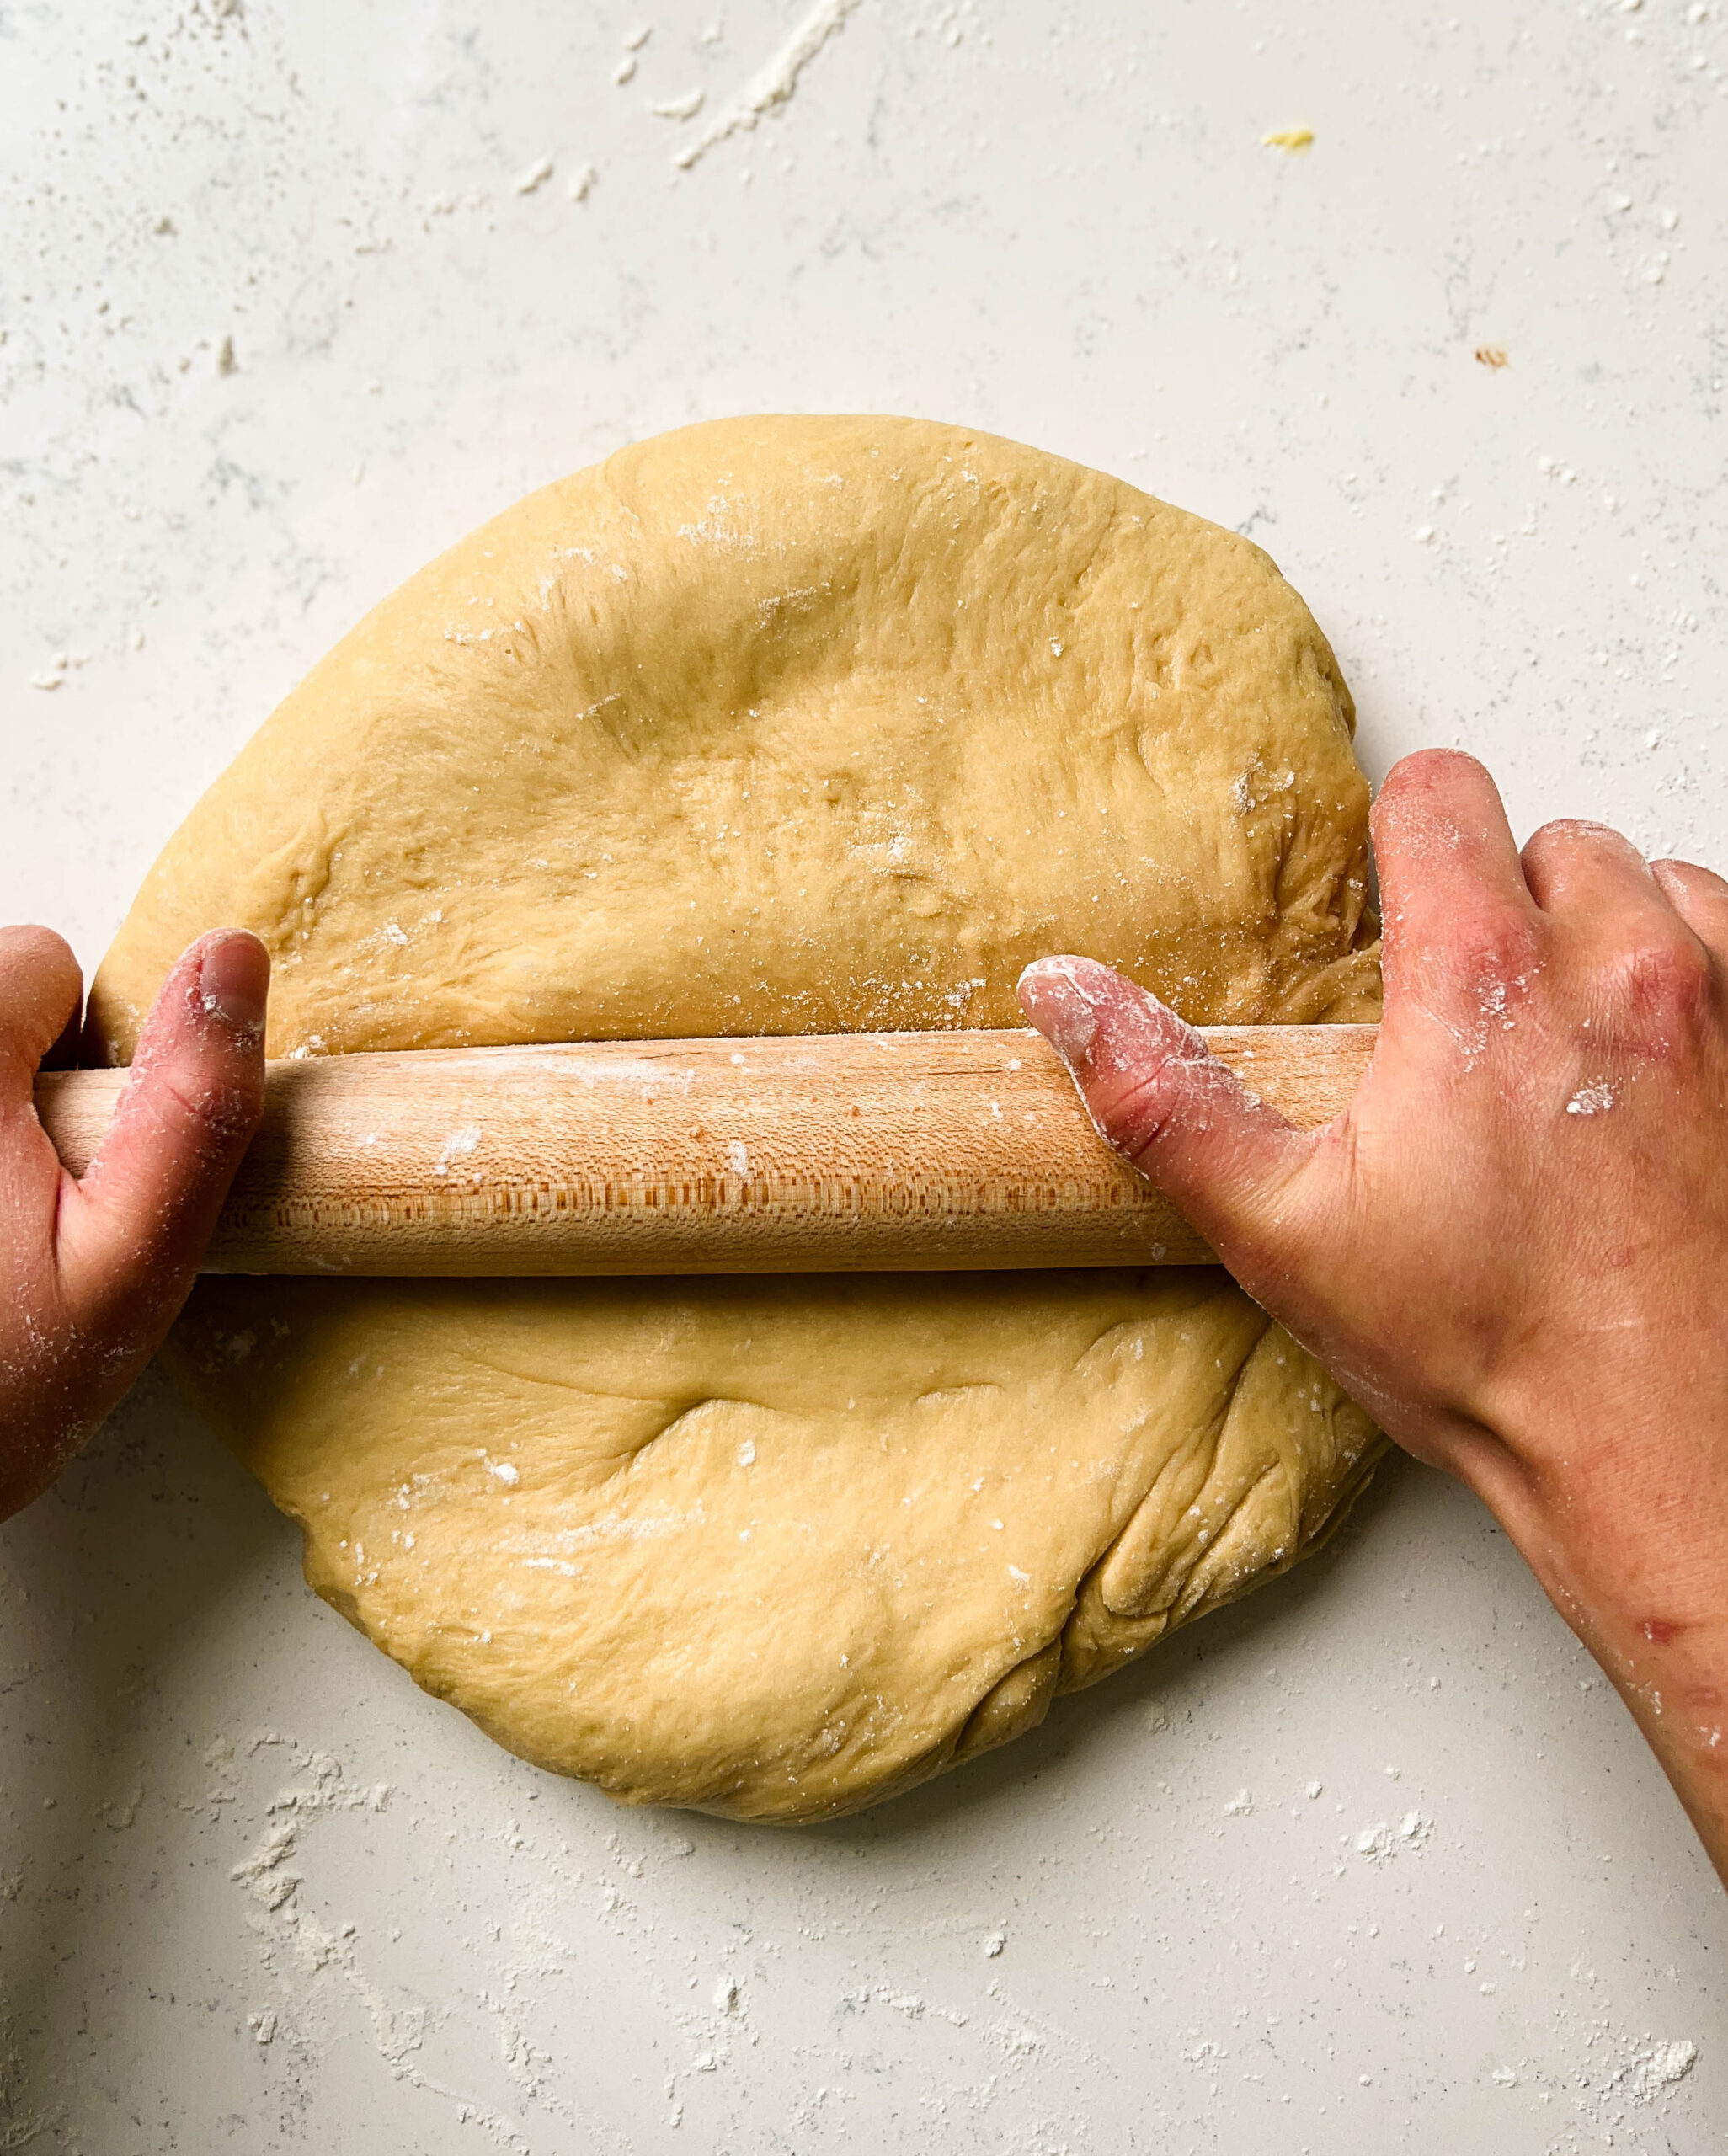
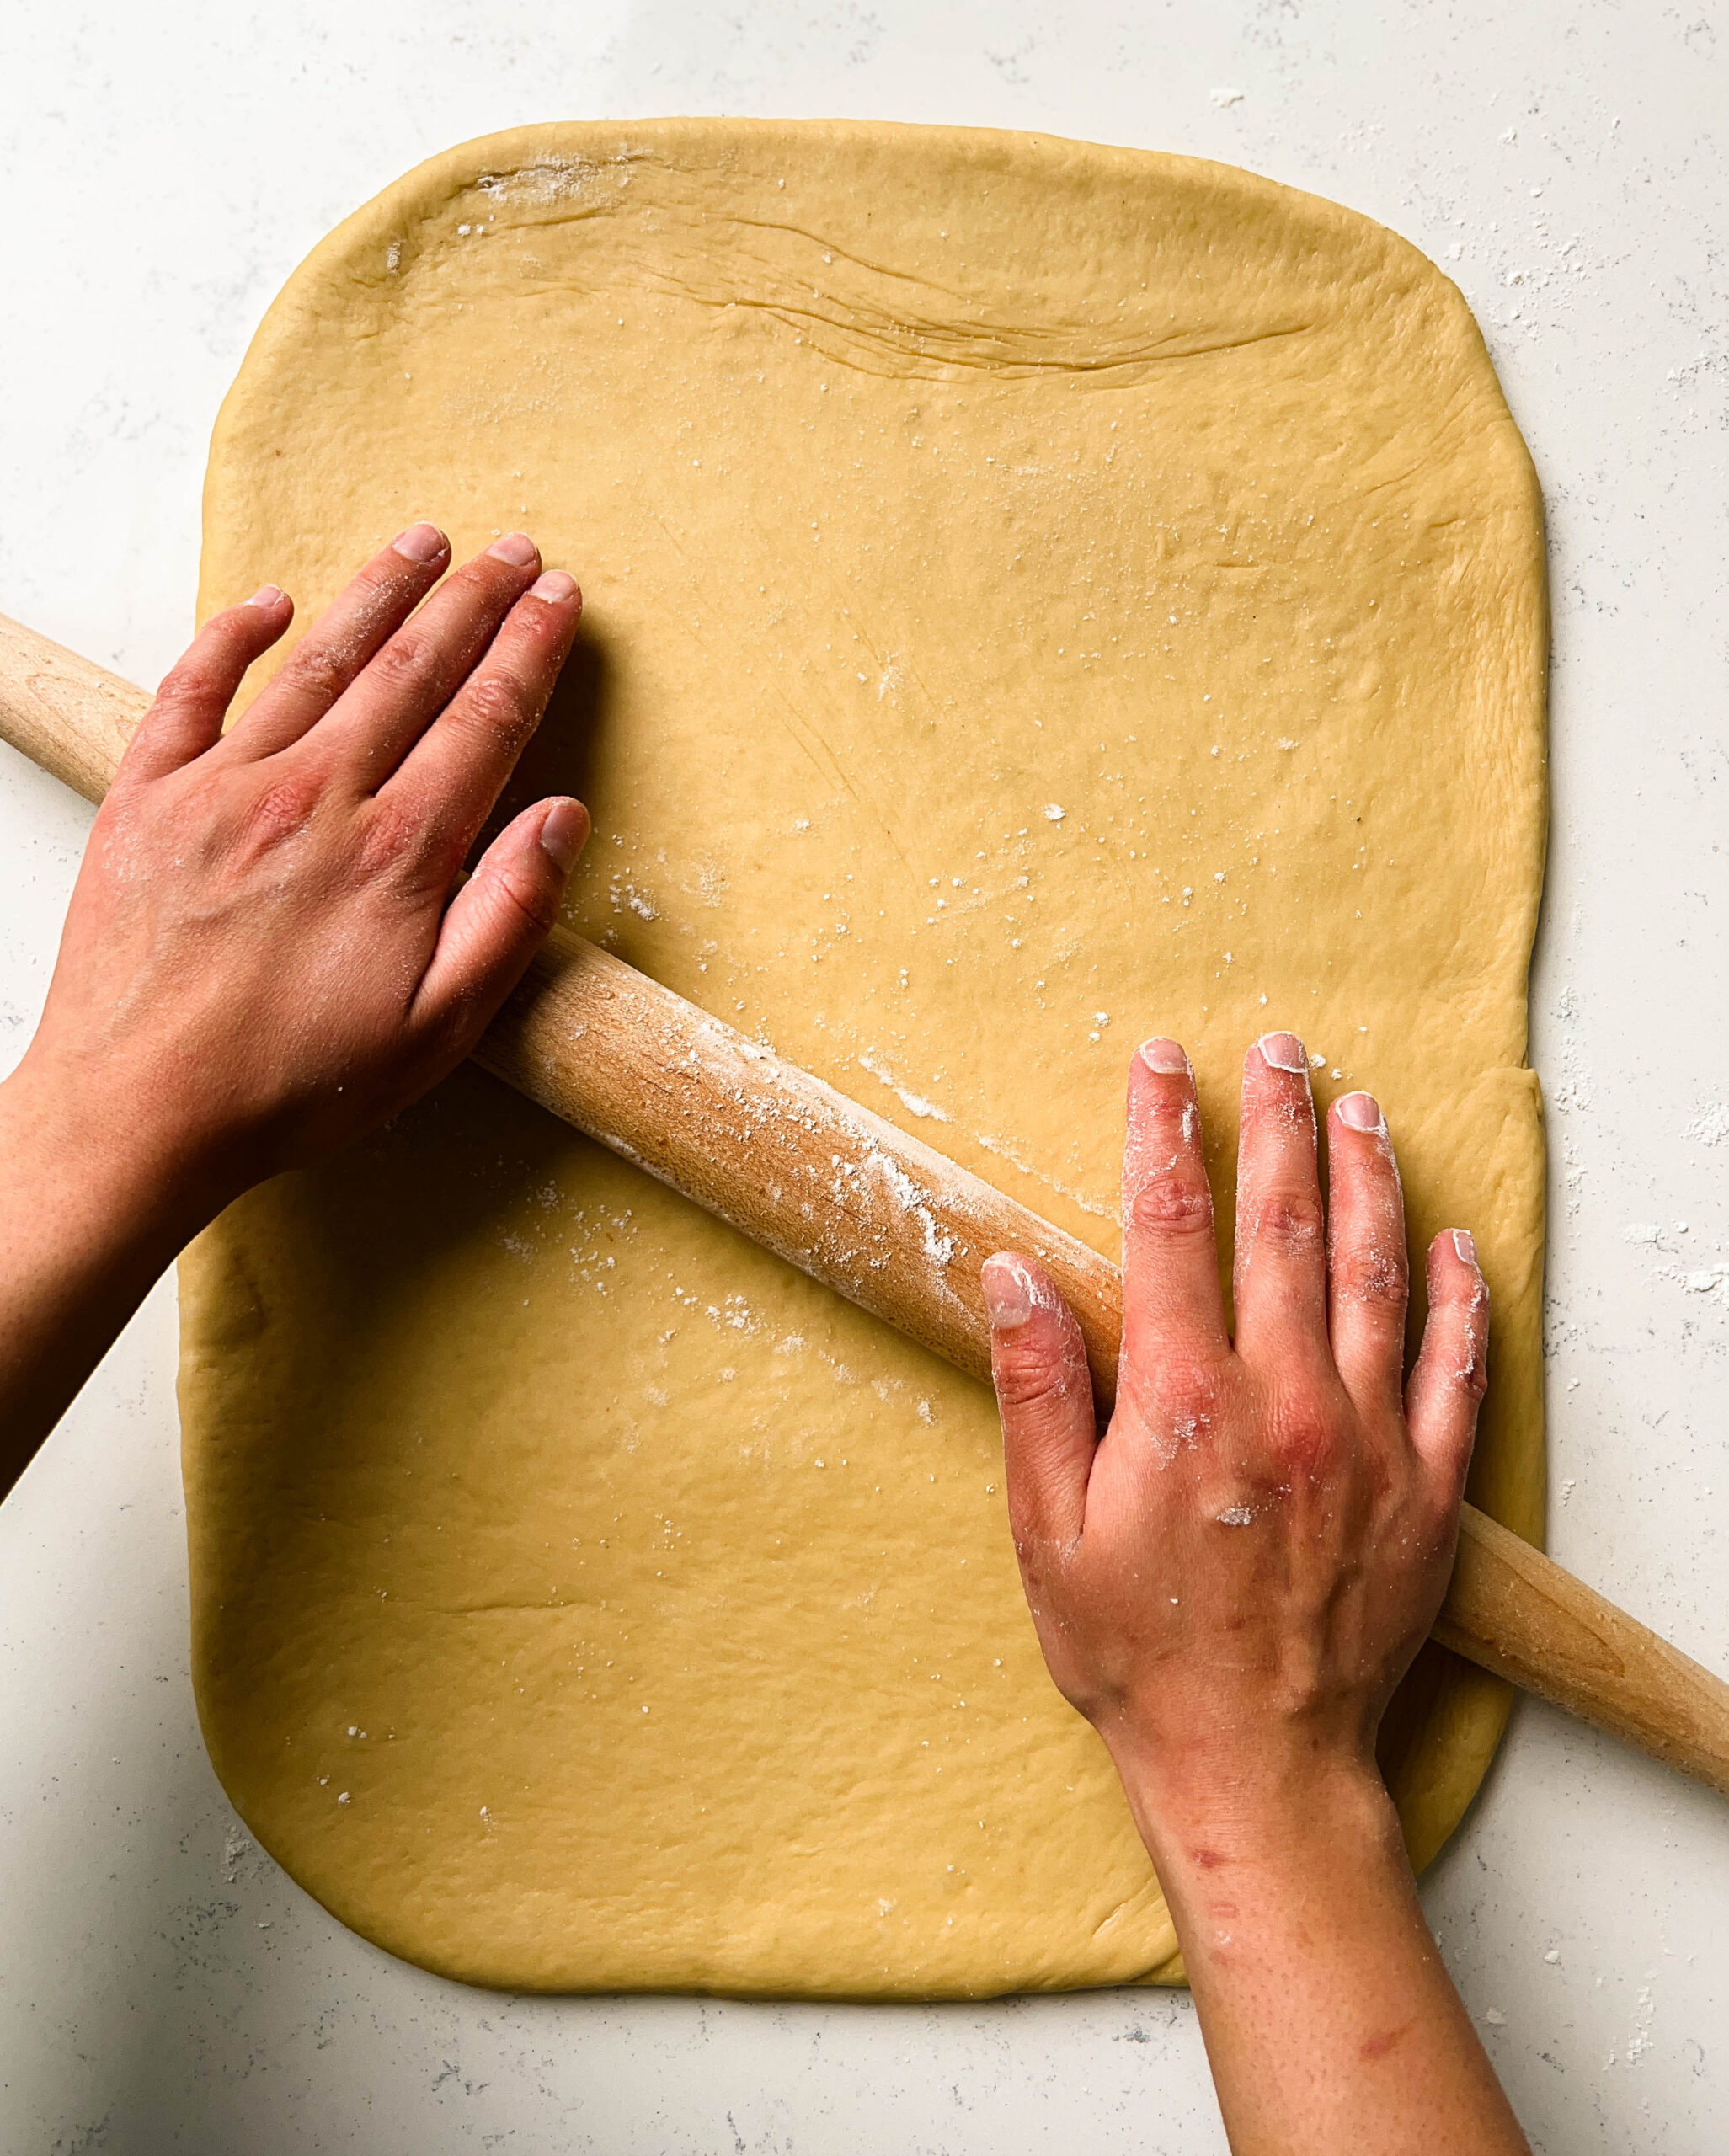
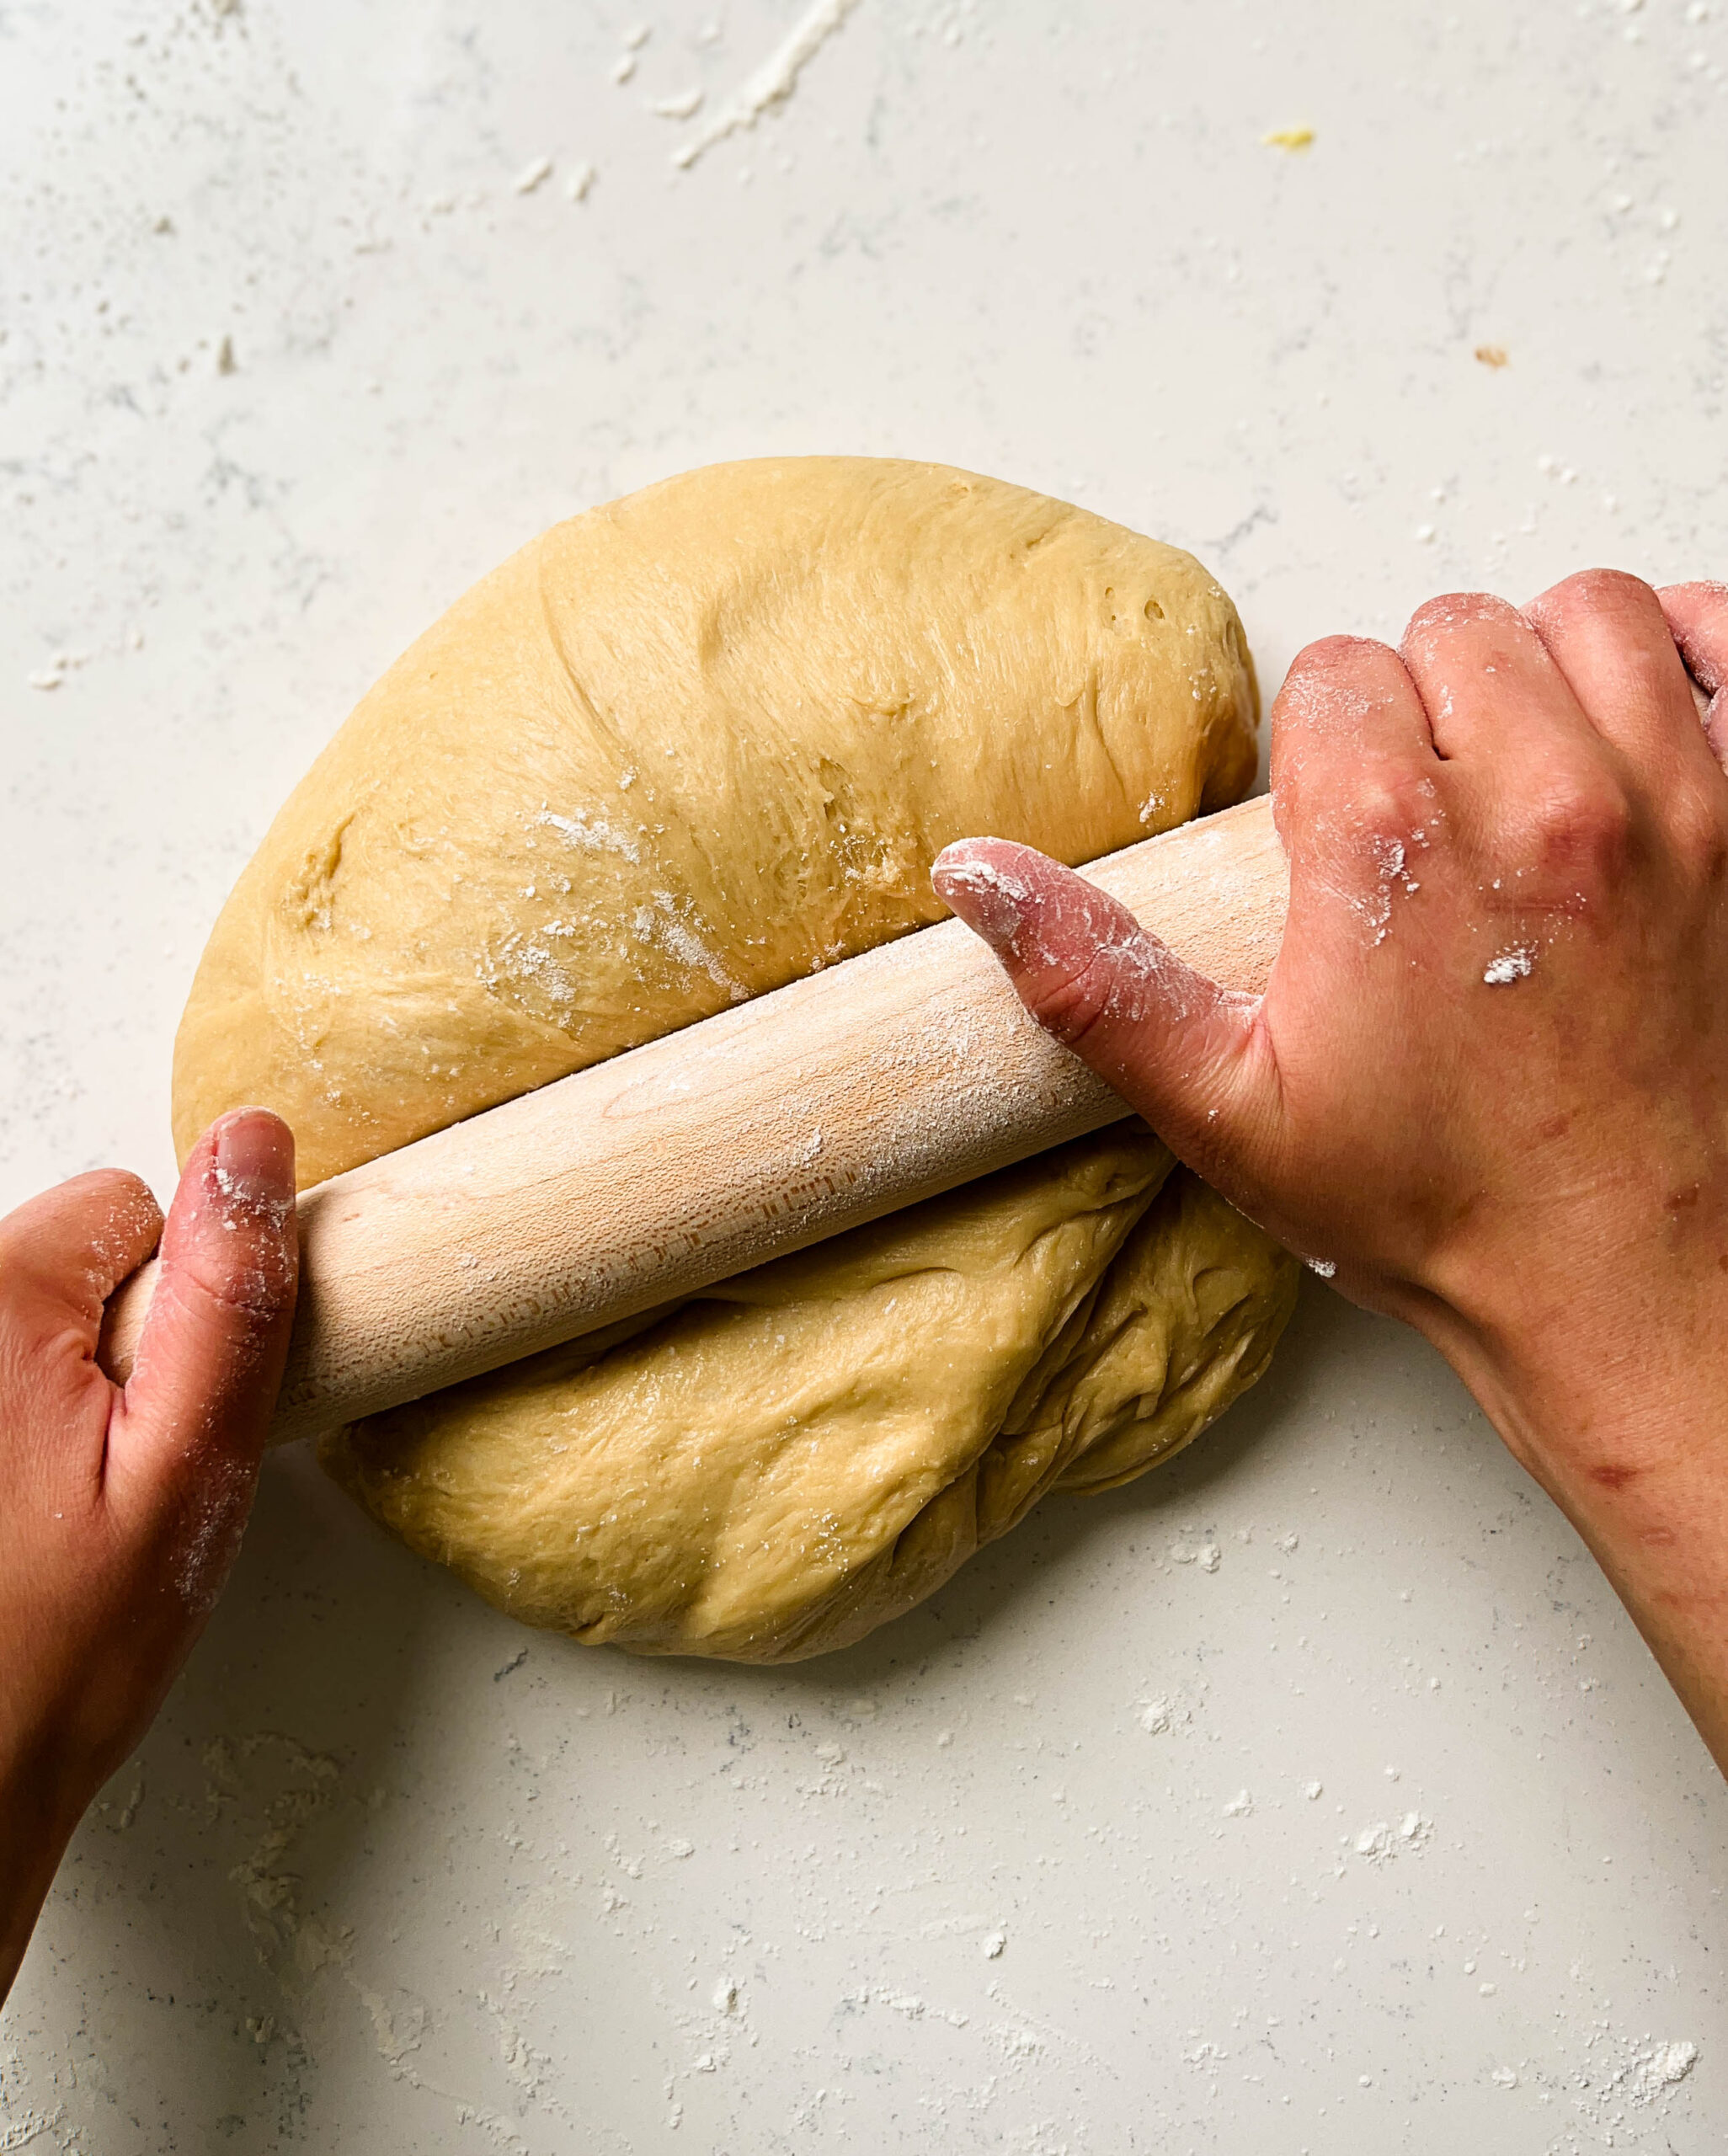
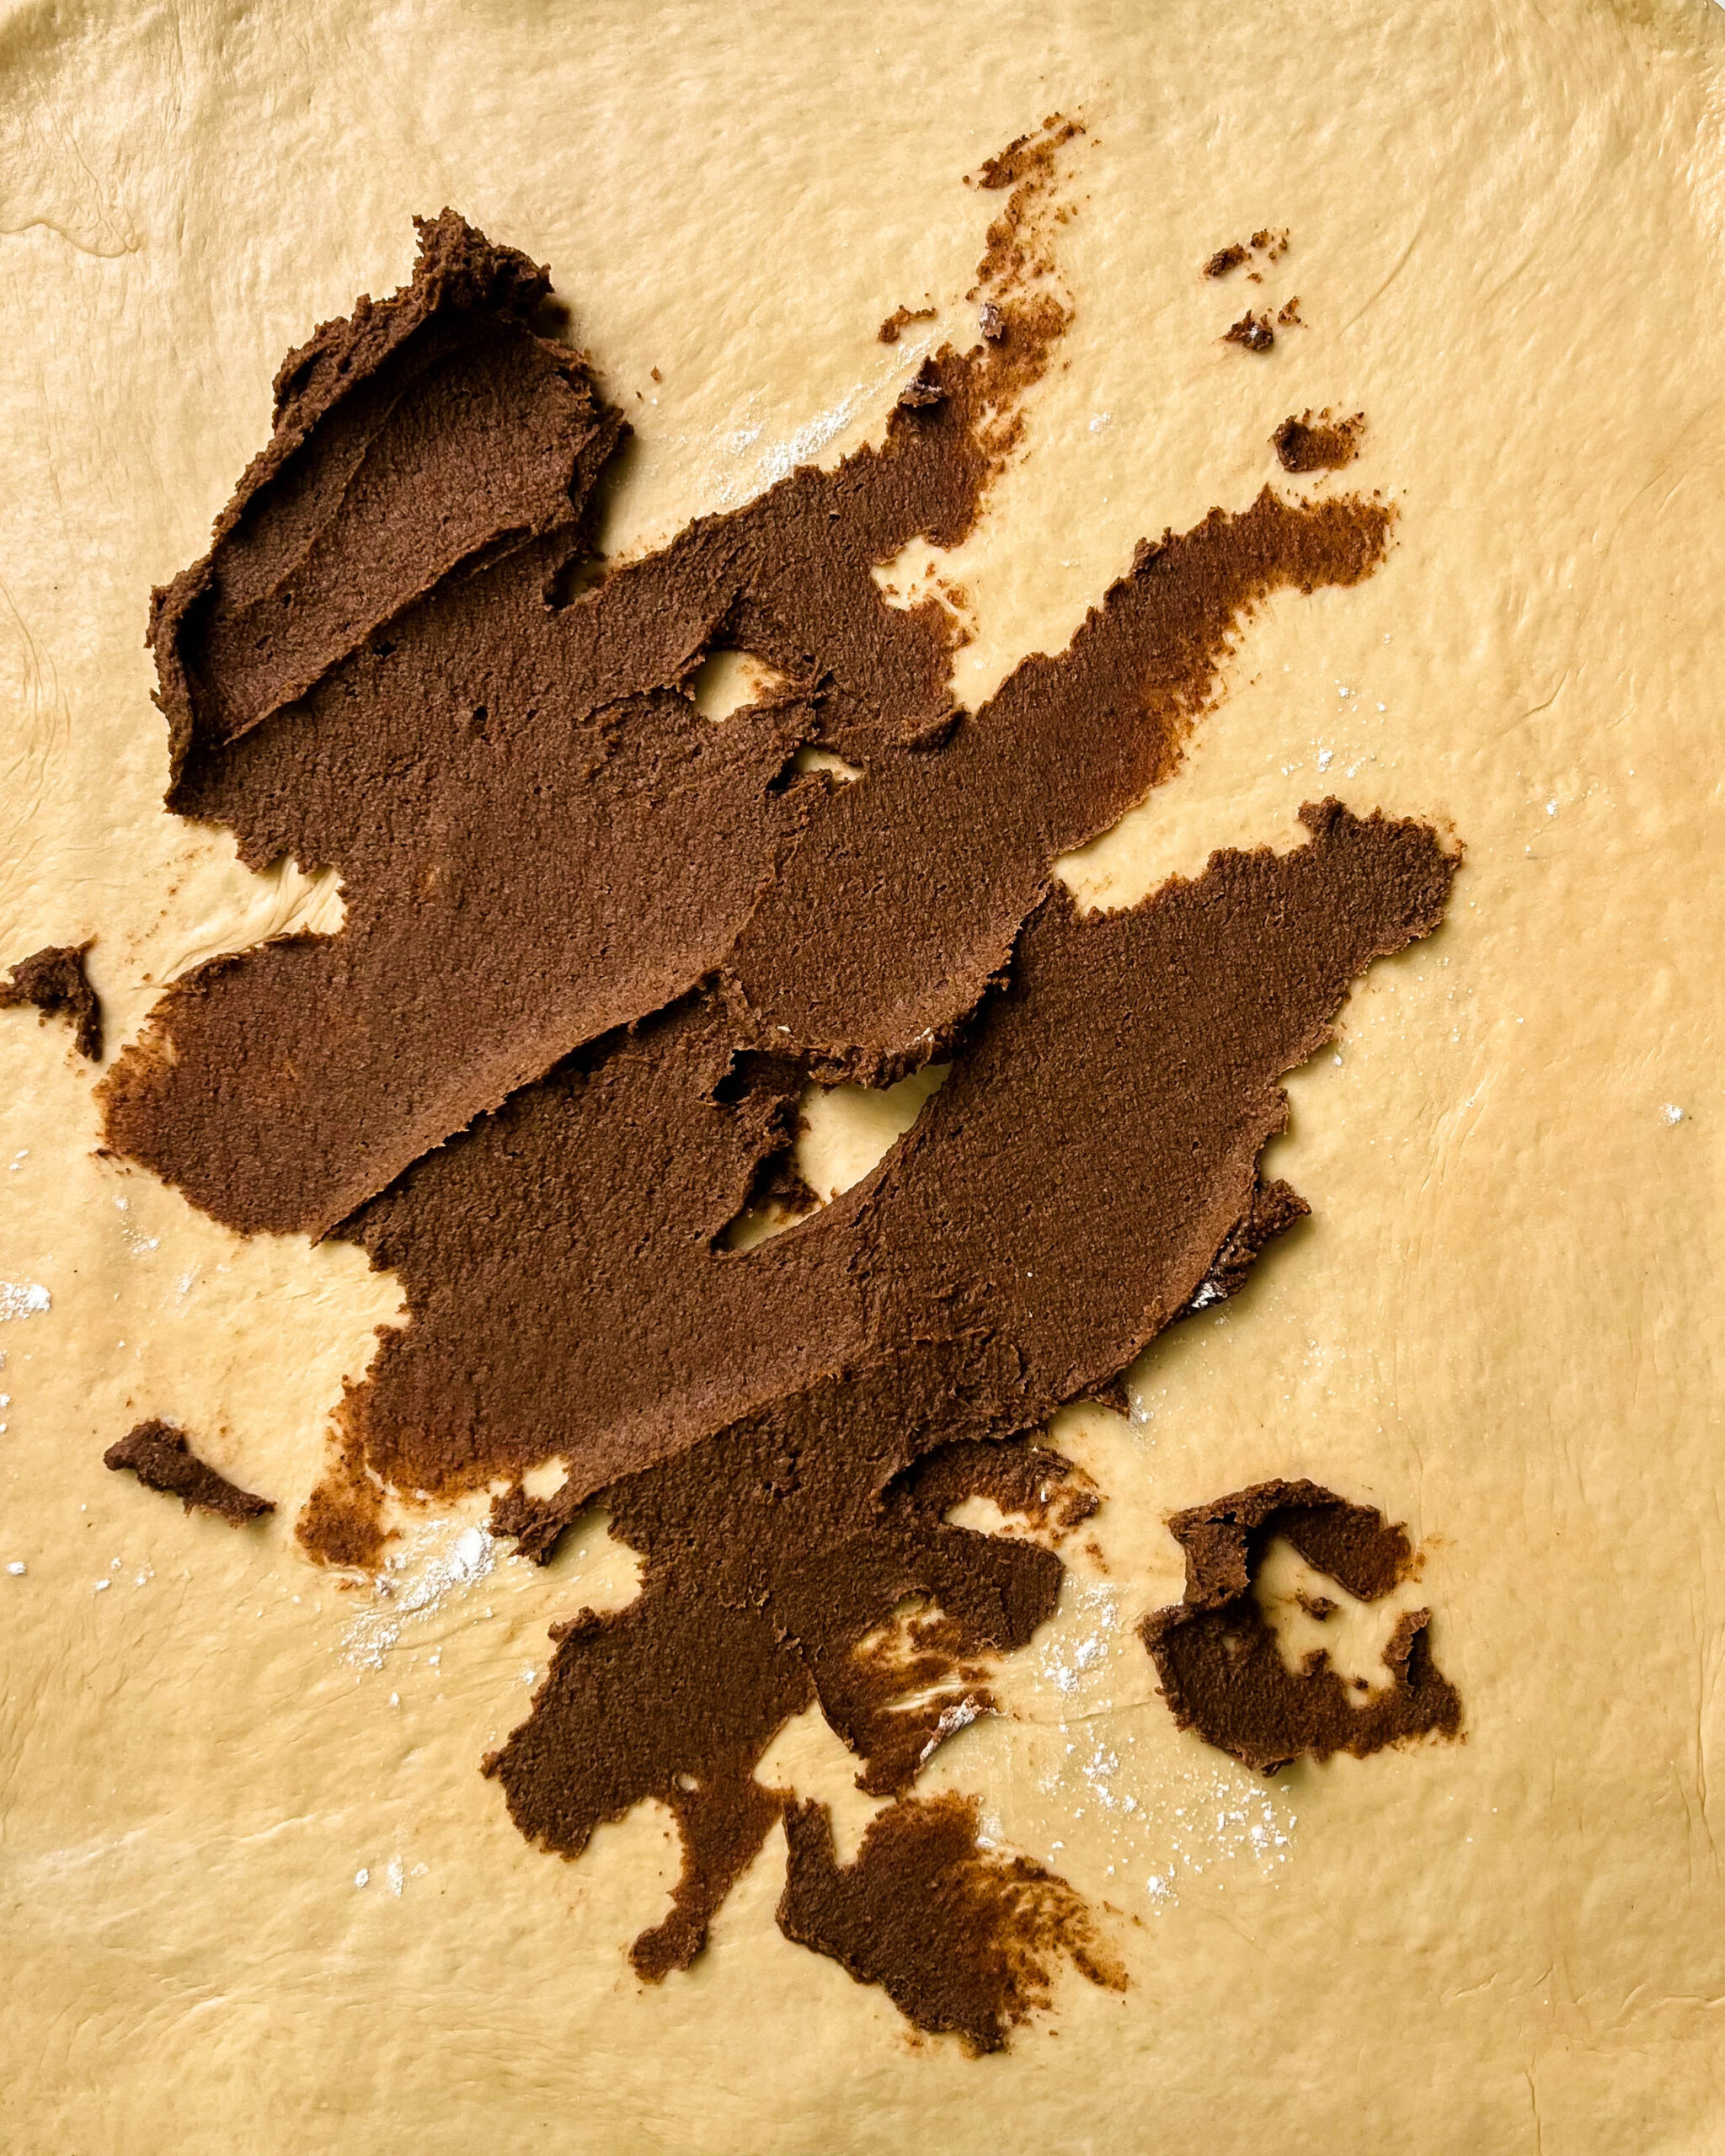
Dollop the filling across the surface of the dough, then use a small offset spatula or the back of a spoon to spread it in an even layer. Work reasonably quickly so the dough doesn’t soften too much. Starting at the end furthest from you, roll the dough into a snug spiral and rest it on the seam. Squeeze along the length of the log to even out the thickness and lengthen it so it’s about 18 inches long.

Cut the log into 8 equal-sized rolls, about 2 1/4 inches in width each. Then pull the edge of each cinnamon roll out by 2 inches and tuck under the bottom of the roll – this helps the cinnamon rolls proof and bake without unraveling, and ensures the filling doesn’t escape. Evenly space the rolls on the prepared baking sheet, and firmly press each one down. Cover the rolls with plastic wrap and let rise for 1 to 1 1/2 hours at room temperature. During this second proof, the rolls should rise by about 50 percent – any more than that and you’ll have overproofed the rolls.
Bake, Frost, & Serve
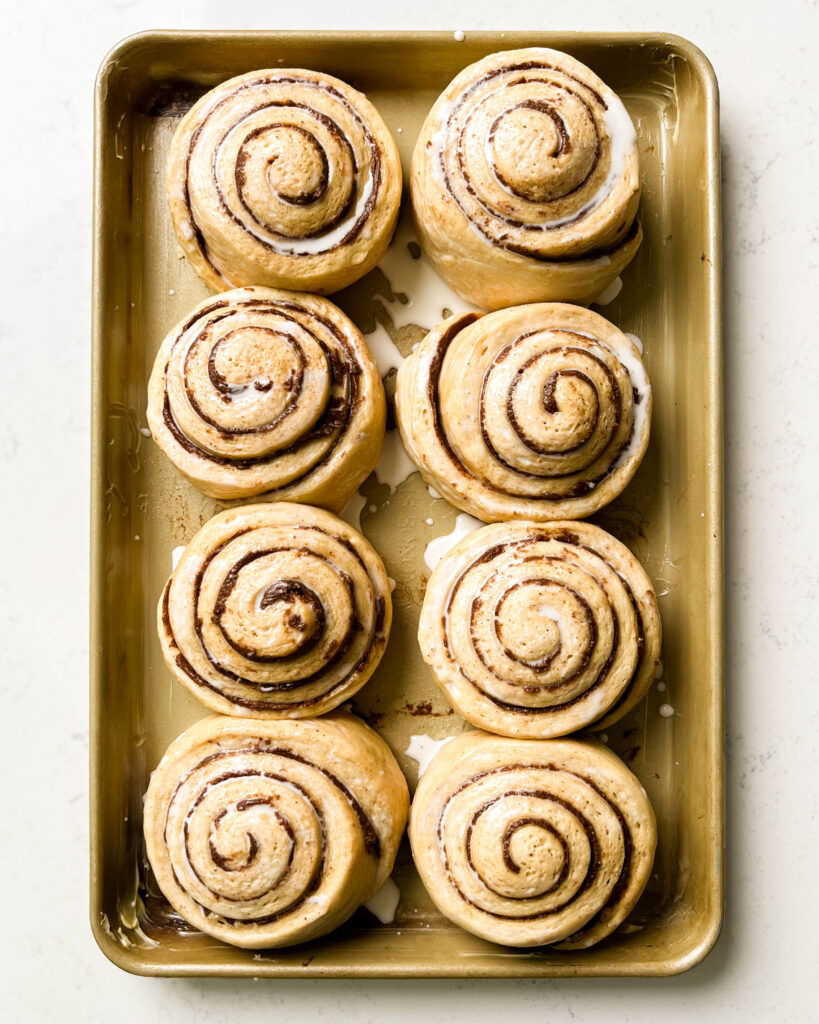
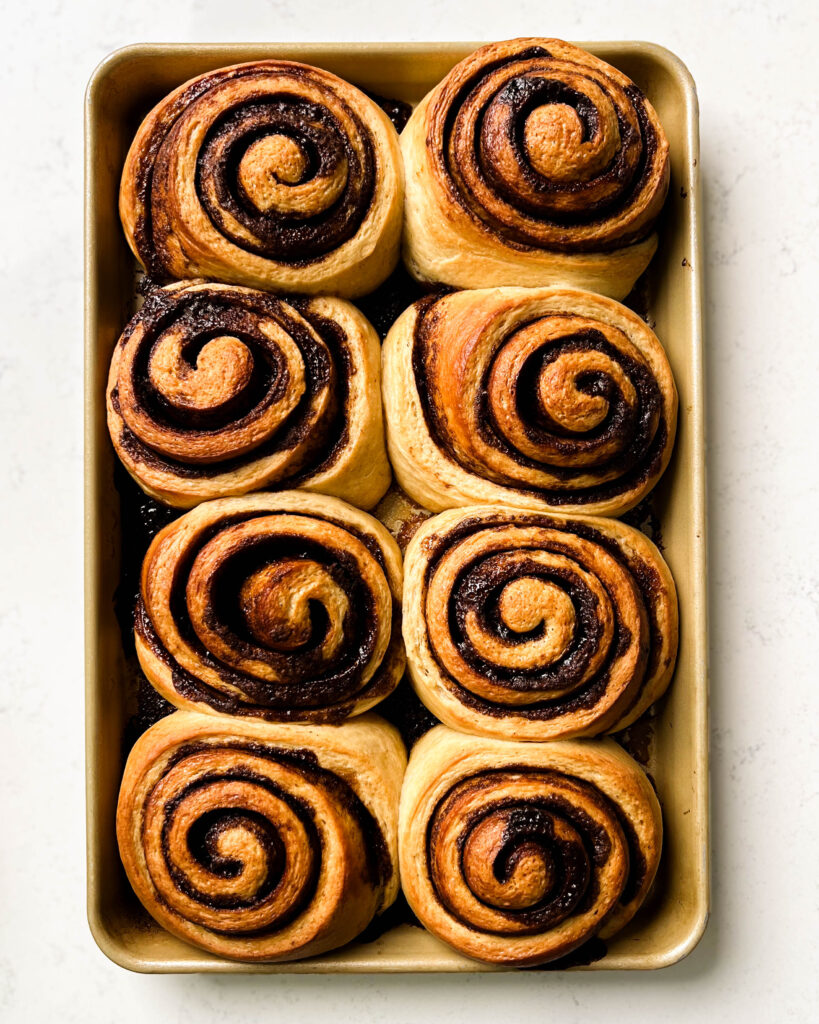
Brush the tops of the rolls with creamy milk and bake the cinnamon rolls for 20-22 minutes or until golden. Once the rolls are done baking, let cool for 5 minutes before frosting (only frost the rolls you plan on eating). Serve immediately (they taste best fresh out of the oven). Store in an airtight container. Make sure to reheat leftover rolls – it helps the rolls soften up a bit.

Notes & Tips
Dough Tips
- Use the windowpane test to ensure you’ve kneaded the dough enough. This is the easiest way to test if your dough has enough developed gluten (aka the bonds in the dough that will give your cinnamon rolls a good texture). Rip off a small piece of dough and place it between your fingers, gently press the dough out into a circle (like a pizza), and then place it between your fingers, gently spreading your fingers apart to stretch the dough. If the dough can stretch and get translucent (I like to hold it up to a window to see if light can pass through it) you’ve kneaded the dough enough. If the dough rips you’ll need to knead the dough a bit longer. Linking a great article here that goes in-depth about the windowpane test.
- Tuck the edges of the rolls underneath. Pull the dough edge of each cinnamon roll out by 2 inches and tuck under the bottom of the cinnamon – this helps the cinnamon rolls proof and bake without unraveling, and ensures the filling doesn’t escape.
- Cut the rolls with a sharp knife or unflavored dental floss. I’ve always used a sharp knife, because this dough holds up really well, but feel free to use unflavored dental floss to make the perfect cut!
- Don’t overproof the rolls. Over-proofing the rolls during the second proof (when the buns are rolled) will yield a harder textured bun rather than a soft, fluffy, bready one. If you wait until the buns hits the usual indicator of “doubled in size” they’ll be a bit too far gone. Instead, go with the “50 percent” indicator – they’ll dramatically rise and puff in the oven.
Baking & Serving Tips
- Brush the rolls with milk or cream to help them brown. This technique really caught on on TikTok first, but it’s a genius and simple way to glaze any baked goods. Heavy cream or milk naturally darkens in the oven, making it a great alternative to an egg wash. Make sure you don’t get any cream/milk on the bottom of the pan.
- Underbake the rolls slightly. The best part about homemade cinnamon rolls is that ooey gooey center – so keep an eye on the cinnamon rolls towards the last 10 minutes of baking. I take out the rolls around the 21-minute mark when the tops have reached a golden brown. Remember that the rolls will continue to bake as they cool!
- Only frost the rolls you’re planning on eating. Frosting gets a bit wonky when it goes through a bunch of temperature changes – so keep any rolls you’re planning on saving unfrosted.
- Store any leftover cinnamon rolls in an airtight container. This will seal out any air and keep the cinnamon rolls super soft and fluffy!
- Heat up any leftover cinnamon rolls. I think we can all agree that cinnamon rolls taste best warm. Pop your cinnamon roll in the oven (or toaster oven) on a parchment-lined sheet pan at 300°F for about 6-8 minutes.
Most Important Tip
And lastly, USE METRIC MEASUREMENTS!!! Baking is super finicky – measuring by weight, not volume is the best way to accurately bake and reproduce this recipe perfectly. So please, please, please, use the metric measurements.
And that’s all for these cinnamon rolls – so excited for you to make these! If you have any questions, leave a comment below or send me a message on Instagram. Don’t forget to leave a starred rating and review!
Print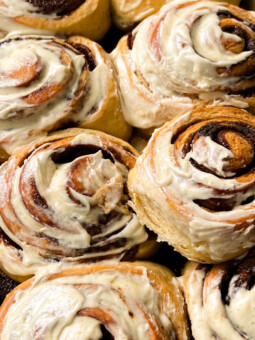
Homemade Cinnamon Rolls
- Prep Time: 30 minutes
- Proof Time: 18 hours
- Cook Time: 20 minutes
- Total Time: 18 hours 50 minutes
- Yield: 8 rolls 1x
- Category: Dessert
- Cuisine: American
Description
Nothing says the holidays quite like fluffy homemade cinnamon rolls! And these are soft, fluffy, loaded with all the cinnamon sugar filling and generously topped with a vanilla bean cream cheese frosting! Plus, they’re refined sugar-free, egg-free, and easily made vegan!
Ingredients
Sweet Yeasted Dough
- 360 g (1 1/2 cups) creamy milk, ie. almond milk
- 40 g (1/4 cup) coconut sugar
- 8 g (1 tbsp) instant yeast
- 600 g (5 cups) all-purpose flour
- 1/2 tsp kosher salt
- 120 g (1/2 cup) unsalted butter, softened, divided into 1-inch pieces
Cinnamon Sugar Filling
- 120 g (1/2 cup) unsalted butter, softened
- 140 g (3/4 cup) coconut sugar
- 2 tbsp ceylon cinnamon
- 1 tsp vanilla bean paste
- 1/4 tsp kosher salt
Cream Cheese Frosting
- 8 oz (227 g) cream cheese, room temperature
- 2 oz (60 g) unsalted butter, softened
- 60 g ( 3 tbsp) honey or maple syrup, adjust to preference
- 1 tsp vanilla bean paste
Instructions
Directions
- Read the instructions carefully first. Keep in mind that the dough needs to be proofed overnight, so start this recipe a day before. Prep happens the day before, and assembly and baking happens the following day.
Sweet Yeasted Dough
- Warm the milk. Warm the milk in a small saucepan over low heat until it’s lukewarm to the touch, but not hot (around 100°F). Pour the warmed milk into the bowl of a stand mixer and whisk in the sugar and yeast until combined.
- Mix the dough. Next, add in the flour and salt, and using the dough hook attachment, mix on low speed until a dough forms – it should be smooth and elastic and pull away from the bowl (about 4 minutes).
- Incorporate the butter and knead. Next, add the butter pieces, one at a time, waiting for the dough to absorb each piece before adding more until you have a soft and supple dough. This process takes a total of 20 minutes, so be patient. The dough is done mixing and kneading once you’ve tested it using the windowpane test (see the notes section of the blog post for details).
- Proof and let rise overnight. Lightly butter the inside of a clean, large bowl, alternatively, use the bowl of the stand mixer (it’s already buttered). Scrape the dough out of the mixer bowl onto a clean surface and work it into a ball. Place the dough inside the buttered bowl, seam side down. Cover and let sit at room temperature until it has expanded in size by about 50 percent, about 1 hour. Then transfer the bowl to the refrigerator and chill overnight (18-24 hours) – the dough will continue to rise in the fridge and double in size.
Make The Filling
- Mix the filling. Combine the butter, coconut sugar, ceylon cinnamon, vanilla, and salt, and mix together until it forms a smooth spreadable paste. The filling is much easier to spread on the dough when it’s room temperature.
Prep the Pan
- Prep the sheet pan. Lightly coat the bottom and sides of a rimmed sheet pan (mine is 14 1/2″ x 9 1/2″ x 1″ high) with butter and line the bottom with parchment paper. Quick note, it’s important to line the pan with parchment; some of the cinnamon sugar filling will spill out during baking, and once it cools, it’s almost impossible to get off the pan.
Assemble The Rolls
- Roll out the dough. Remove the dough from the fridge, lightly punch it down, and transfer it to a lightly floured surface (make sure you have space to roll the dough out). Roll the dough into a large rectangle, 16 inches by 20 inches.
- Fill and roll. Dollop the filling across the surface of the dough, then use a small offset spatula or the back of a spoon to spread it in an even layer. Work reasonably quickly so the dough doesn’t soften too much. Starting at the end furthest from you, roll the dough into a snug spiral and rest it on the seam. Squeeze along the length of the log to even out the thickness and lengthen it so it’s about 18 inches long.
- Cut and proof. Cut the log into 8 equal-sized rolls, about 2 1/4 inches in width each. Then pull the edge of each cinnamon roll out by 2 inches and tuck under the bottom of the cinnamon – this helps the cinnamon rolls proof and bake without unraveling, and ensures the filling doesn’t escape. Evenly space the rolls on the prepared baking sheet, and firmly press each one down so they’re less tall. Cover the rolls with plastic wrap and let rise for 1 to 1 1/2 hours at room temperature. During this second proof, the rolls should rise by about 50 percent – any more than that and you’ll have overproofed the rolls.
Bake & Frost
- Preheat the oven while the rolls are proof. Position a rack in the center of the oven and preheat to 400°F.
- Bake the rolls. Brush the tops of the rolls with creamy milk and bake the cinnamon rolls for 20-22 minutes or until golden.
- Make the frosting while the rolls bake. In a bowl, whip the cream cheese and butter until creamed together (it should look silky smooth). Add the honey/maple syrup and vanilla and whip together again until combined. Adjust the honey/maple syrup to your preference.
- Frost and serve. Once the rolls are done baking, let cool for 5 minutes before frosting (only frost the rolls you plan on eating). Serve immediately (they taste best fresh out of the oven). Store in an airtight container. Make sure to reheat leftover rolls – it helps the rolls soften up a bit.

Hi, can these be prepared early, frozen and then thawed to bake?
These are the best homemade cinnamon rolls I’ve ever made! As a novice baker, I was anxious about making the dough, but it baked perfectly. They are soft, airy, and so yummy! If you try these out, you will not be disappointed!