

 by
by 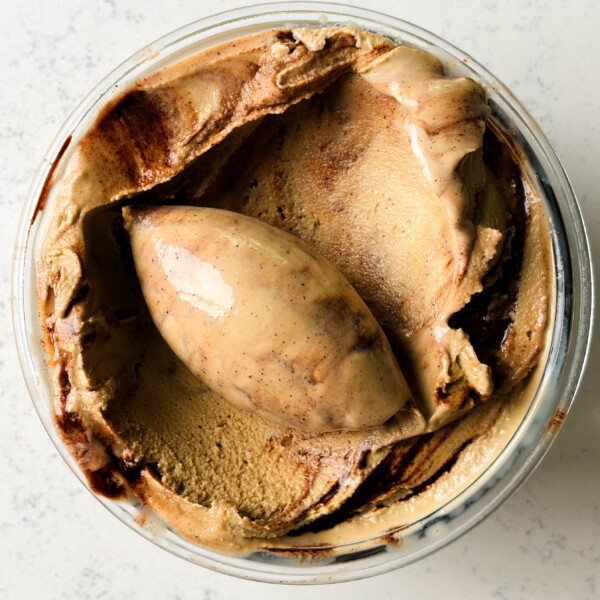
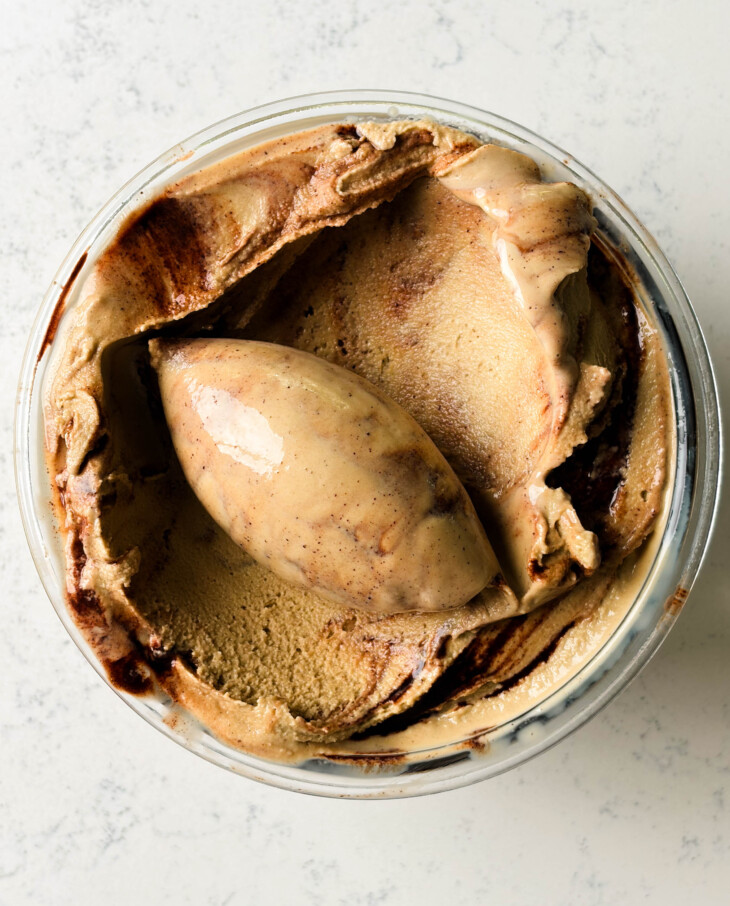
This fudge ripple coffee ice cream is my ideal coffee-forward ice cream; think double vanilla bean espresso custard rippled with a dark chocolate fudge sauce.
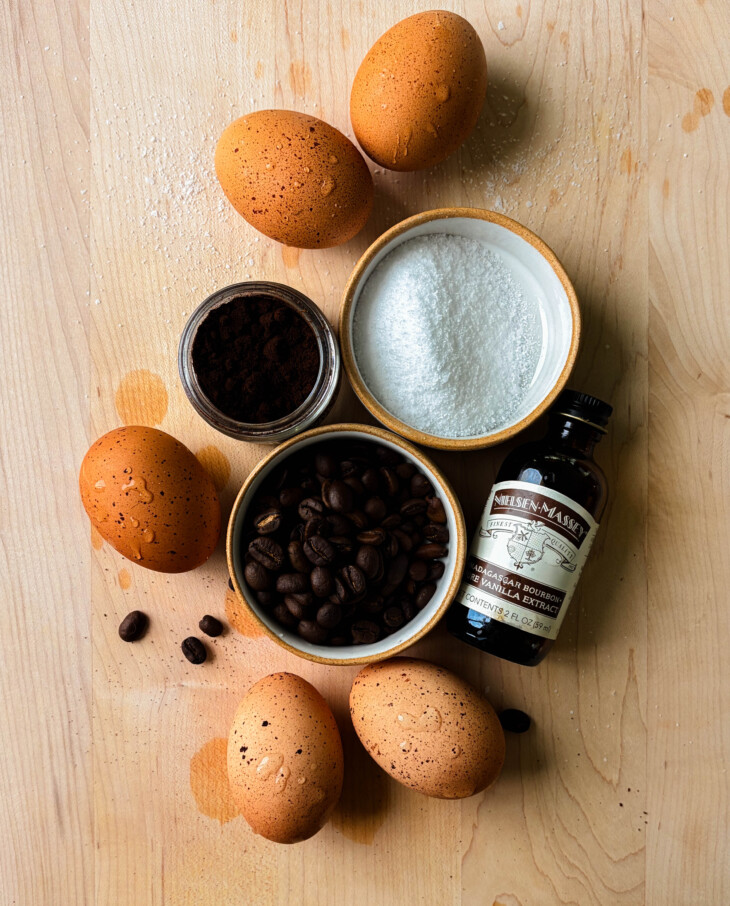
Fudge Ripple Coffee Ice Cream Ingredients
Custard Base
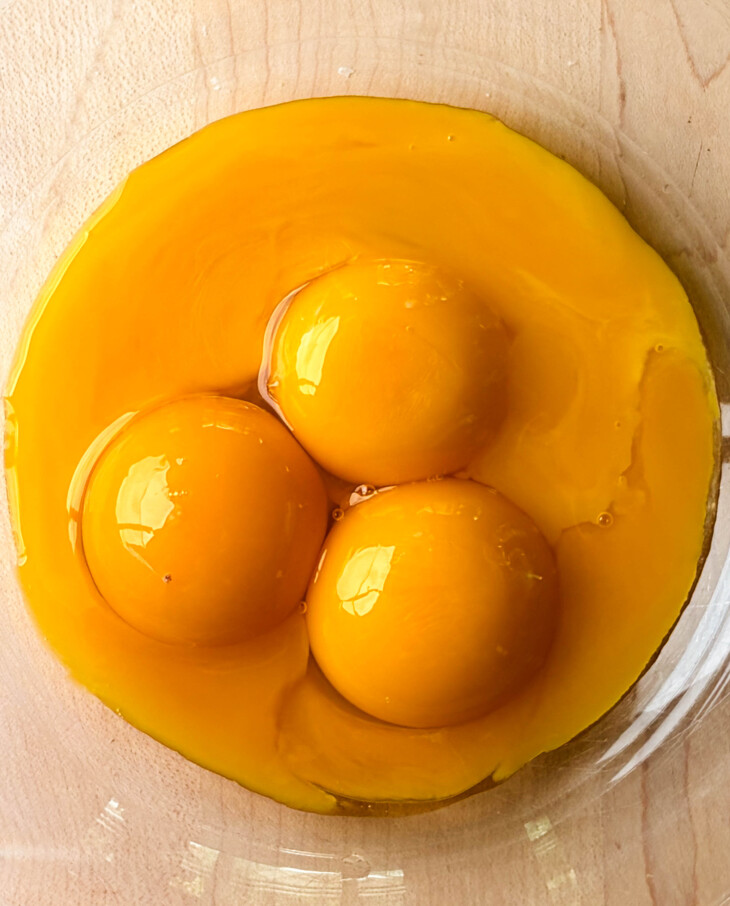
- Egg yolks: The egg yolks in this recipe serve to not only stabilize the ice cream but also give it a super rich and creamy mouthfeel that you just can’t replicate with anything else. Standard large eggs yield ~18 g of yolk; however, if you’re using smaller eggs or eggs from the farmer’s market, the yield will vary. So if you really want to get granular, I highly recommend weighing your yolks.
- Heavy cream and milk OR homemade nut milk: This recipe works with both dairy and non-dairy milk/cream. I’ve left two non-dairy options below.
- Honey: Feel free to use coconut sugar or cane sugar instead. I’ve left the weight measurements for both in the recipe card.
- Vanilla paste or ground vanilla: Love the ground vanilla from Beyond Good.
- Vanilla extract: This base is a double vanilla custard, which uses both ground vanilla and vanilla extract. I like to add the vanilla extract at the tail end of the custard-making process, once it’s been chilled; heat tends to inhibit vanilla extract flavor.
- Diamond Crystal kosher salt
Fudge Sauce
- Dutch-processed cocoa powder: Unlike regular cocoa, dutch process cocoa is alkalized to give it a smooth, less acidic flavor and a deeper, richer, chocolate color.
- Coconut sugar: Cane sugar also works here.
- Honey: You need a liquid sweetener that doesn’t harden when frozen; brown rice syrup, agave, or corn syrup are all good substitutes.
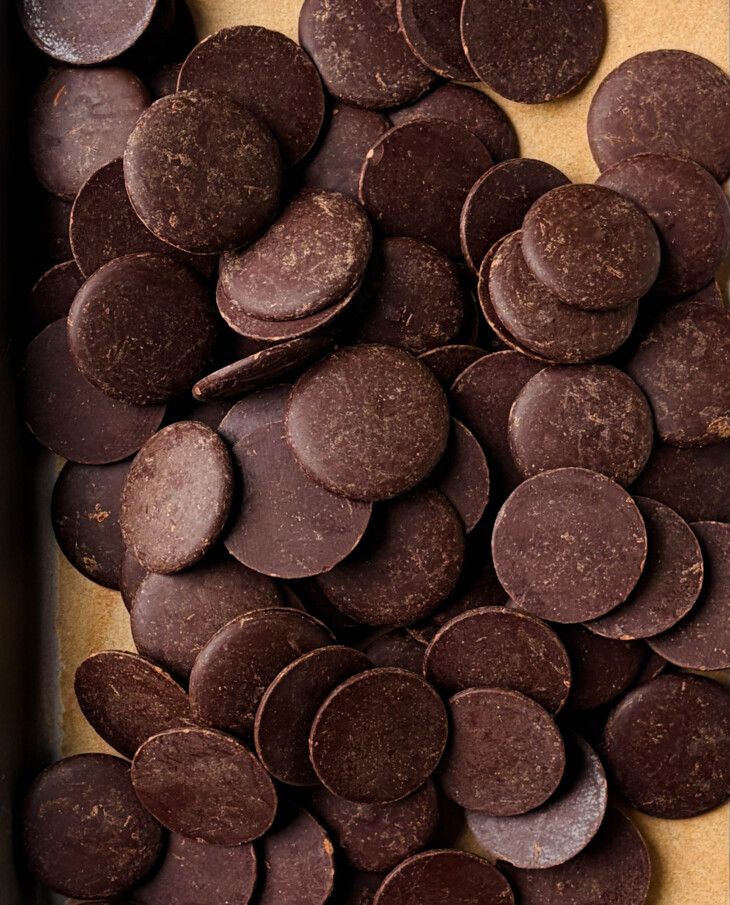
- Unsweetened dark chocolate: Any unsweetened dark chocolate works; however, I’m partial to the Navitas Organics unsweetened cacao wafers.
- Vanilla paste or ground vanilla: Love the ground vanilla from Beyond Good.
- Diamond Crystal kosher salt
Dairy-Free Alternatives
Leaving two dairy-free swaps for this ice cream base — the homemade nut milk alternative is my favorite.
- Make the homemade nut milk by blending 4 cups (910 g) of water with 1 1/2 cups (215 g) of raw, unsalted cashews and 1 cup (140 g) of raw, unsalted almonds on high for 1 minute and 30 seconds, or until super creamy and smooth. It’ll yield 760g of milk, which is how much you’ll need to make this recipe. Strain into a nut milk bag and store in a glass jar. It’ll keep well for 5-6 days, so feel free to make this ahead of time.
- Alternatively, swap the heavy cream and milk for equal parts of a store-bought dairy-free heavy cream and milk. Califia heavy cream is my go-to non-dairy heavy cream. For milk, any creamy cashew milk or coconut milk works — such as Elmhurst’s cashew milk, Califia’s coconut milk, or even my homemade house-blend milk.
Method
Day One – Custard Base & Fudge Sauce
Whisk the egg yolks in a small bowl and set aside.
Add the milk and cream (or homemade nut milk) to a pot, along with the honey, vanilla, and salt. Heat over medium heat until hot to the touch or 120°F.
Scoop about 1/2 cup of the milk mixture out, and, whisking constantly, stream it into the bowl of egg yolks. Repeat this twice more to temper the eggs. Then, whisking the milk mixture constantly, stream in the tempered eggs. Switch to a rubber spatula/large wooden spoon, and stir constantly (I typically stir the mixture every 10 seconds) until it thickens and coats the back of a spoon — temperature should be ~178°F.
Remove the custard from the heat and strain the mixture through a fine mesh sieve into a large bowl or pitcher. Then place the custard base in an ice bath, stirring constantly until cool. Once cool, whisk in the espresso and vanilla extract. Cover the base with plastic wrap and refrigerate overnight.
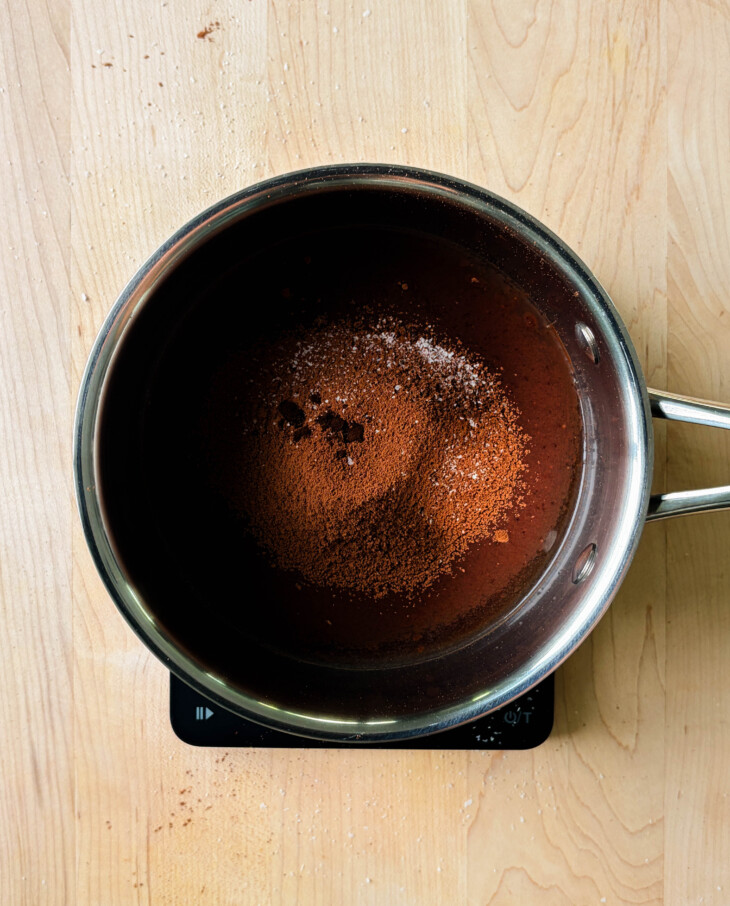
To make the fudge sauce, combine the coconut sugar, honey, sifted cocoa powder, vanilla, salt, and water in a small pot. Bring to a soft boil over medium-high heat, stirring with a spatula. Once boiling, take off the heat and add in the dark chocolate. Let sit for 1 minute to allow the chocolate to melt in the sauce, then whisk well. Strain the sauce through a fine mesh strainer into a small jar with a lid, and refrigerate overnight.
Day Two – Churn & Freeze
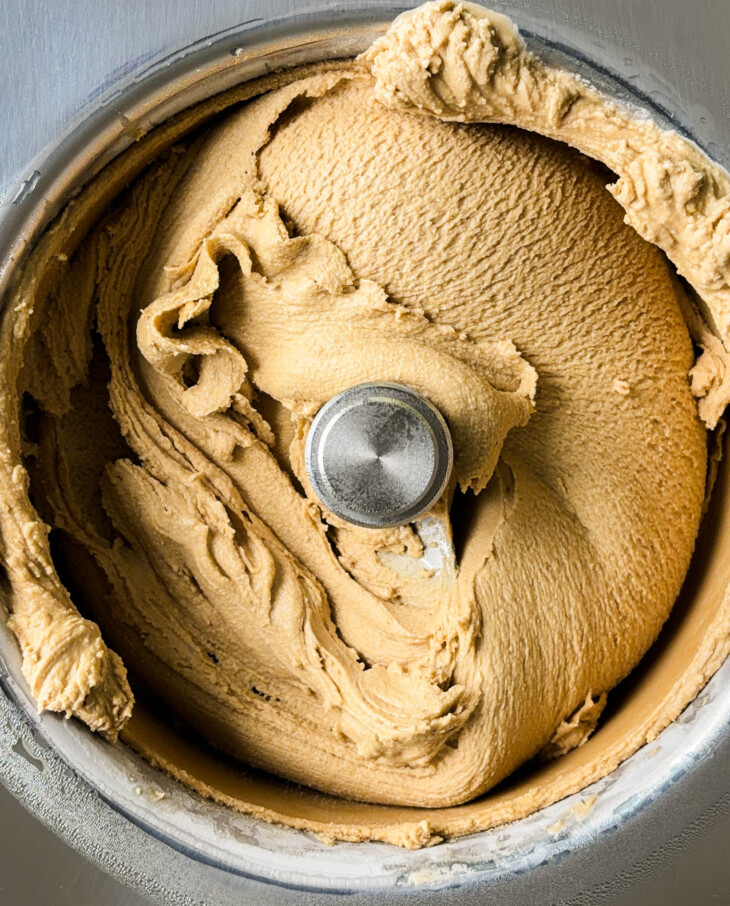
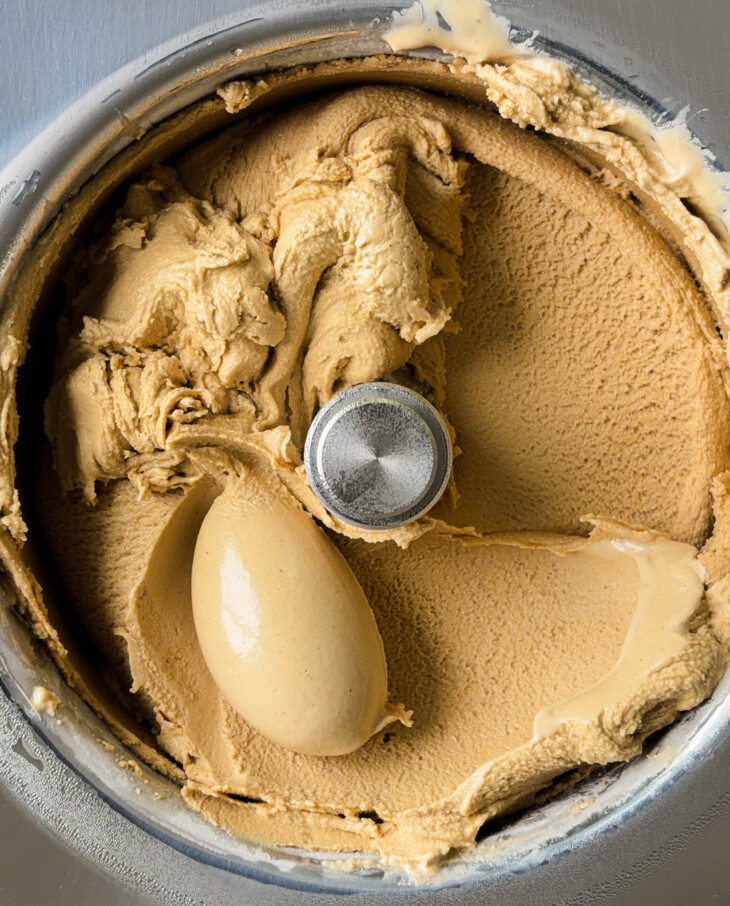
Pour the chilled base into your ice cream bowl and churn according to the manufacturer’s instructions. Mine takes about 20 minutes to churn up – it should be the consistency of soft serve.
Layer the ice cream into the container, starting with the ice cream, then drizzle over a spoonful of the fudge sauce; repeat this process. Swirl the ice cream gently with a small spoon or knife – don’t over-swirl the ice cream, or the fudge sauce will bleed too much into the ice cream, and there won’t be a clear delineation between the two. Place a parchment round on top (this helps prevent crystallization), and freeze for at least 4 hours, ideally overnight.
Recipe Testing Notes
I tested this flavor with three different infusions – moved forward with the espresso shot version, as it was my ideal version of coffee ice cream, but I thought I’d share if you want to play around with this recipe and tailor it to your preferences.
- Whole beans: Infused the cream and milk mixture with whole coffee beans – heated over the stove to 110°F, took off the heat, and left it to sit for 1 hour (covered), strained out the beans, and proceeded as usual. This process yielded a very subtle coffee flavor that was nice, but it didn’t pack the punch I’m looking for in coffee ice cream. Additionally, I had to discard the whole coffee beans, which felt wasteful.
- Coarsely ground beans: Cold infused 20g of coarsely ground coffee in the custard overnight – it yielded a super complex (but slightly bitter) coffee flavor. Additionally, many of the coffee grounds remain in the custard despite straining it; leaving the ice cream with a slightly grainy texture (not a big fan of that).
- Espresso shot: Whisked 40g espresso into the chilled custard – yielded a super smooth, clean, and sweet coffee ice cream that was reminiscent of a sweet latte. By far my favorite way to incorporate coffee into ice cream.
Notes
- If you’ve used my ice cream base before, you’ll notice there is slightly more egg yolk in this recipe; I wanted to bump the protein content of the base up slightly to help bind the extra water from the espresso.
- If you have an espresso machine, a ristretto would be ideal. Little background: typically an espresso shot is pulled at a 1:2 ratio, so if you used 20g of beans, you’ll pull a 40g shot (obviously this isn’t a rule of thumb, and it varies depending on the bean you’re using). A ristretto is basically a short shot of espresso that uses a 1:1 ratio. Restricting the shot yields a sweeter, less bitter flavor because of the shorter extraction time – and it does shine through in this ice cream. You’ll need to pull two ristrettos for this recipe (or you can pull one regular shot).
So excited for you to make this fudge ripple coffee ice cream. Please leave a starred rating and review; I love hearing from you!
Print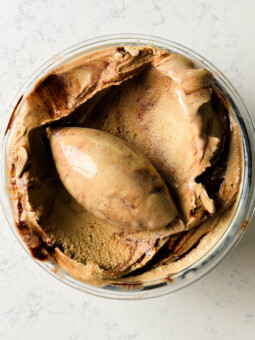
Fudge Ripple Coffee Ice Cream
- Prep Time: 10 minutes
- Chill Time: 24 hours
- Cook Time: 25 minutes
- Total Time: 24 hours 35 minutes
- Yield: 1 quart 1x
- Category: Dessert
Description
This fudge ripple coffee ice cream is my ideal coffee-forward ice cream; think double vanilla bean espresso custard rippled with a dark chocolate fudge sauce.
Ingredients
Custard
- 90 g (5 large) egg yolks
- 480 g (2 cups) heavy cream + 300 g (1 1/2 cups) milk OR 760 g (3 1/4 cups) homemade nut milk (see below)
- 150 g (1/2 cup) honey (sub with 100 g granulated cane sugar or 90 g coconut sugar)
- 1/2 tsp ground vanilla or vanilla bean paste
- 1/2 tsp Diamond Crystal kosher salt
- 40 g espresso
- 1 tsp vanilla extract
Fudge Sauce
- 36 g coconut sugar (sub with granulated cane sugar)
- 36 g honey
- 18 g cocoa powder, sifted
- 1/4 tsp ground vanilla or vanilla bean paste
- 1/4 tsp Diamond Crystal kosher salt
- 50 g water
- 1/2 oz chopped unsweetened dark chocolate or unsweetened dark chocolate wafers
Instructions
Custard Base
- Whisk the egg yolks in a small bowl and set aside.
- Add the milk and cream (or homemade nut milk) to a pot, along with the honey, vanilla, and salt. Heat over medium heat until hot to the touch or 120°F.
- Scoop about 1/2 cup of the milk mixture out, and, whisking constantly, stream it into the bowl of egg yolks. Repeat this twice more to temper the eggs. Then, whisking the milk mixture constantly, stream in the tempered eggs. Switch to a rubber spatula/large wooden spoon, and stir constantly (I typically stir the mixture every 10 seconds) until it thickens and coats the back of a spoon — temperature should be ~178°F.
- Remove the custard from the heat and strain the mixture through a fine mesh sieve into a large bowl or pitcher. Then place the custard base in an ice bath, stirring constantly until cool. Once cool, whisk in the espresso and vanilla extract. Cover the base with plastic wrap and refrigerate overnight.
Fudge Sauce
- To make the fudge sauce, combine the coconut sugar, honey, sifted cocoa powder, vanilla, salt, and water in a small pot. Bring to a soft boil over medium-high heat, stirring with a spatula. Once boiling, take off the heat and add in the dark chocolate. Let sit for 1 minute to allow the chocolate to melt in the sauce, then whisk well. Strain the sauce through a fine mesh strainer into a small jar with a lid, and refrigerate overnight.
Churn & Freeze
- Pour the chilled base into your ice cream bowl and churn according to the manufacturer’s instructions. Mine takes about 20 minutes to churn up – it should be the consistency of soft serve.
- Layer the ice cream into the container, starting with the ice cream, then drizzle over a spoonful of the fudge sauce; repeat this process. Swirl the ice cream gently with a small spoon or knife – don’t overswirl the ice cream or the fudge sauce will bleed too much into the ice cream, and there won’t be clear delineation between the two. Place a parchment round on top (this helps prevent crystallization), and freeze for at least 4 hours, ideally overnight.
Notes
Make the homemade nut milk by blending 4 cups (910 g) of water with 1 1/2 cups (215 g) of raw, unsalted cashews and 1 cup (140 g) of raw, unsalted almonds on high for 1 minute and 30 seconds, or until super creamy and smooth. It’ll yield 760g of milk, which is how much you’ll need to make this recipe. Strain into a nut milk bag and store in a glass jar. It’ll keep well for 5-6 days, so feel free to make this ahead of time.